-
Notifications
You must be signed in to change notification settings - Fork 108
Samples:Grove Kit
Grove Kit is a starter kit from Seeed that is available for any Arduíno compatible devices (like Edison and Galileo). Soletta™ Framework has a set of samples based on this kit that can be found here, many of them are the Soletta version for the samples proposed in the chart that comes with the kit, others use the kit capabilities to illustrate the use of some advanced nodes like the LCD ones.
In each sample, note that the sensors are connected to the same pins used on the fbp code (and it's config file) . You may want to choose them, to any compatible pin - but remember to change fbp code accordingly.
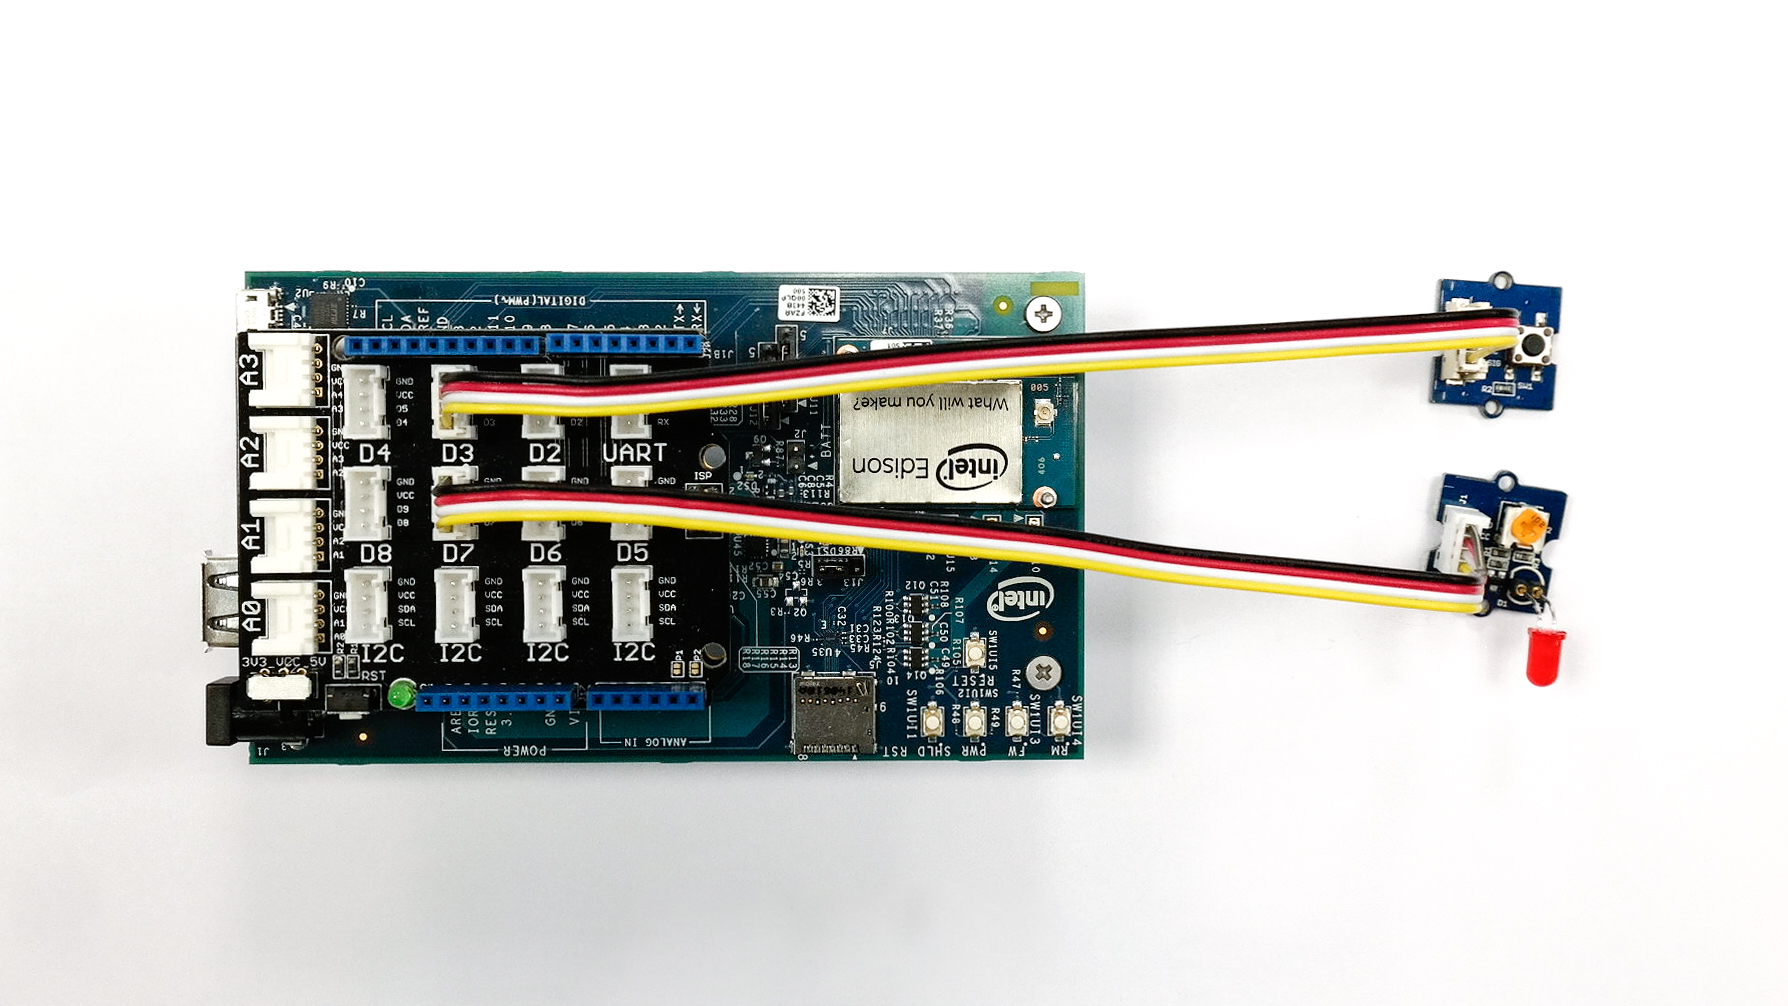
This is a translation of Grove_Button/Grove_Button.ino, from https://github.com/Seeed-Studio/Sketchbook_Starter_Kit_for_Arduino.git.
It's a button connected to a gpio pin configured as input (reader) that is used to trigger a LED through a gpio configured as output (writer). Press the button to turn on the LED.
See the code.
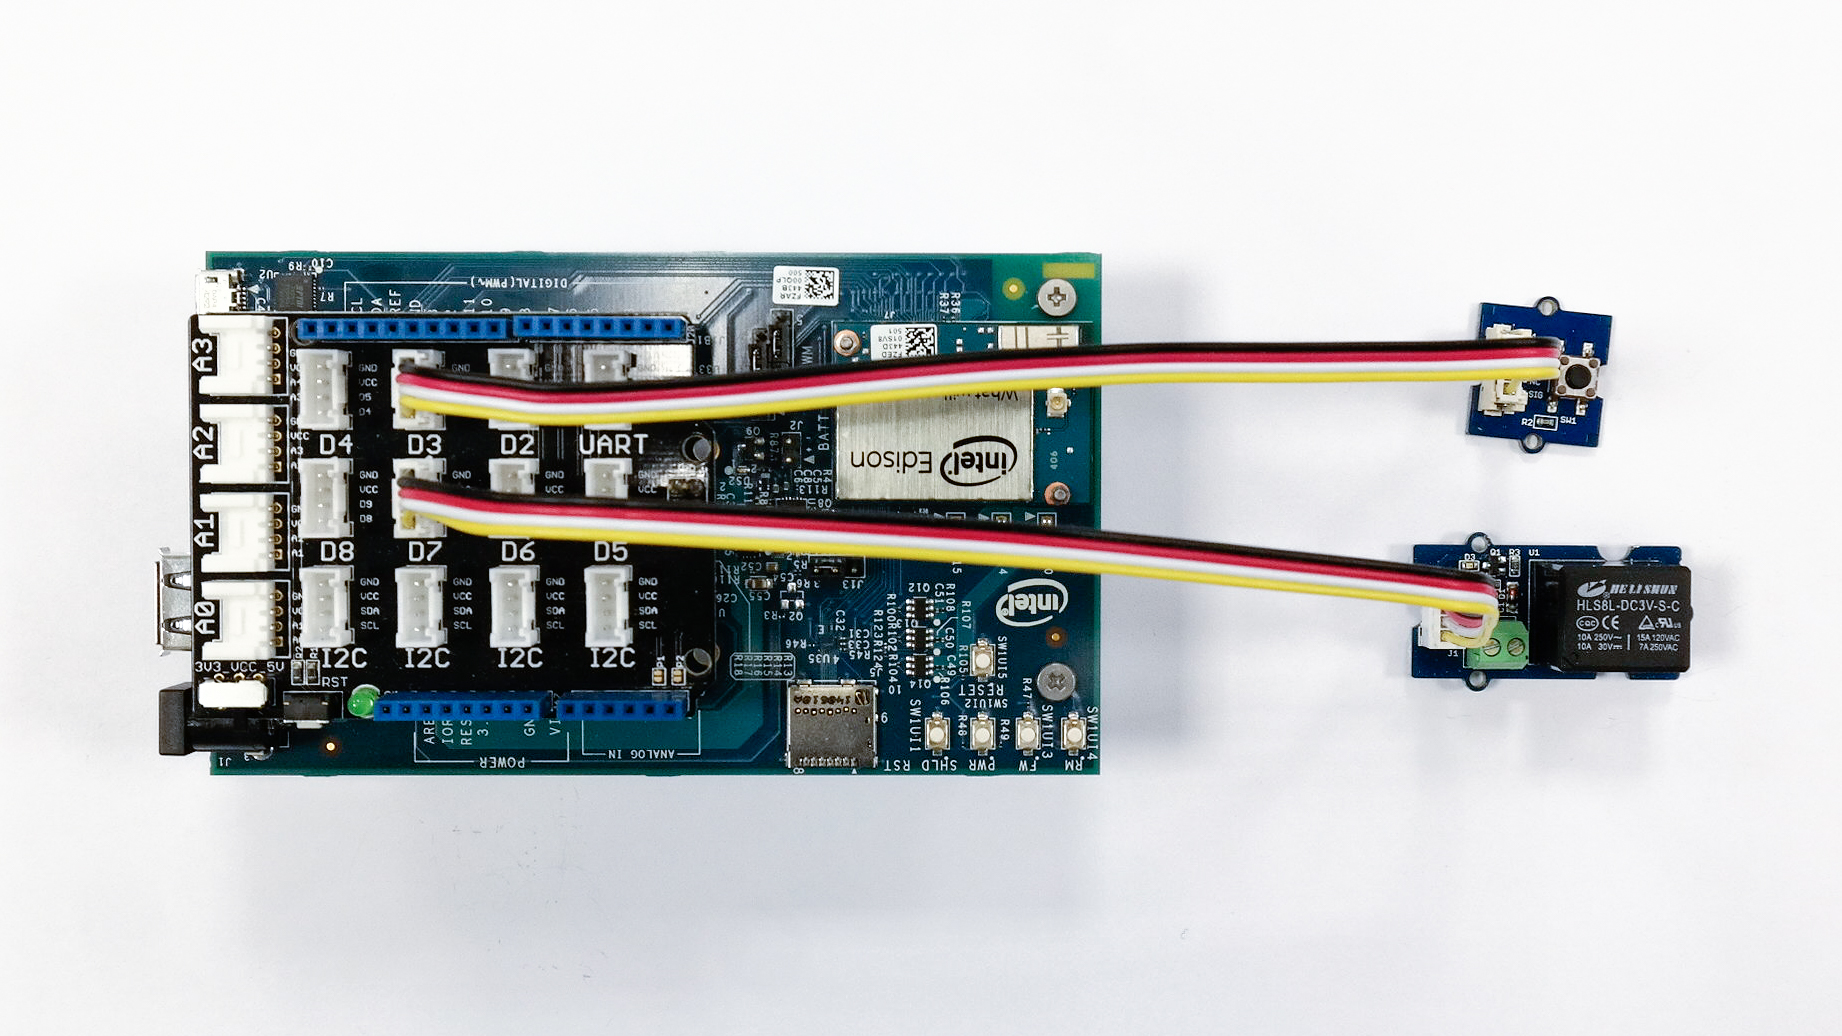
This is a translation of Grove_Relay/Grove_Relay.ino, from https://github.com/Seeed-Studio/Sketchbook_Starter_Kit_for_Arduino.git.
Similar to 'Grove Button' sample, but triggers a relay instead of a LED.
See the code.
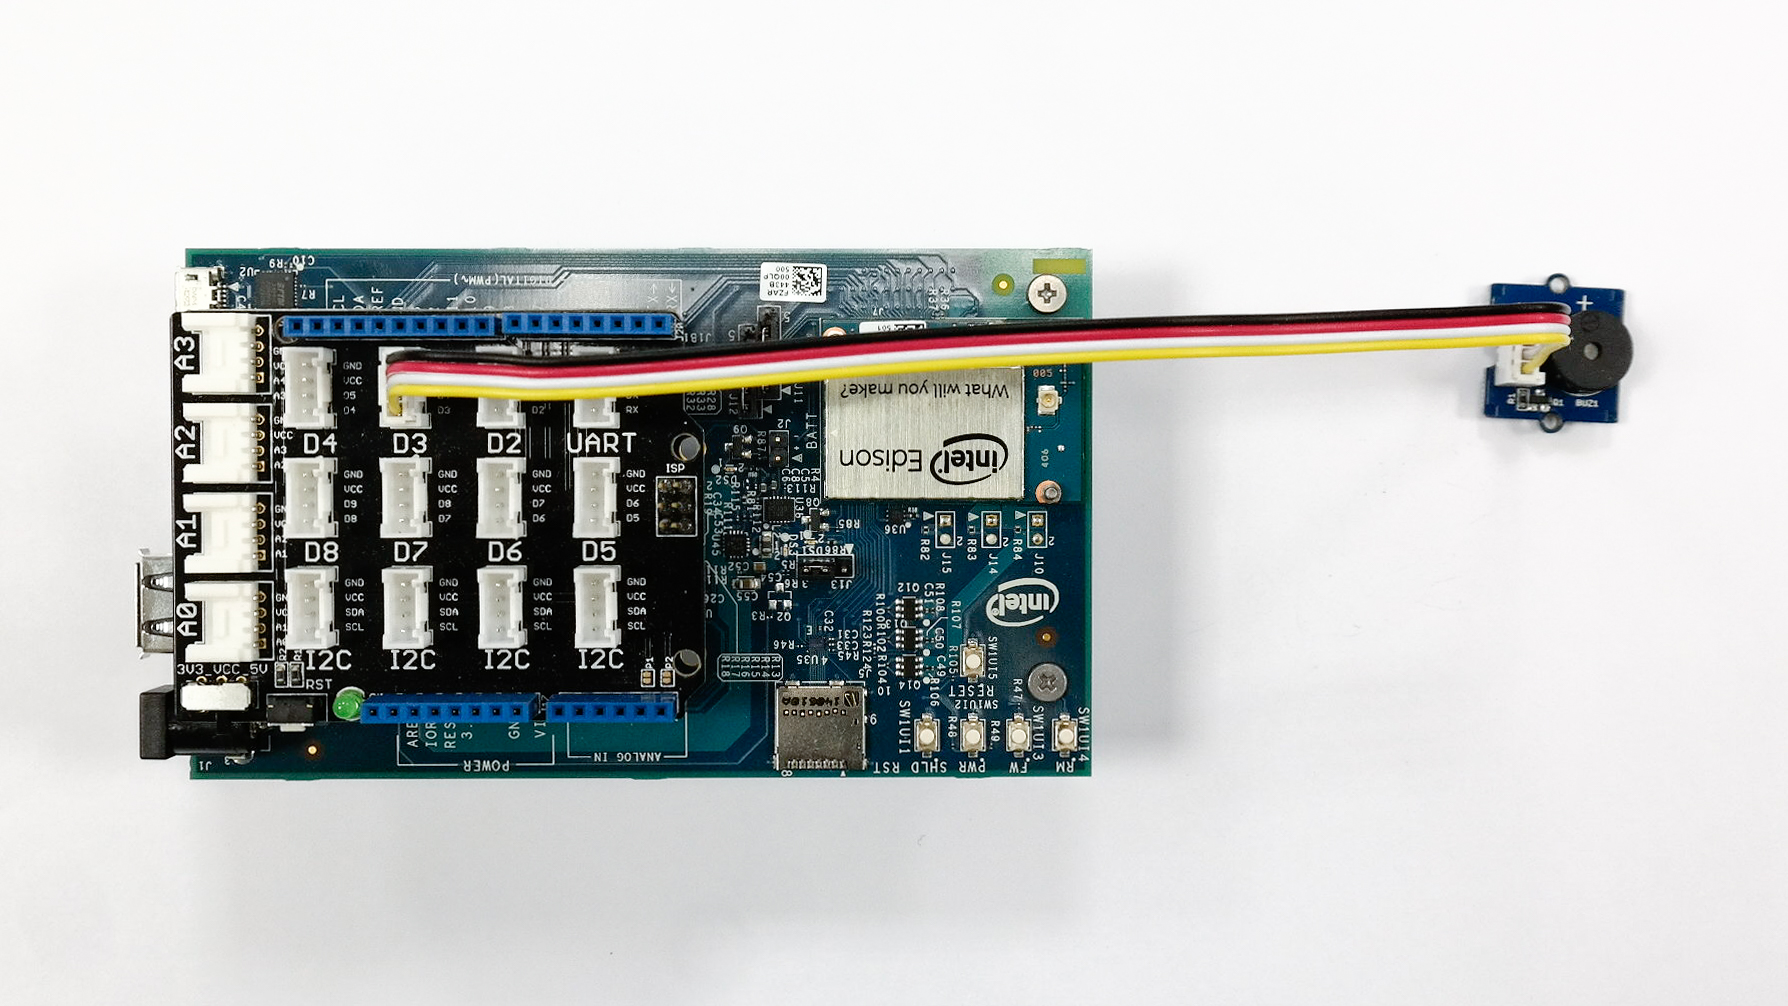
This is a translation of Grove_Buzzer/Grove_Buzzer.ino, from https://github.com/Seeed-Studio/Sketchbook_Starter_Kit_for_Arduino.git, but using a special node that allows the user to input music notes that will play in the buzzer (using PWM).
See the code.
These samples are about using PWM to control the intensity of a LED. A translations of Grove_LED/Grove_LED.ino, from https://github.com/Seeed-Studio/Sketchbook_Starter_Kit_for_Arduino.git.
The same setup serves both:
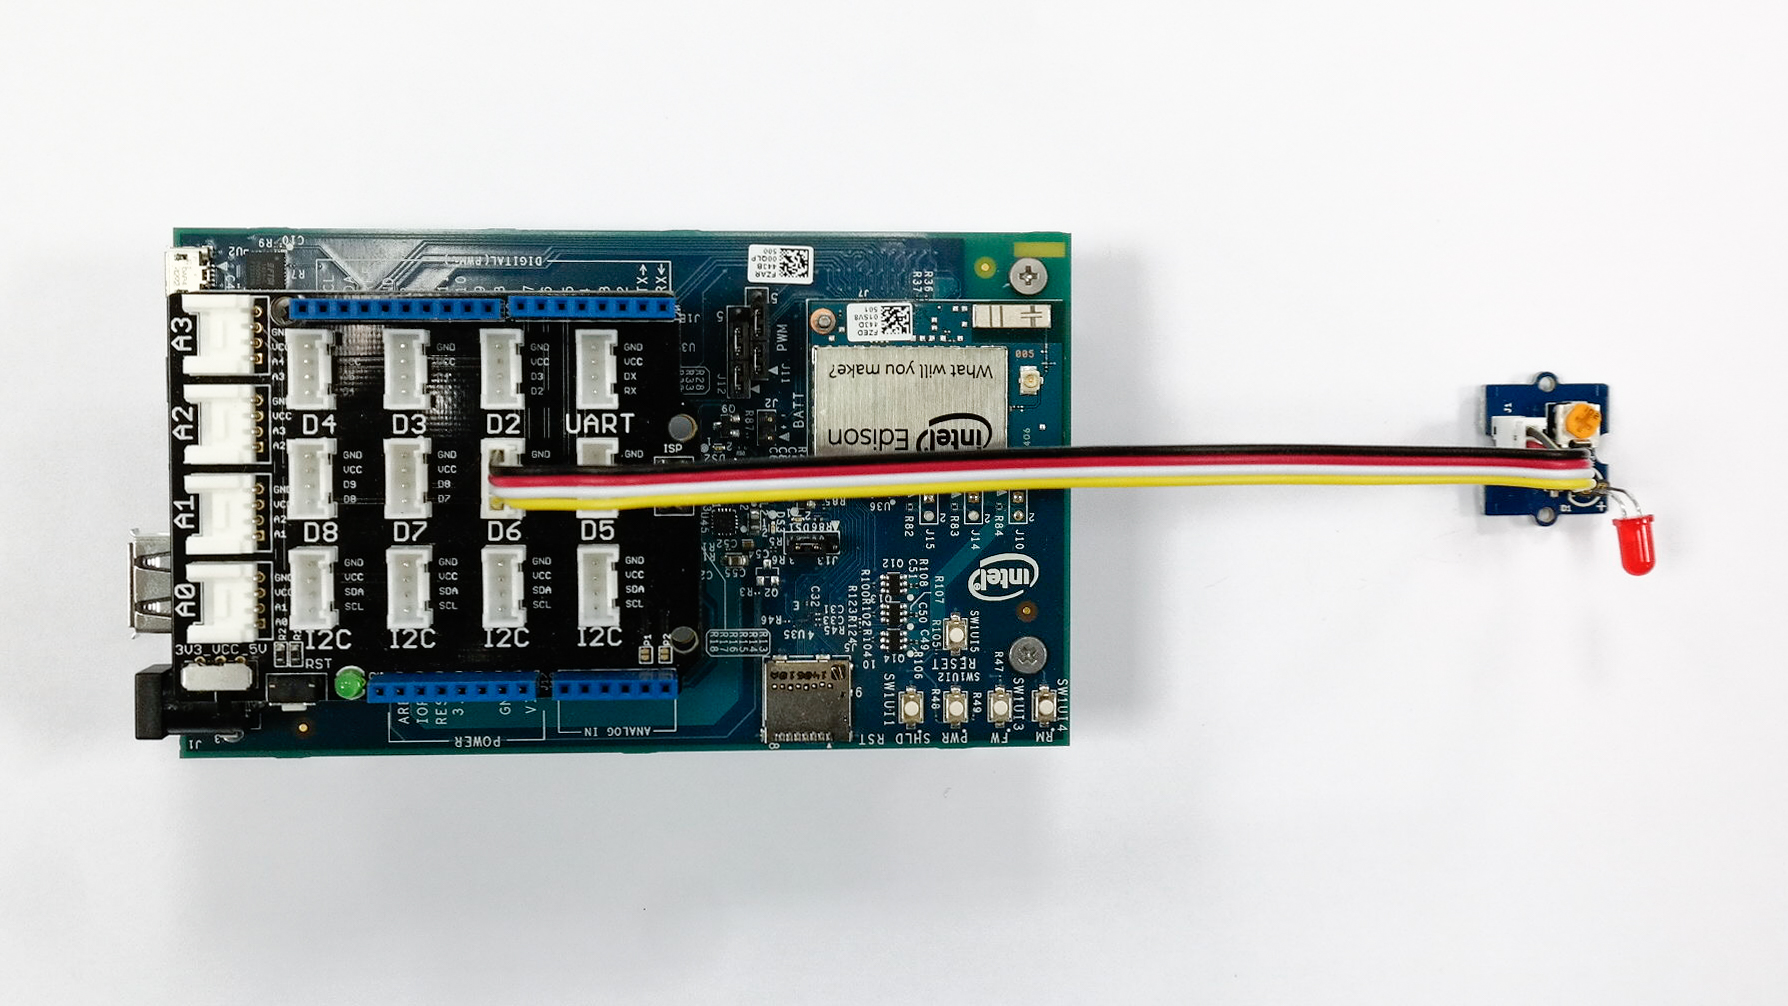
It exemplify the usage of the accumulator node type in order to do the original file's looping.
See the code.
This sample is a more direct, less verbose way of doing the original file's looping, though the Wave Generator node.
See the code.
This is a translation of Grove_Sound_Sensor/Grove_Sound_Sensor.ino, from https://github.com/Seeed-Studio/Sketchbook_Starter_Kit_for_Arduino.git.
It convert the analog input readings from a sound sensor and compares with a threshold value to decide if a LED connected to a gpio pin should be turned on/off. Note that the ambient noise can impact the output of this sample, so it may be necessary to change the threshold to a value more appropriated to your room.
See the code.
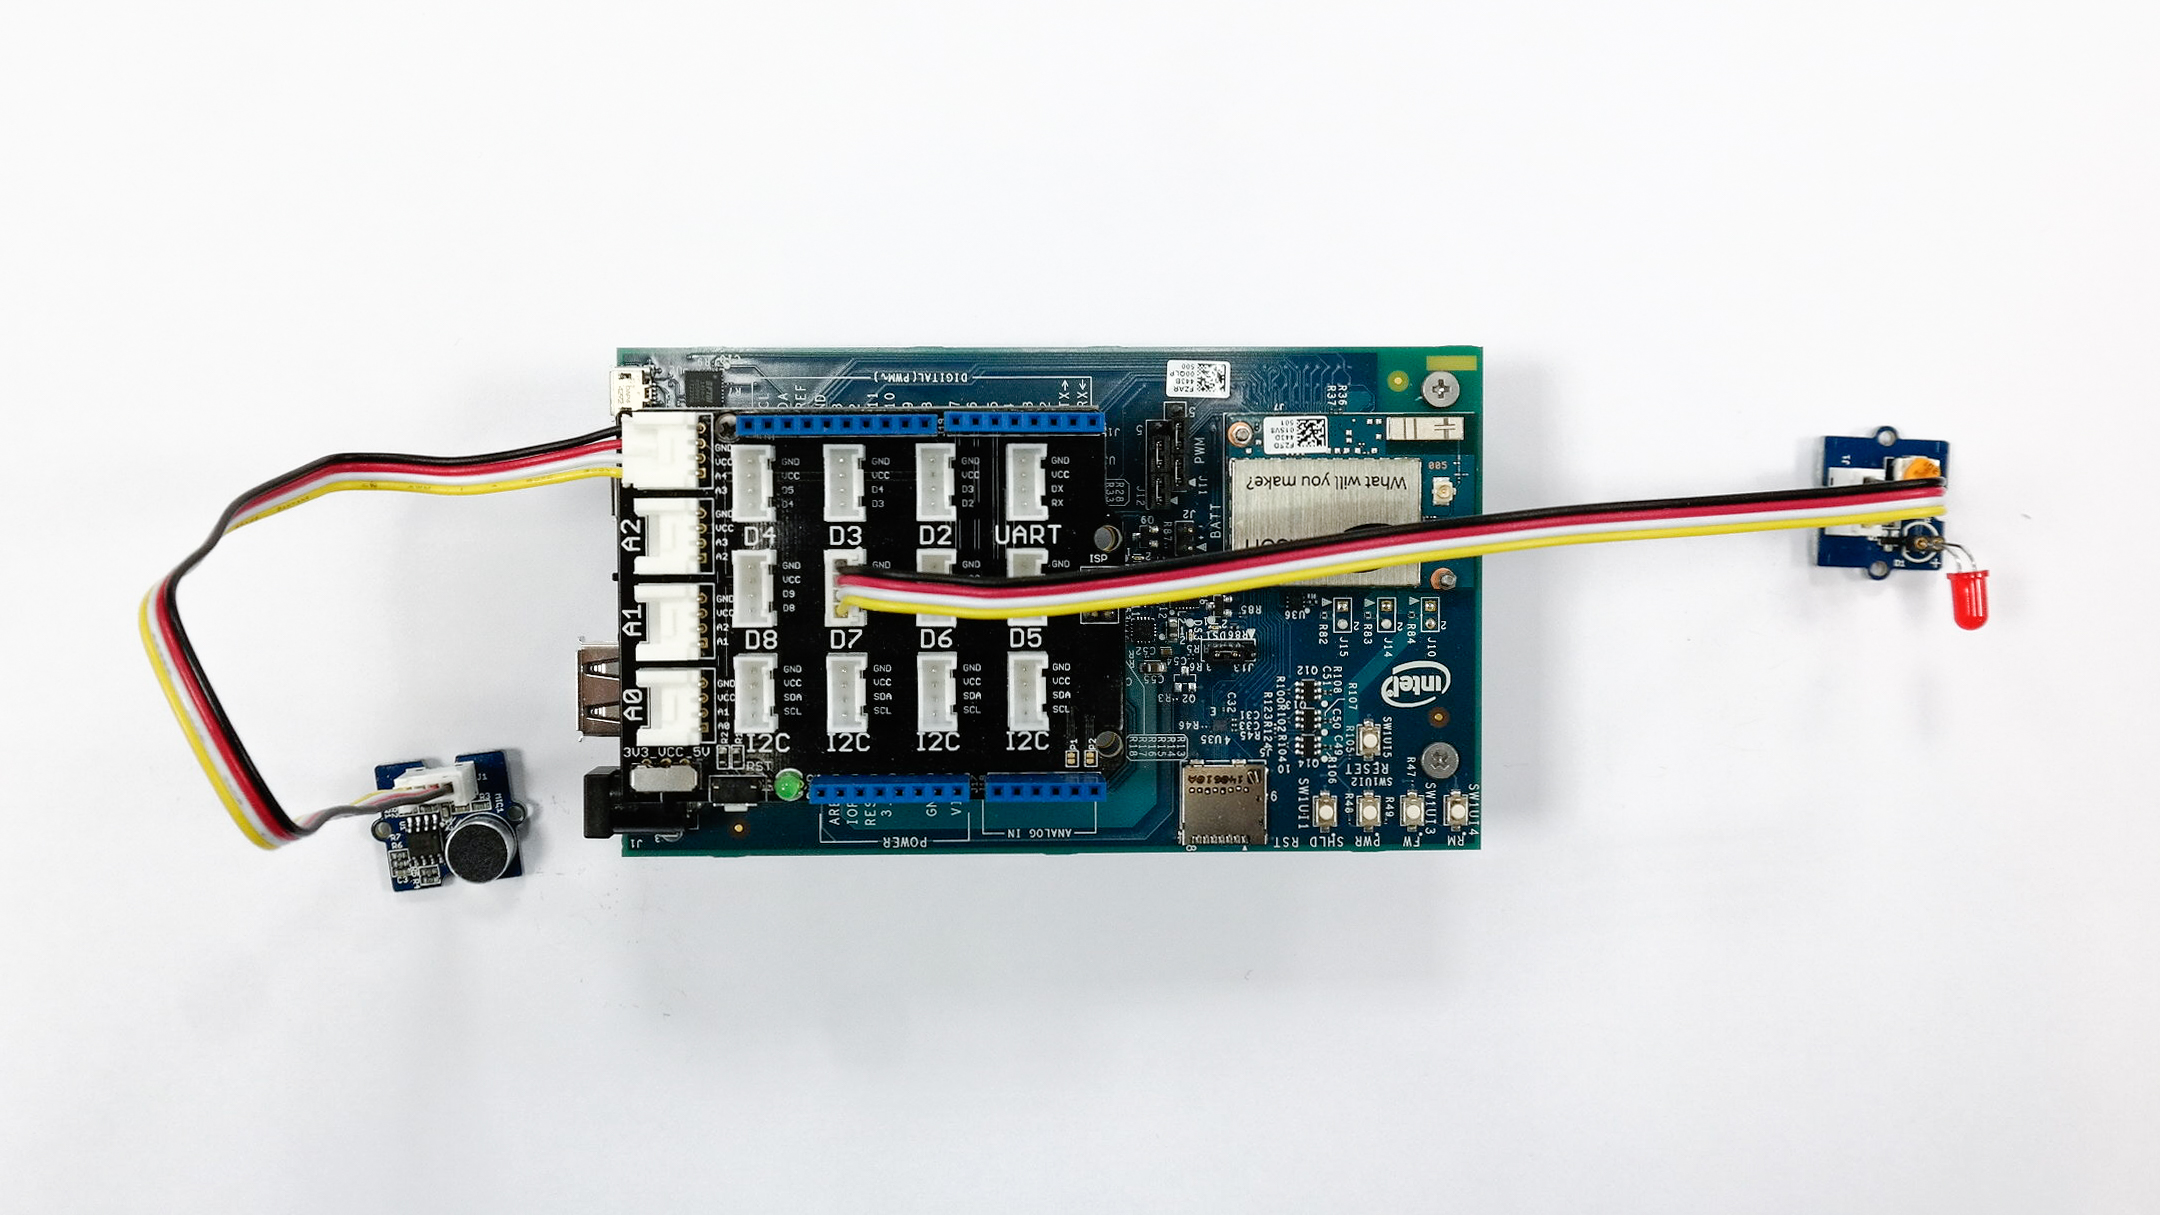
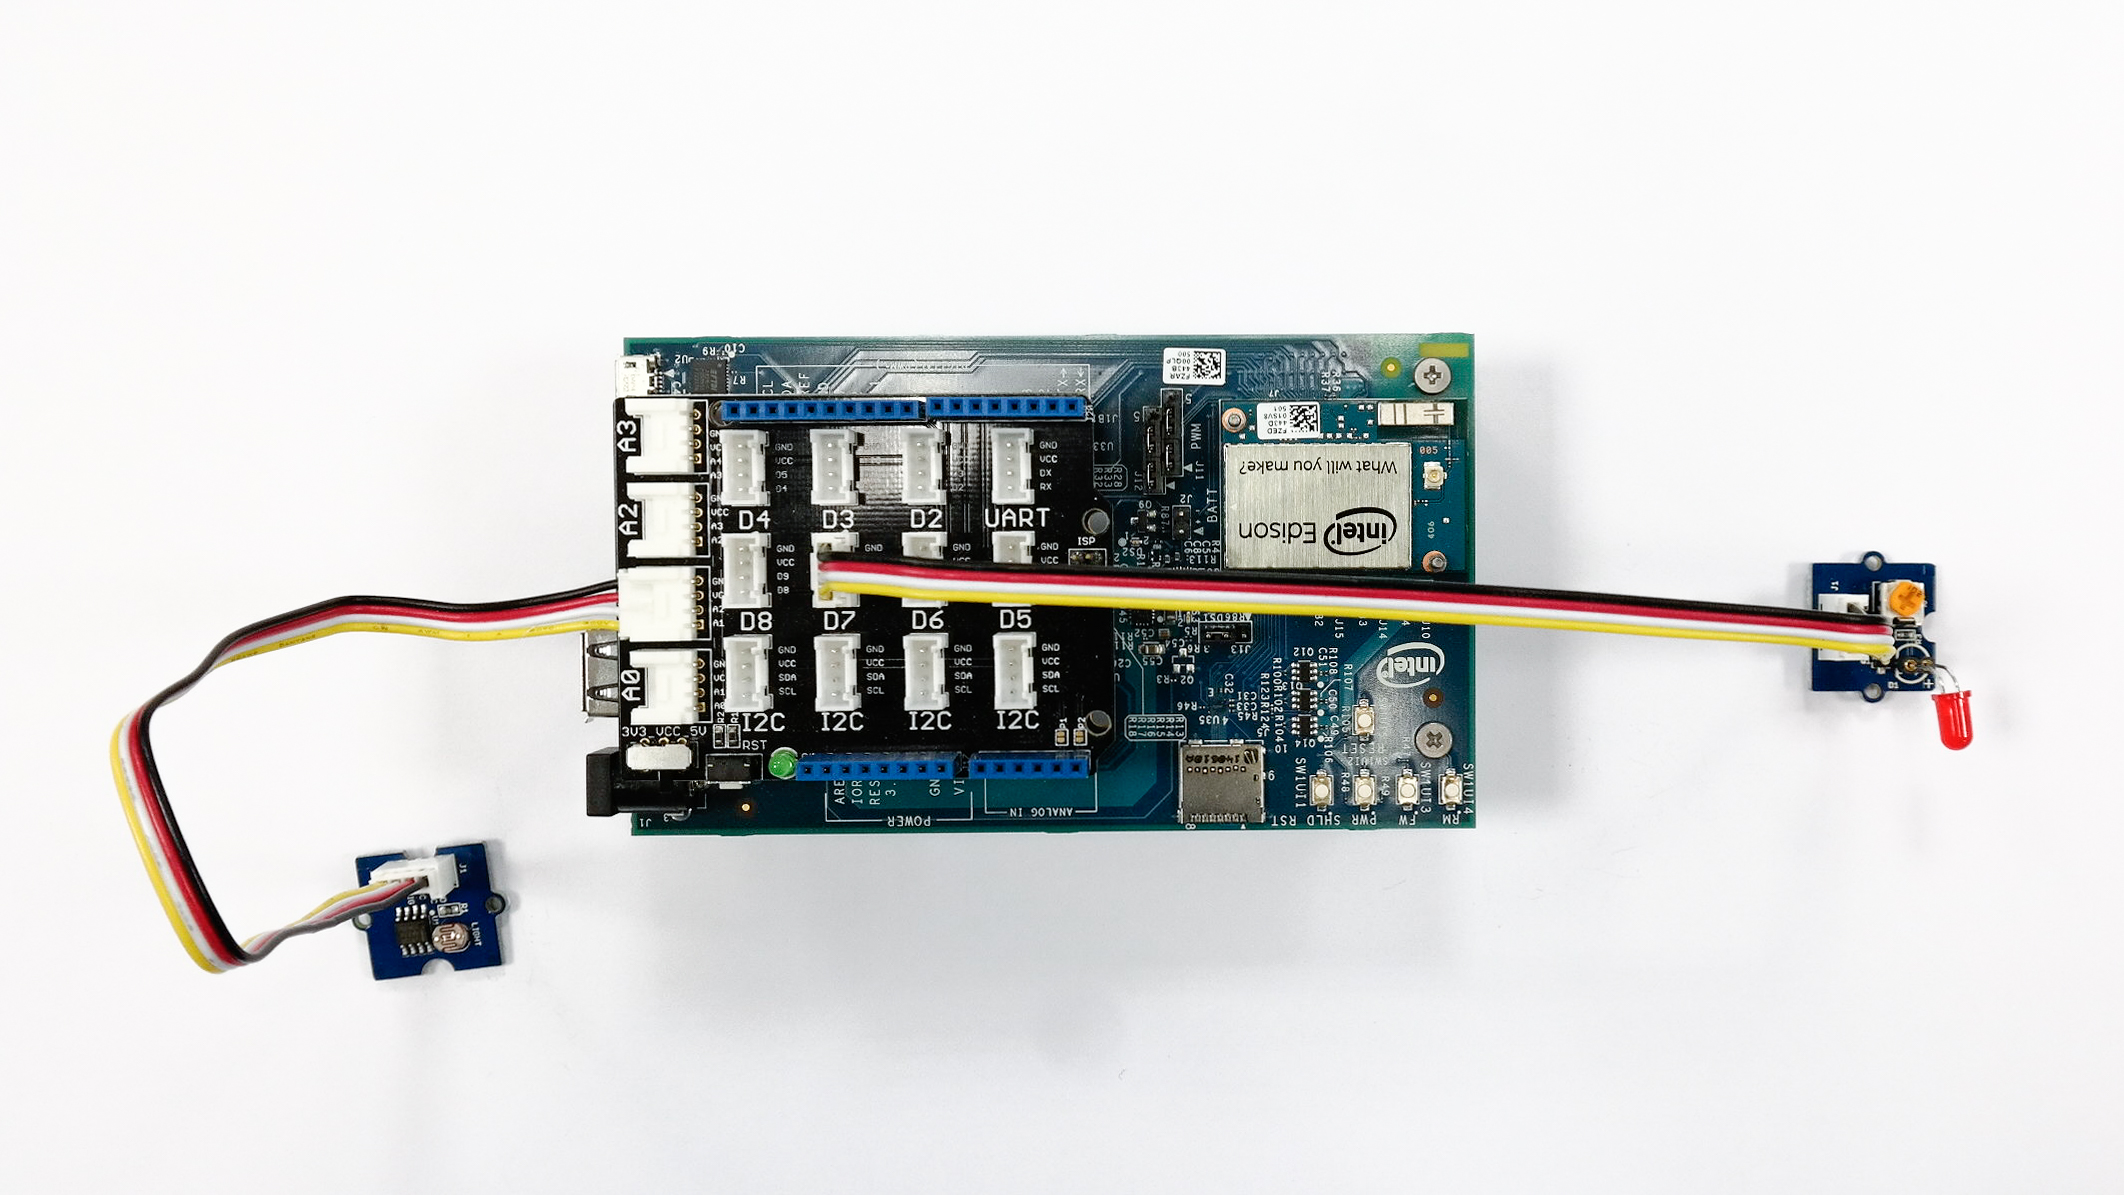
This is a translation of Grove_Light_Sensor/Grove_Light_Sensor.ino, from https://github.com/Seeed-Studio/Sketchbook_Starter_Kit_for_Arduino.git.
Similar to 'Grove Sound Sensor' sample, but uses a light sensor connect to a analog input pin and, instead of the raw output from the sensor, uses a custom node to convert the sensor signal into a luminance value.
See the code.
This is a translation of Grove_Rotary_Angle_Sensor/Grove_Rotary_Angle_Sensor.ino, from https://github.com/Seeed-Studio/Sketchbook_Starter_Kit_for_Arduino.git. But uses a special node (grove/rotary-sensor) to convert the raw input readings from the sensor in degrees. Then, the value is displayed in the LCD sensor connect via I2C through another special node that aims to simplify the LCD usage.
See the code.
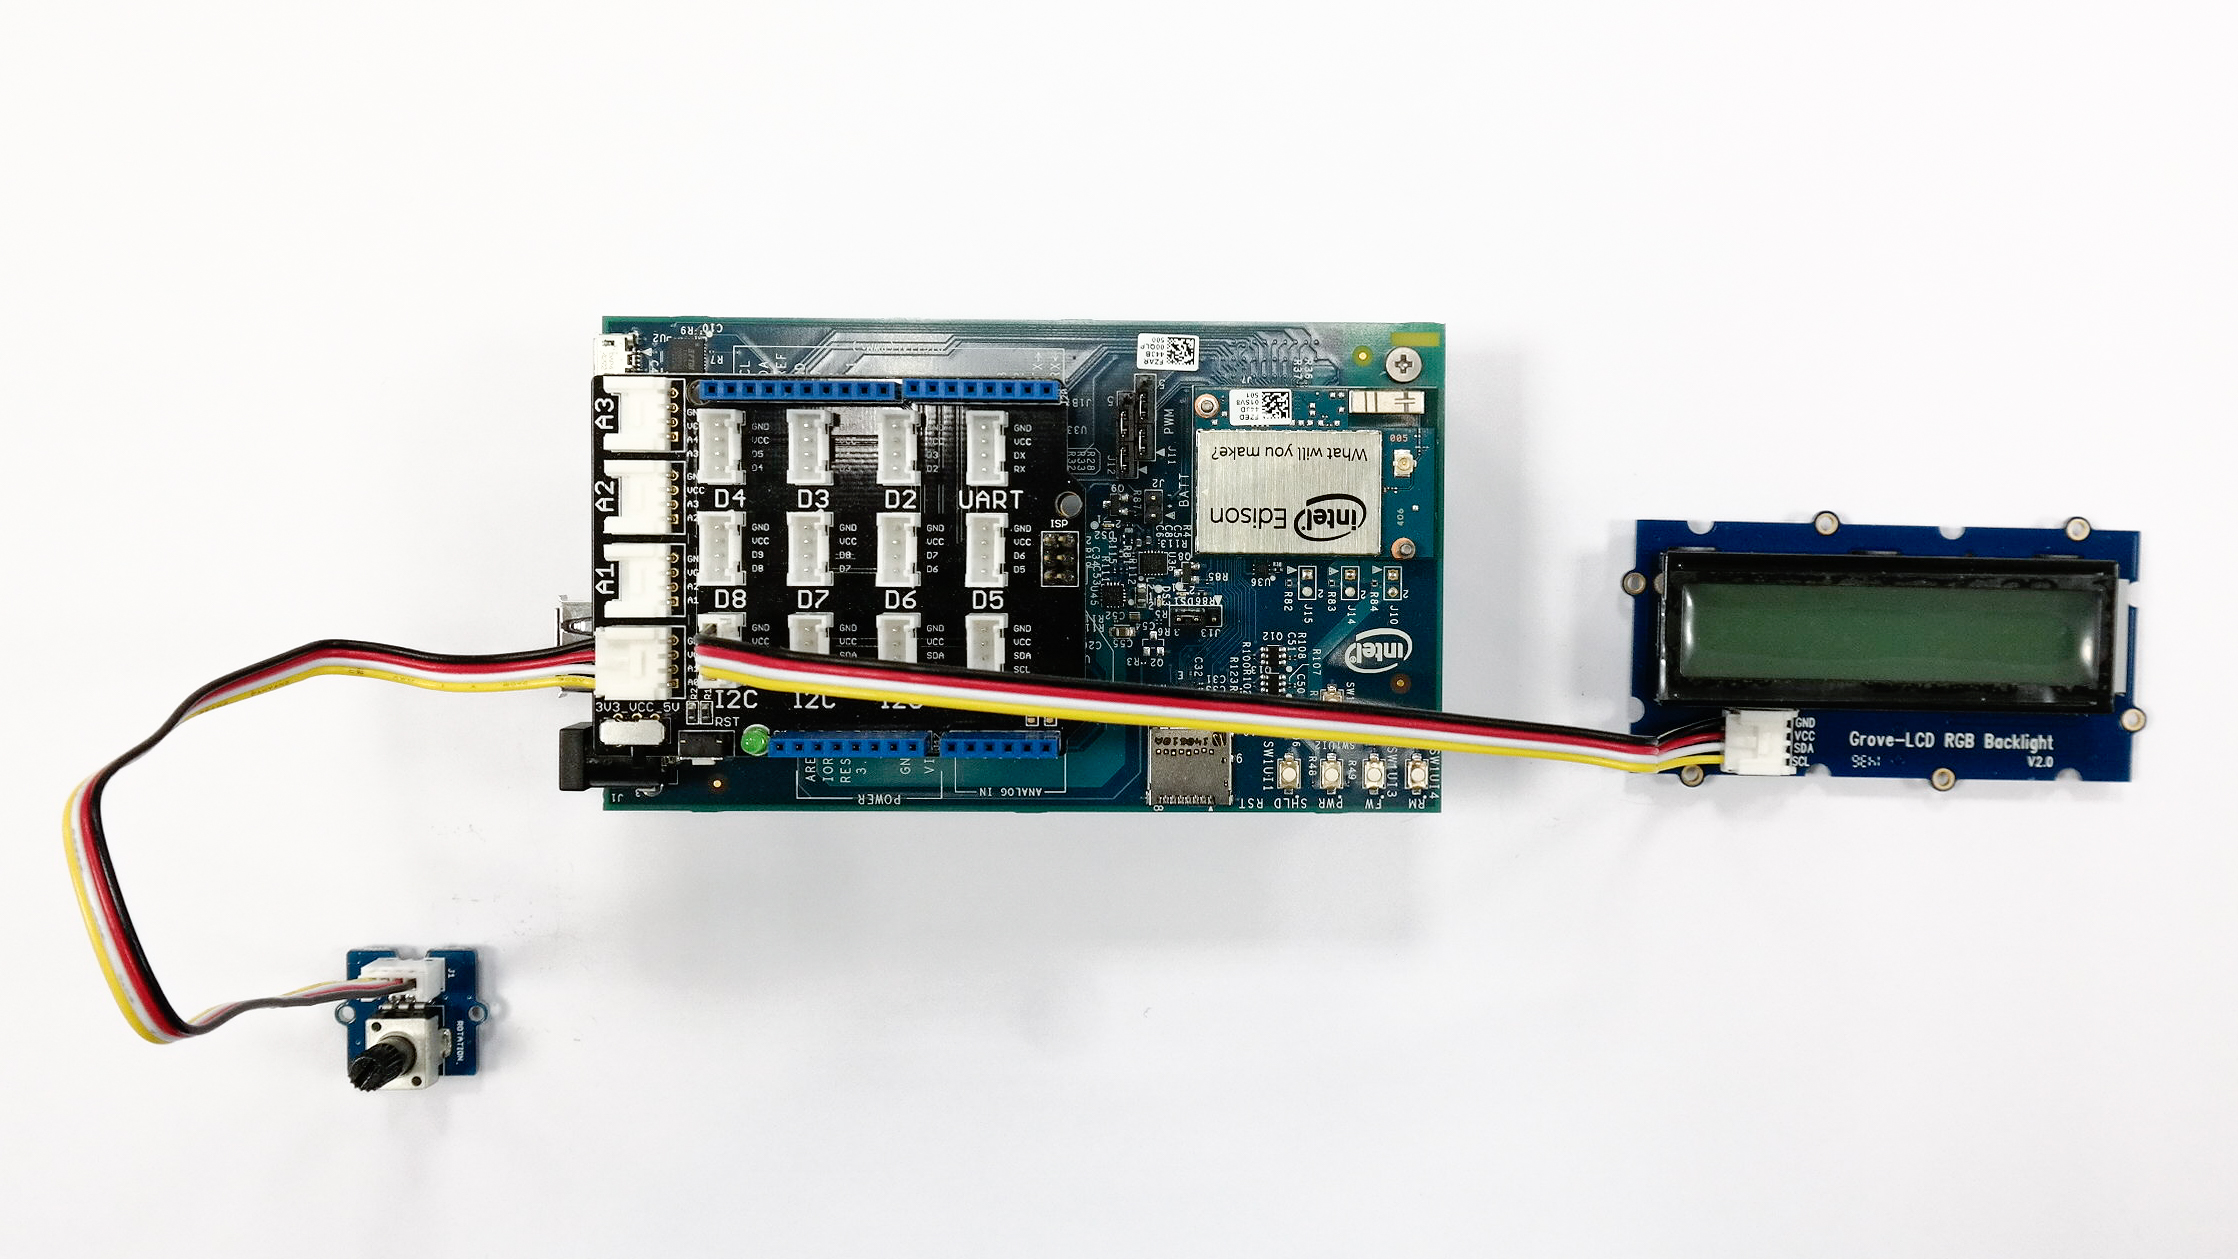
Similar to 'Grove Rotary Angle Sensor' sample, but uses a special node that converts the input from the temperature sensor in an appropriate unit (K, C or F) to display in the LCD.
See the code.
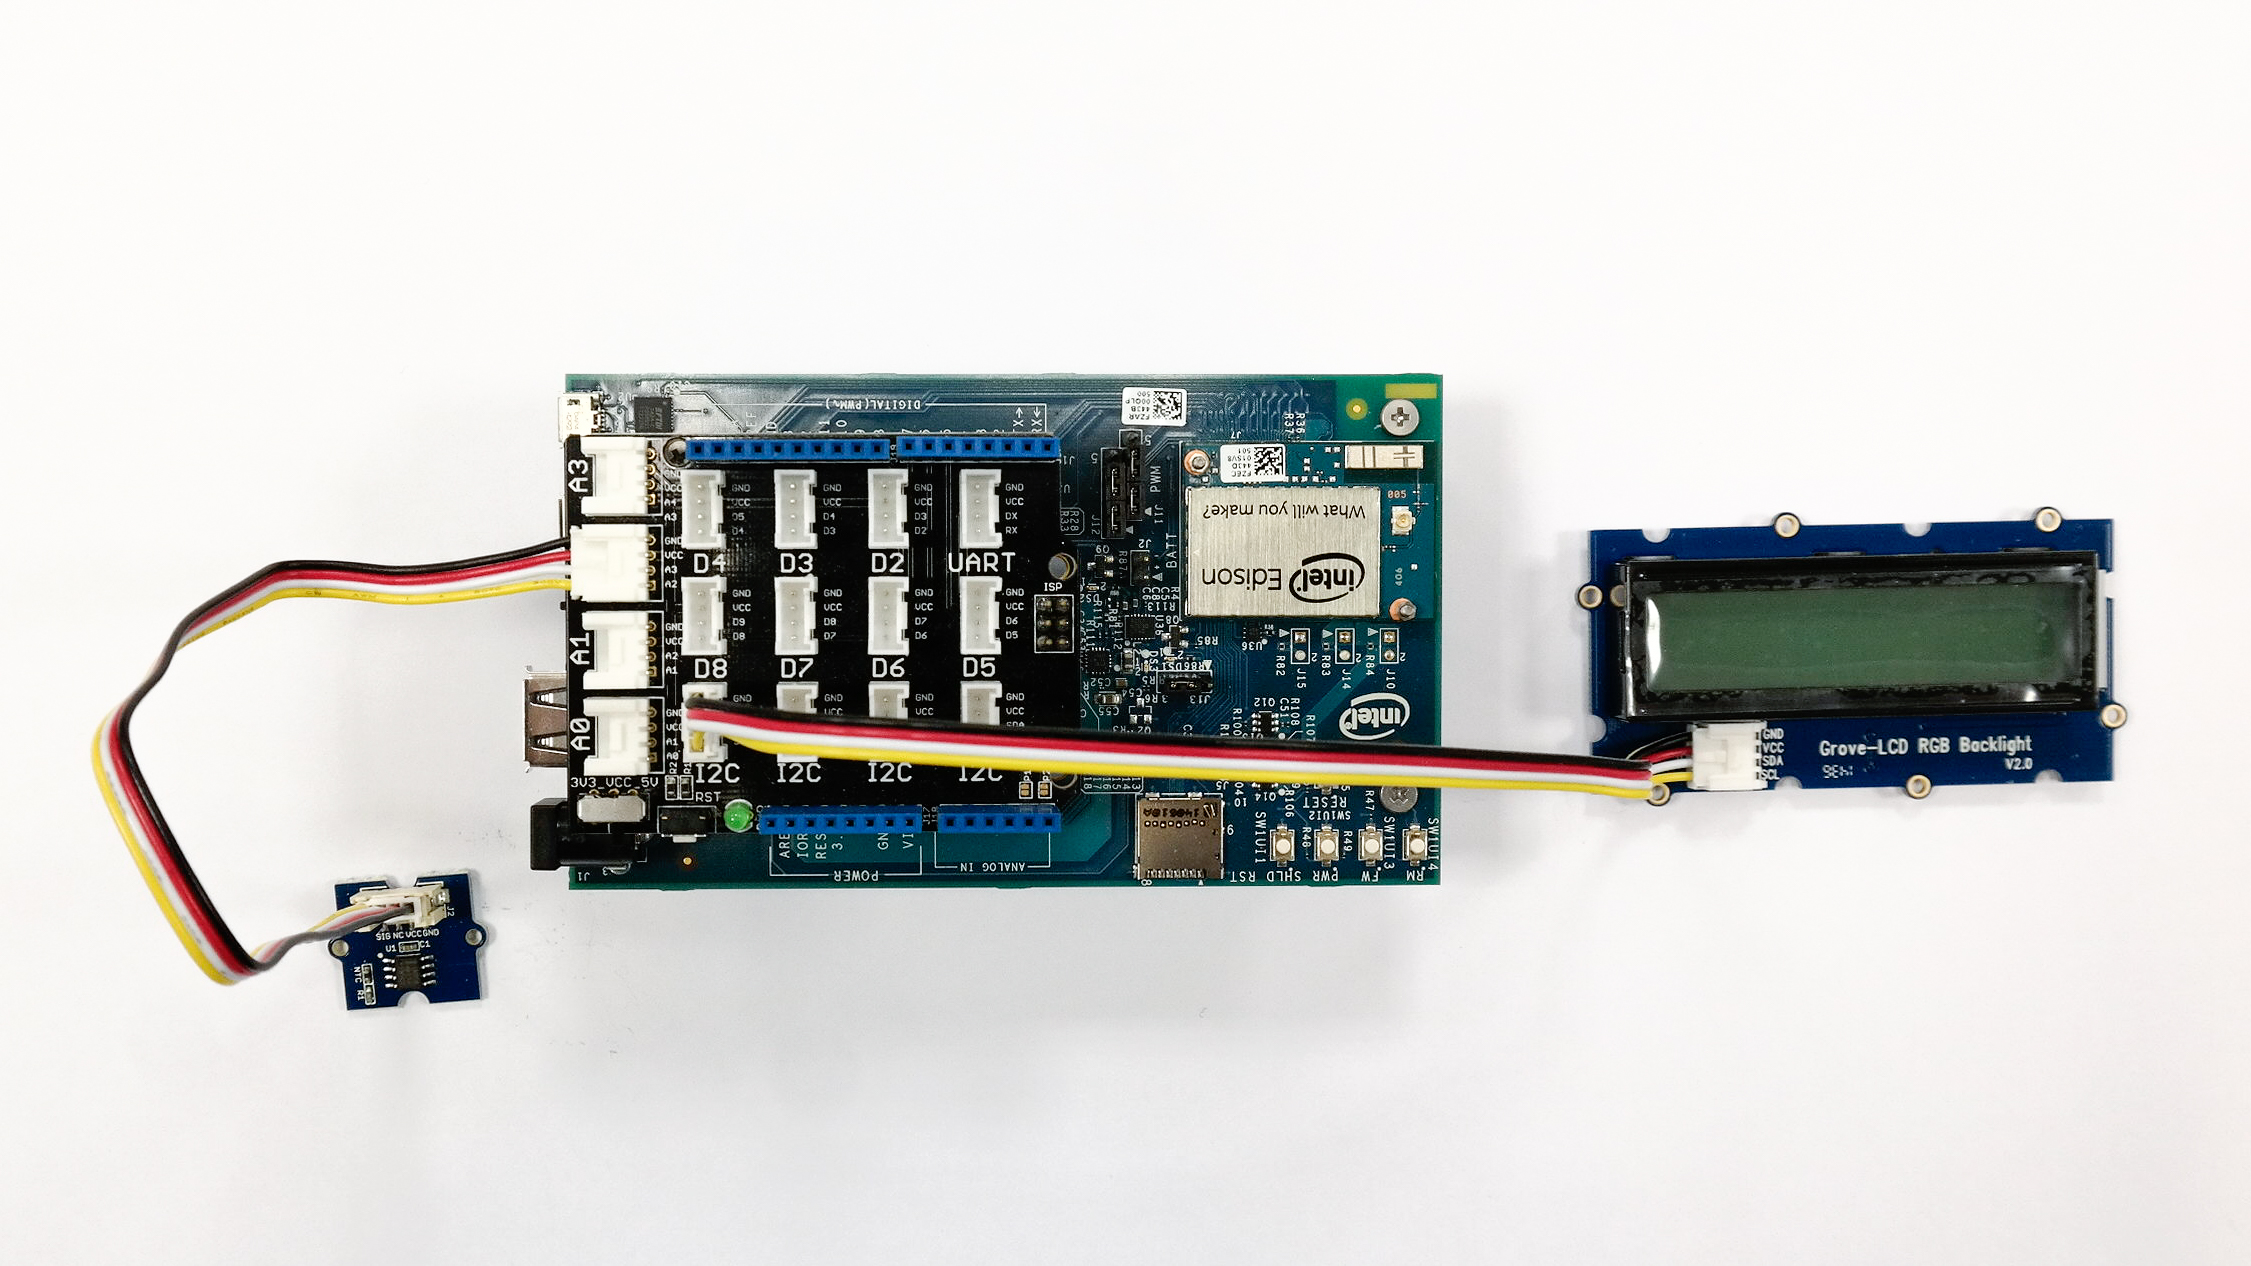
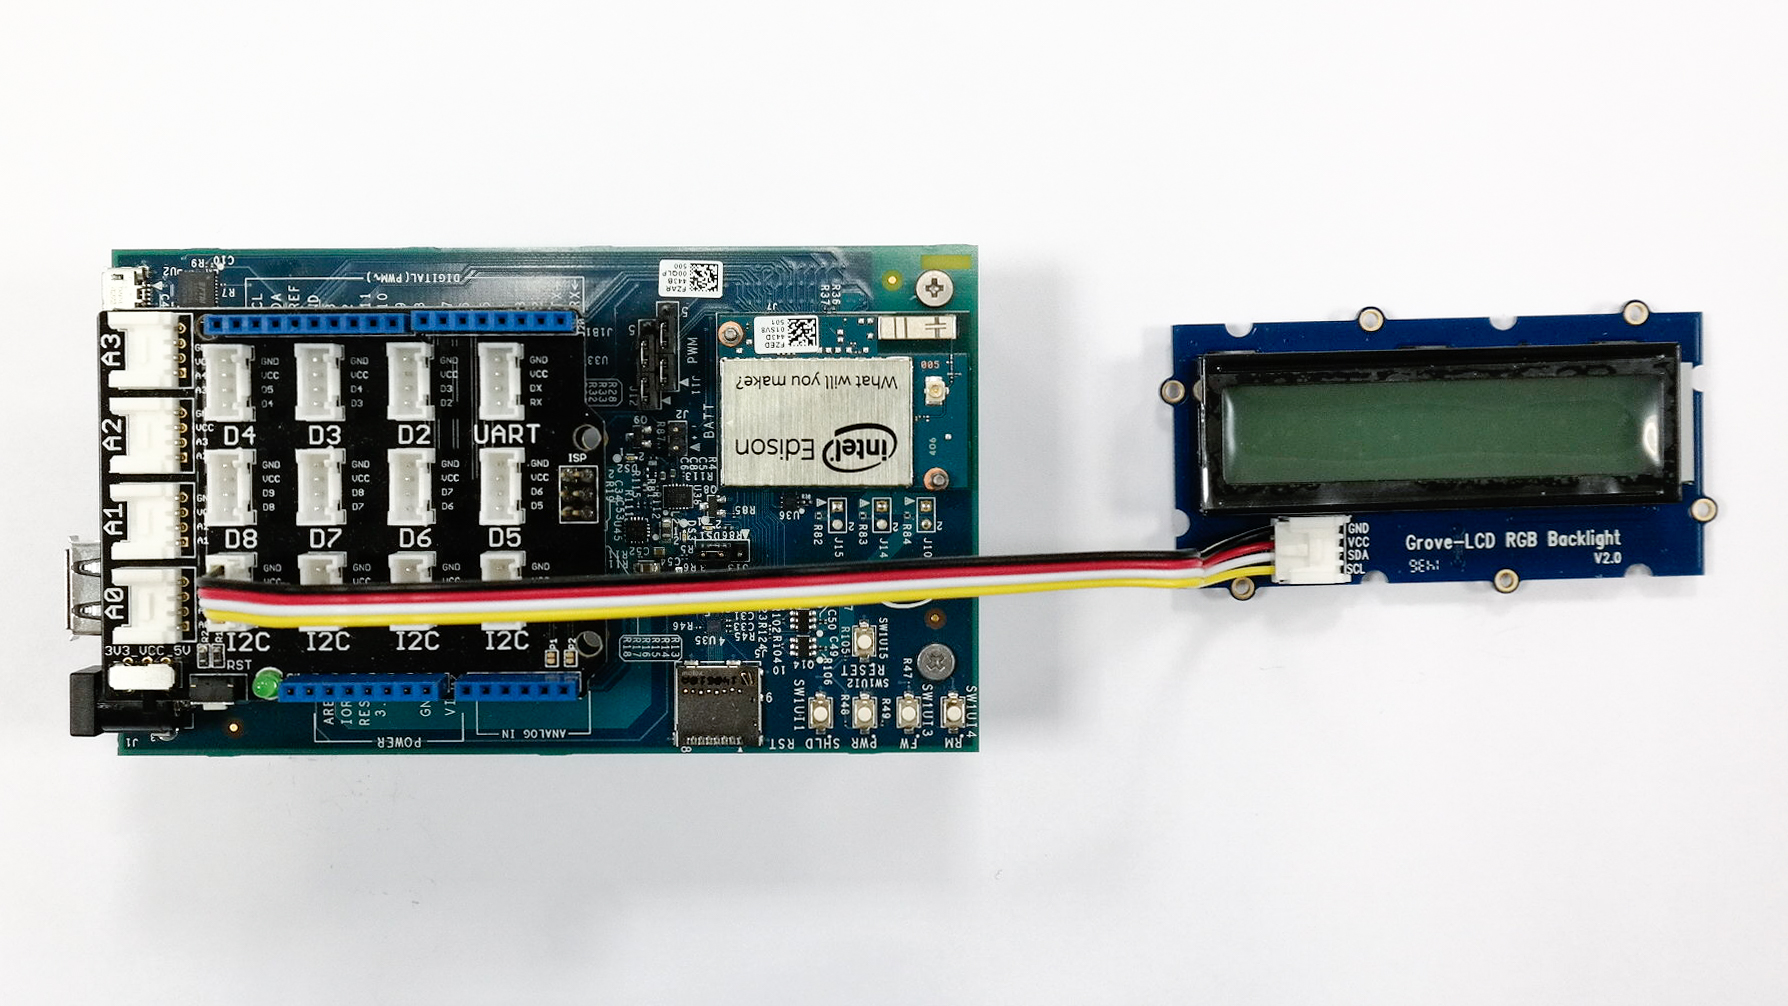
This set of samples exemplifies the usage of a variety of features of nodes wrote specifically to make LCD usage in flow a little easier. It also highlight how to do string format using flow based programming. All samples are meant to be used with the assembly illustrated bellow (a LCD connect via I2C).
See the code.
