Trying TRes out
Important: this page assumes you have already read T-Res overview.
The easiest way to try out T-Res is by using the pre-compiled example included in the repository. The same example can be recompiled from source if you prefer, but that will require mspgcc 4.7.2 with the latest bugfixes (i.e., #352 and #357). You can build mspgcc following these instructions.
To use the example, you will need Firefox with the latest version of Copper, an add-on that allows manipulating CoAP resources. Install it, if you haven't already.
Clone T-Res repository:
git clone https://github.com/tecip-nes/contiki-tres.git
Go into the example directory:
cd contiki-tres/examples/tres/bin
Launch the example in the Cooja simulator:
make TARGET=cooja tres-test-bin.csc
The following Cooja screen should appear.
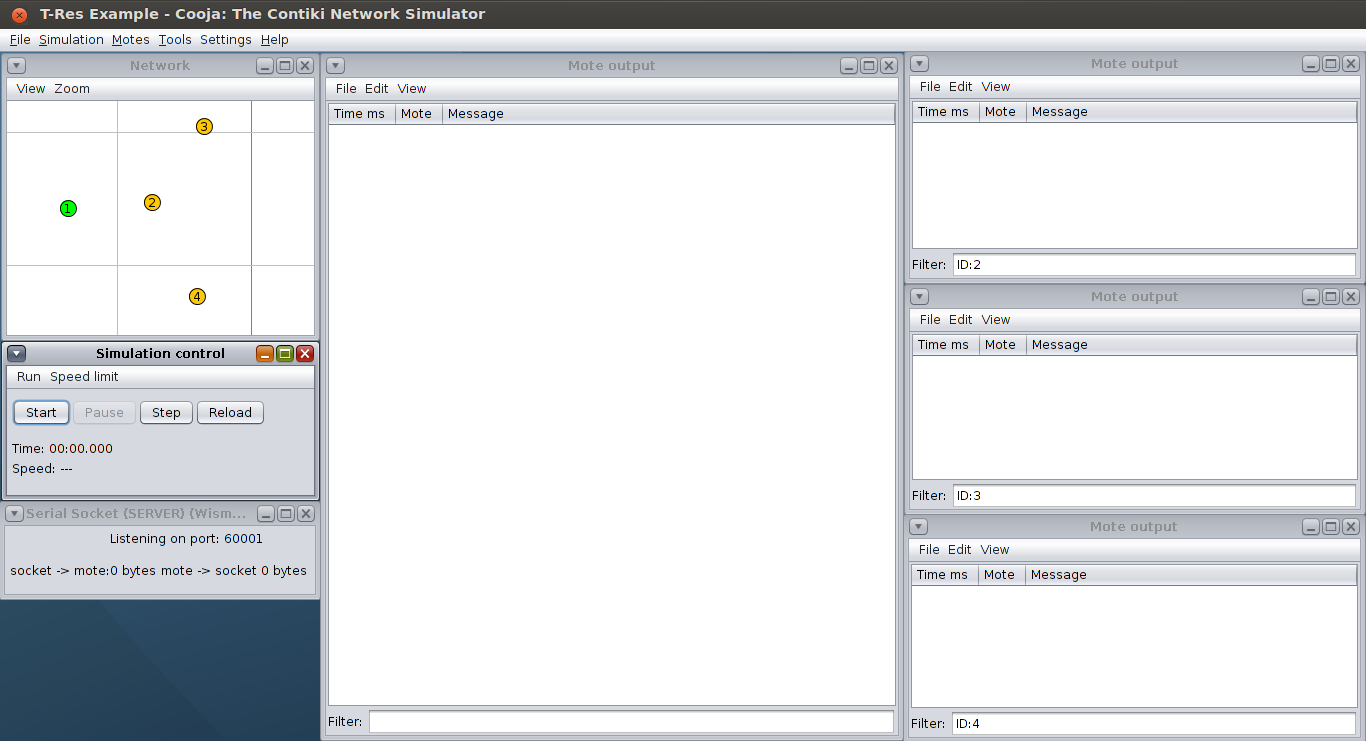
As you can see there are four simulated Wismotes: one is a border router (node #1), the other three are IoT nodes with T-Res. Every T-Res node also has a fake sensor resource (/sensor) and a fake actuator (/actuator). The sensor resource is observable and generates data periodically (every 6 seconds). The generated integer value is printed in the Mote output window using the format S: <value>. The actuator resource can receive PUT requests, and, when that happens, it prints the request payload using the format A: <value>.
You can start the simulation by clicking on the Start button in the Simulation control window. You should see the nodes generating sensor value.
Now you need to connect your computer with the simulated 6LoWPAN network. To do that, open another terminal, go again in the example directory, and run the following command:
make connect-router-cooja
Enter your password if required.
To check that everything is working try pinging the simulated border router:
ping6 aaaa::200:0:0:1
You are now ready to install some T-Res tasks in your simulated IoT-based WSN. Let's start with the Halve task!