-
Notifications
You must be signed in to change notification settings - Fork 279
Admin Features
To Create new asset group follow below steps.
Go to admin tab and click on Asset Group widget then click on Create Asset Group on your right.
Fill in the Group Details and click on Next

Select the Domains from the Domain Details and click on Next
Select the Targets from the Target Details and click on Next
Click on CONFIG from the selected Target type from the Attribute Details
Configure the attributes for target type and click close(X) button
Click on Submit to create the asset group
To update an asset group follow the below steps
Go to admin tab and click on Asset Group widget then Search for the asset group to delete on your right. Click the drop down on the actions column to update and click EDIT

Update the Group Details if needed and click on Next

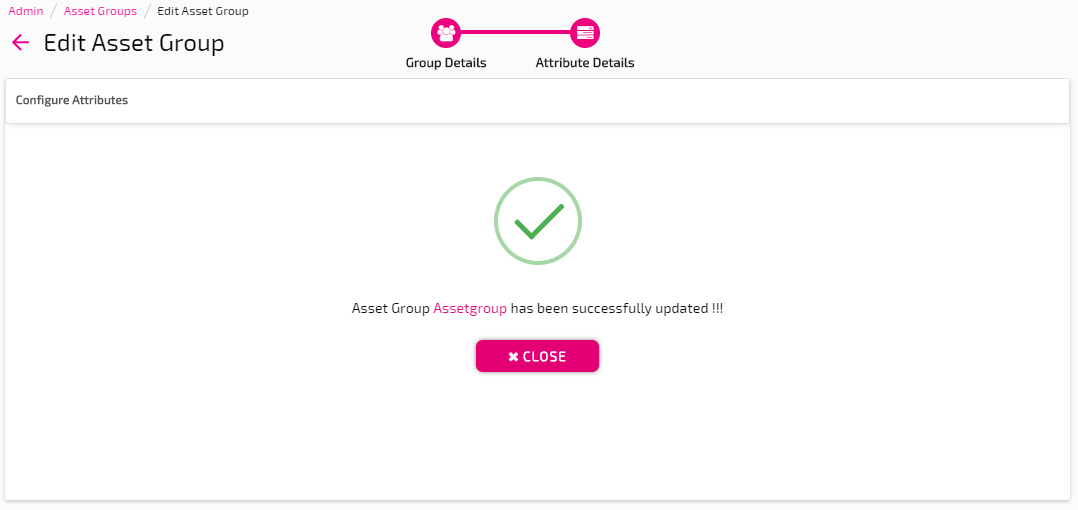
Update the attribute details by adding/removing target types and by adding/removing attributes if needed. Click on Update to update the asset group


To delete an asset group follow the below steps
Go to admin tab and click on Asset Group widget then Search for the asset group to delete on your right. Click the drop down on the actions column to delete and click Delete

Click DELETE on the confirmation page


Target type refers to an actual entity for which PacBot collects data. Policies are evaluations are done on top of the data collected for a Target Type. In AWS each resource type is defined as a target type. You can create an logical entity, for example an API could be a target type and you could create rules measure some API policy compliance.
To create a new target type follow below steps.
Go to admin tab and click on Target Type widget then click on CREATE TARGET TYPE on your right.

Fill in the Target Type details and click on Create


To create new policy follow below steps.
Go to admin tab and click on policies widget then click on create policy on your right.

Enter below required details then click create it will generate unique policy Id.


Go to admin tab and click on Rules widget then click on CREATE RULES on your right.

Select the policy you created during the policy creation
After configuring the required data,select the Rule Type as federated rule and upload the jar which you have created under the target folder by maven install of your custom rule
While entering the rule params, give the ruleKey as in your class key as shown below, severity as one of the critical,high,medium,low and ruleCategory as one of the governance,security,costOptimization etc Also enter your rule based params if exists.
NOTE : a) Dont forget to configure the key params such as ruleKey,severity,ruleCategory since they are required params.
b)Dont make the typo mistake during the configuration of these 3 params
Enter below required fields then click on CREATE button then it will create unique RuleId.


Go to admin tab and click on Rules widget then search RuleId which you would like to invoke
click on Actions and select invoke


Execute the below query and ensure the entry SELECT * FROM cf_RuleInstance A, cf_Policy B WHERE A.policyId = B.policyId AND A.status = 'ENABLED' AND B.policyId = 'PacMan_TaggingRule_version-1' AND A.ruleId = 'PacMan_TaggingRule_version-1_Ec2TaggingRule_ec2'
NOTE : ruleId and policyId which mentioned in the above query is an example
Go to Elasticsearch and query for frestats to ensure the trigger has happened to the currently configured rule as shown
Go to compliance tab in the PacBot-->search the rule which you have configured-->and find the entry
PacBot uses JSON data for managing the configuration of various system components, such as API modules, batch processing, and policies & rules. This data is maintained in a database, using a simple hierarchical structure.

The Configuration Management UI is visible to PacBot administrators: Navigate to Admin → Configuration Management. The UI provides a simple mechanism for maintaining the configuration parameters, so that administrators don't have to modify JSON data in SQL tables directly. The management UI reflects the logical hierarchy of the corresponding configuration data as follows:
- Batch (Processing)
- Data Shipper
- Inventory
- Rule
- Rule Engine
- API
- Statistics Service
- Compliance Service
- Notification Service
- Authentication Service
- Asset Service
- Administration Service
Each logic group of related parameters is edited together. For example, if you select Application → Api → Asset Service and then click Edit, the Asset Service configuration parameters appear in editable text boxes, such as the Spring Datasource URL, Spring Datasource Name, etc.
The grey bar in the right-most column shows which logical group is selected, and the 'Edit' button in this grey bar activates the Editor interface. In the Editor, fields can be changed or removed entirely. When editing is complete, the administrator can Preview the changes made, if any, and then apply the changes or discard them.