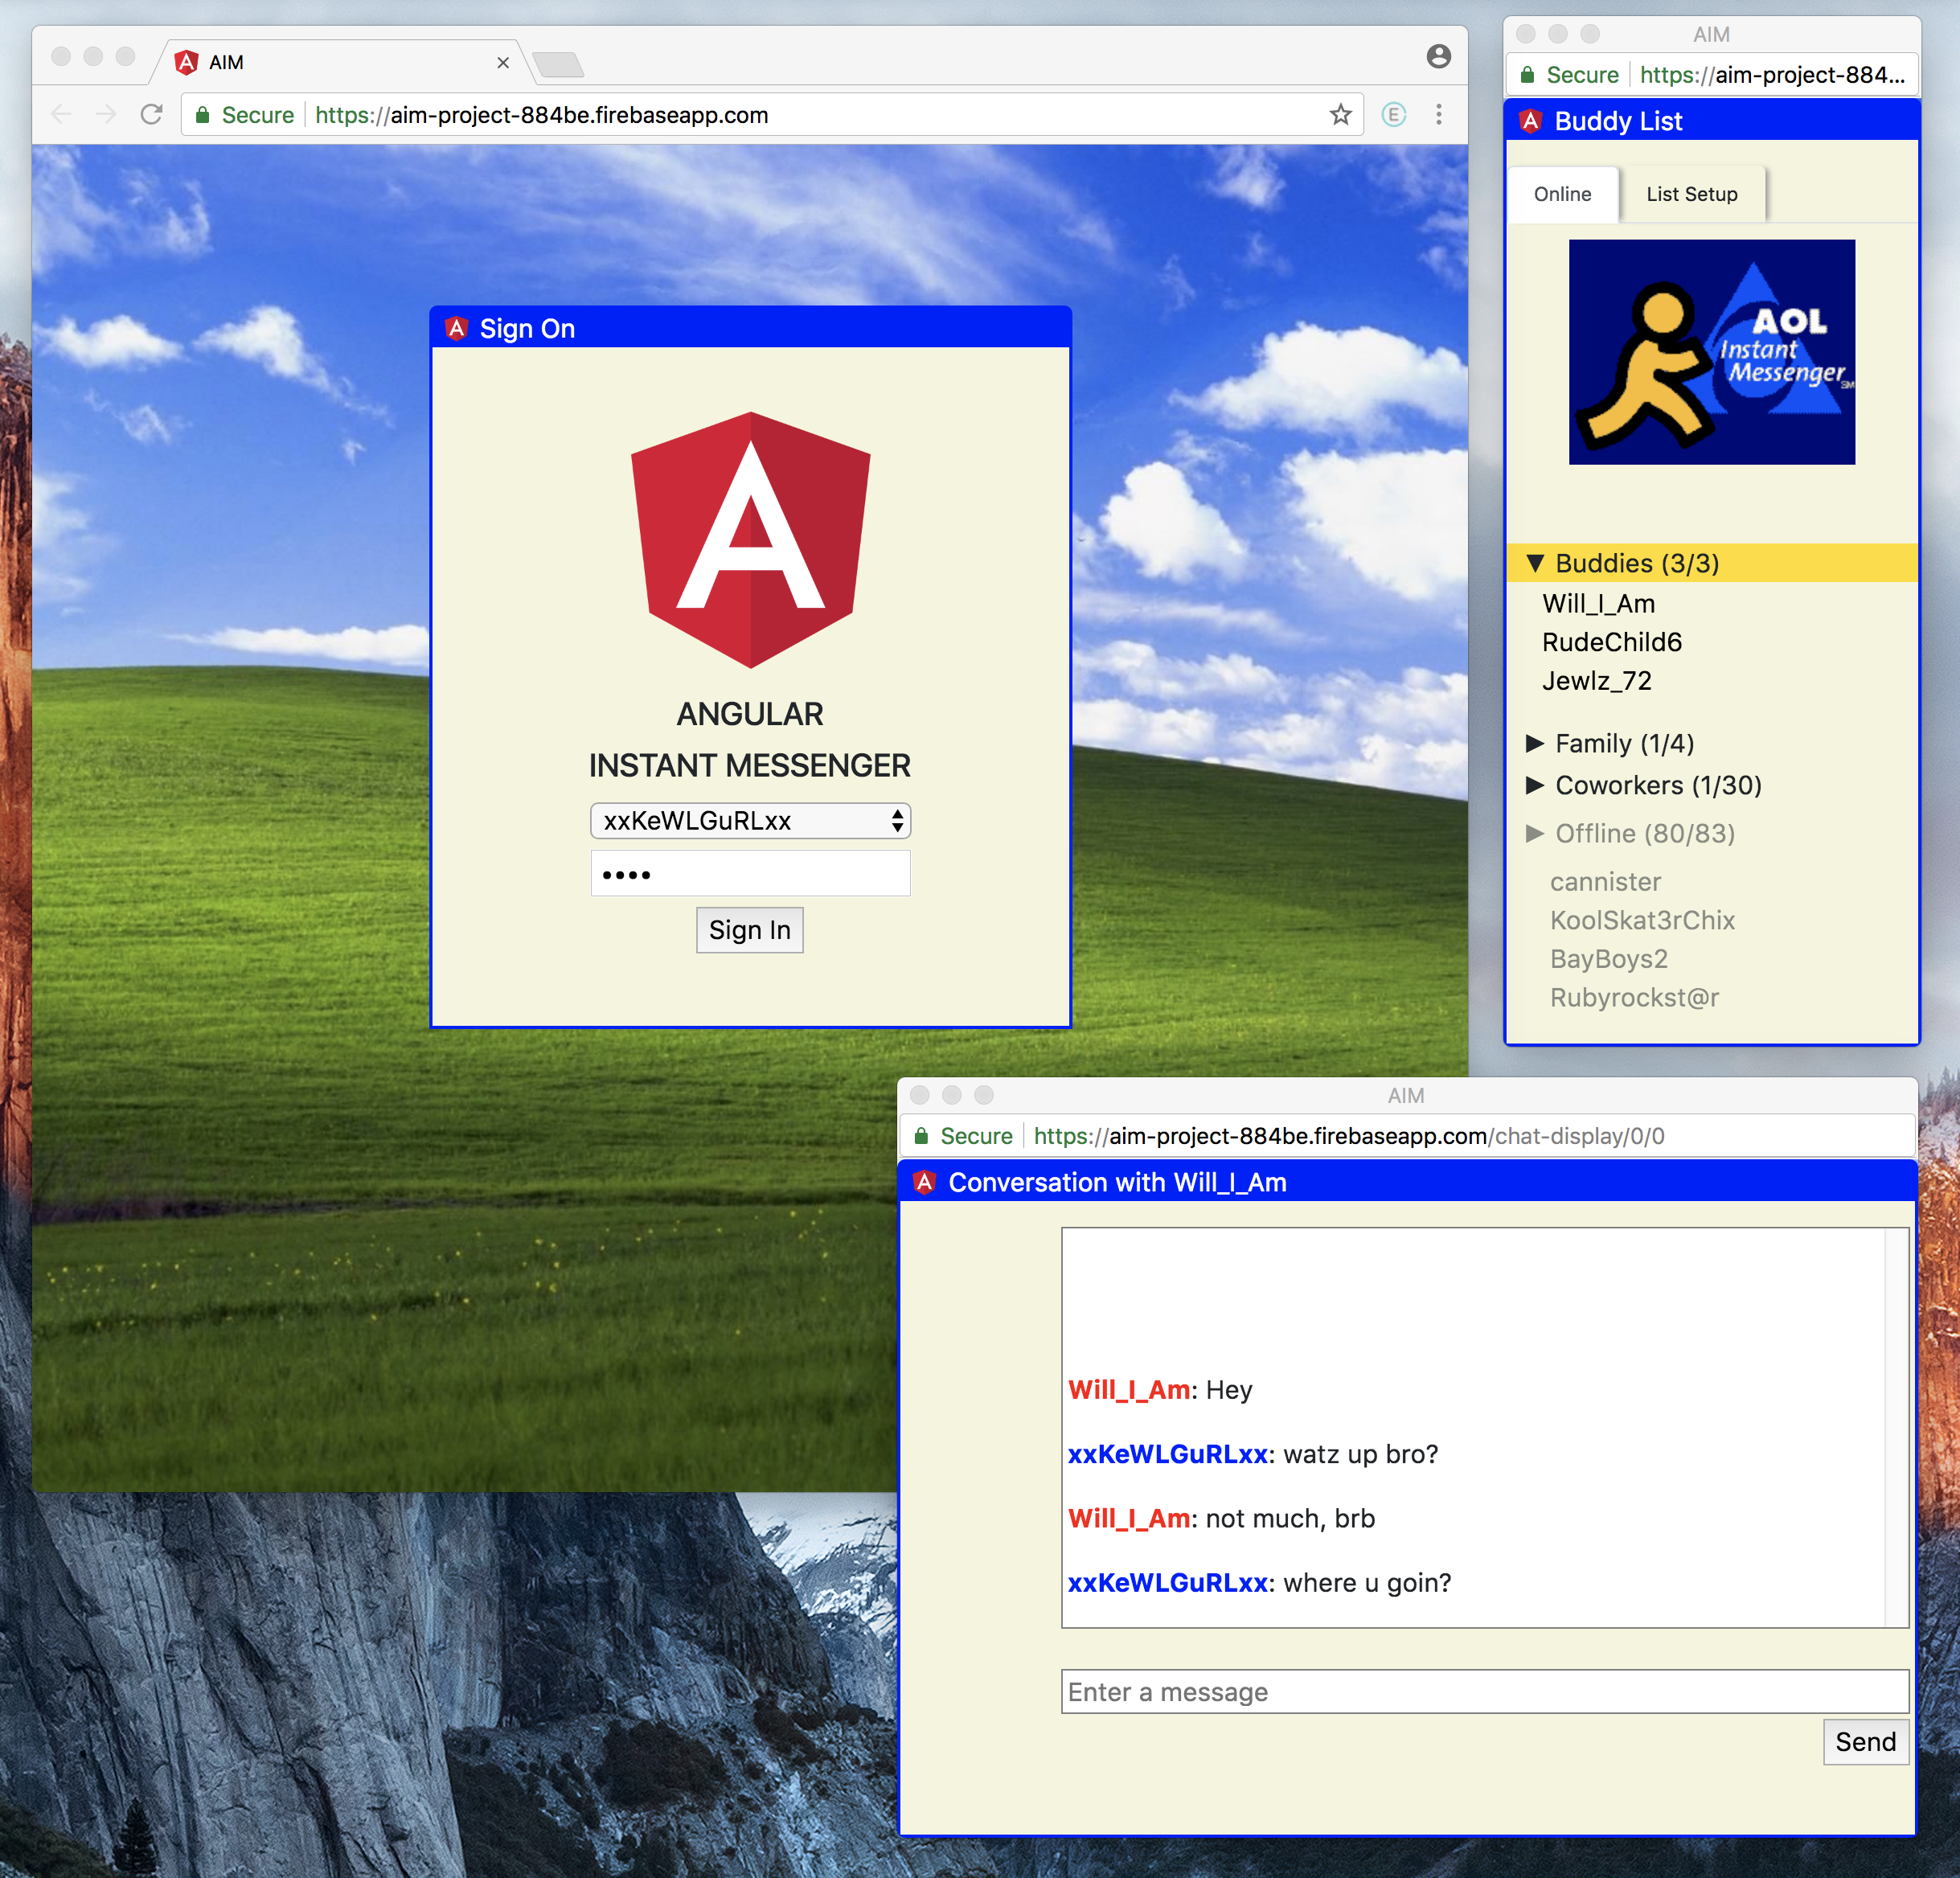
Angular Instant Messenger (AIM) - A 21st century chat application with a 90s feel.
Click link below to see example hosted on Firebase:
https://aim-project-9657f.firebaseapp.com/
| MVP Features | Input | Output | Status |
|---|---|---|---|
| User "signs in" | Choose user, click submit | Dynamic page route | Done |
| User can chat with a buddy and see message history | Enter message, click send | Chat dialogue updates | Done |
| User can see buddies | Login | Buddy list | Done |
| Reasonable Goals | Input | Output | Status |
|---|---|---|---|
| User can chat with multiple buddies | Select additional buddy on buddylist | Multiple chat windows | Done |
| User can see their username and buddy username in respective colors next to each message | Chat message sent | Username is in appropriate color | Done |
| User can authenticate to system | Username and password | Login success | UI Done |
| Reach Goals | Input | Output | Status |
|---|---|---|---|
| User can hear application sounds | Send message, receive message, buddy signs out | Sound effect | Done |
| User can set away message | Away message set | Buddy sees away message | Future |
| User can add avatar and set app theme | Link photo, select theme | UI changes | Future |
| User can create a new account | Sign in with new name | new account with corresponding database entry | Future |
| User can add users to buddylist | New buddy name | new user added to buddylist | Future |
- Install Node.js https://nodejs.org/en/
- Install Node Angular Cli package, open terminal and run
npm install -g @angular/clihttps://cli.angular.io/ - Install Node TypeScript package, open terminal and run
npm install typescript -g - (Optional for Atom users) Install Atom TypeScript package, open terminal and run
apm install atom-typescript - Open terminal, navigate to project root folder and run
npm install
- Navigate to https://firebase.google.com/
- In console view click + Add project
- Enter project name and country then click Create Project
- Go to Firebase project page and click Add Firebase to your web app
- Copy the following section of data from the window that opens:
apiKey: "",
authDomain: "",
databaseURL: "",
projectId: "",
storageBucket: "",
messagingSenderId: "" - Open cloned project folder and create file src/app/api-keys.ts
- Go to api-keys.ts file and enter the following with the information from your Firebase project
export const masterFirebaseConfig = {
apiKey: "...",
authDomain: "...",
databaseURL: "...",
projectId: "...",
storageBucket: "...",
messagingSenderId: "..."
}; - Go back to project page in Firebase and click Database under Develop on the left sidebar
- Go to Realtime Database and click Get Started, toggle Start in test mode and click Enable
- Click the vertical ellipsis icon to the right of the + - icons and select Import JSON
- Browse to the project folder user-data.json file and click Import
- To view project in development mode, navigate to project root folder and run
ng serve --open
This project was generated with Angular CLI version 1.6.5.
- CSS (Bootstrap 4.1)
- jQuery
- Node.js
- Angular CLI
- Firebase
- GPL
William Chu, Matt Miller, Brea Borlas, Julia Sheremet © 2018
