React 组件库搭建指南(一):项目初始化 #3
Description
前言
组件库一直是前端开发不可或缺的一环,主要是为了开发提效,避免开发同学复制粘贴和重复造轮子。
xmly 内部其实一直没有一套基于 React 的组件库,主要是不同业务线的设计规范大相径庭,过于定制化了。
而对于某一条特定的业务线来讲,设计语言是能够也必须要达到统一的。
于是在部门内搭了一个简单的组件库,组件不多,但在搭建过程中掌握了很多知识,再看 antd 等热门组件库,对其中的一些设计也有了更深的感悟,故记录下来,希望能帮助到其他的同学。
🚆 本地预览
git clone git@github.com:worldzhao/react-ui-library-tutorial.git
cd react-ui-library-tutorial
yarn
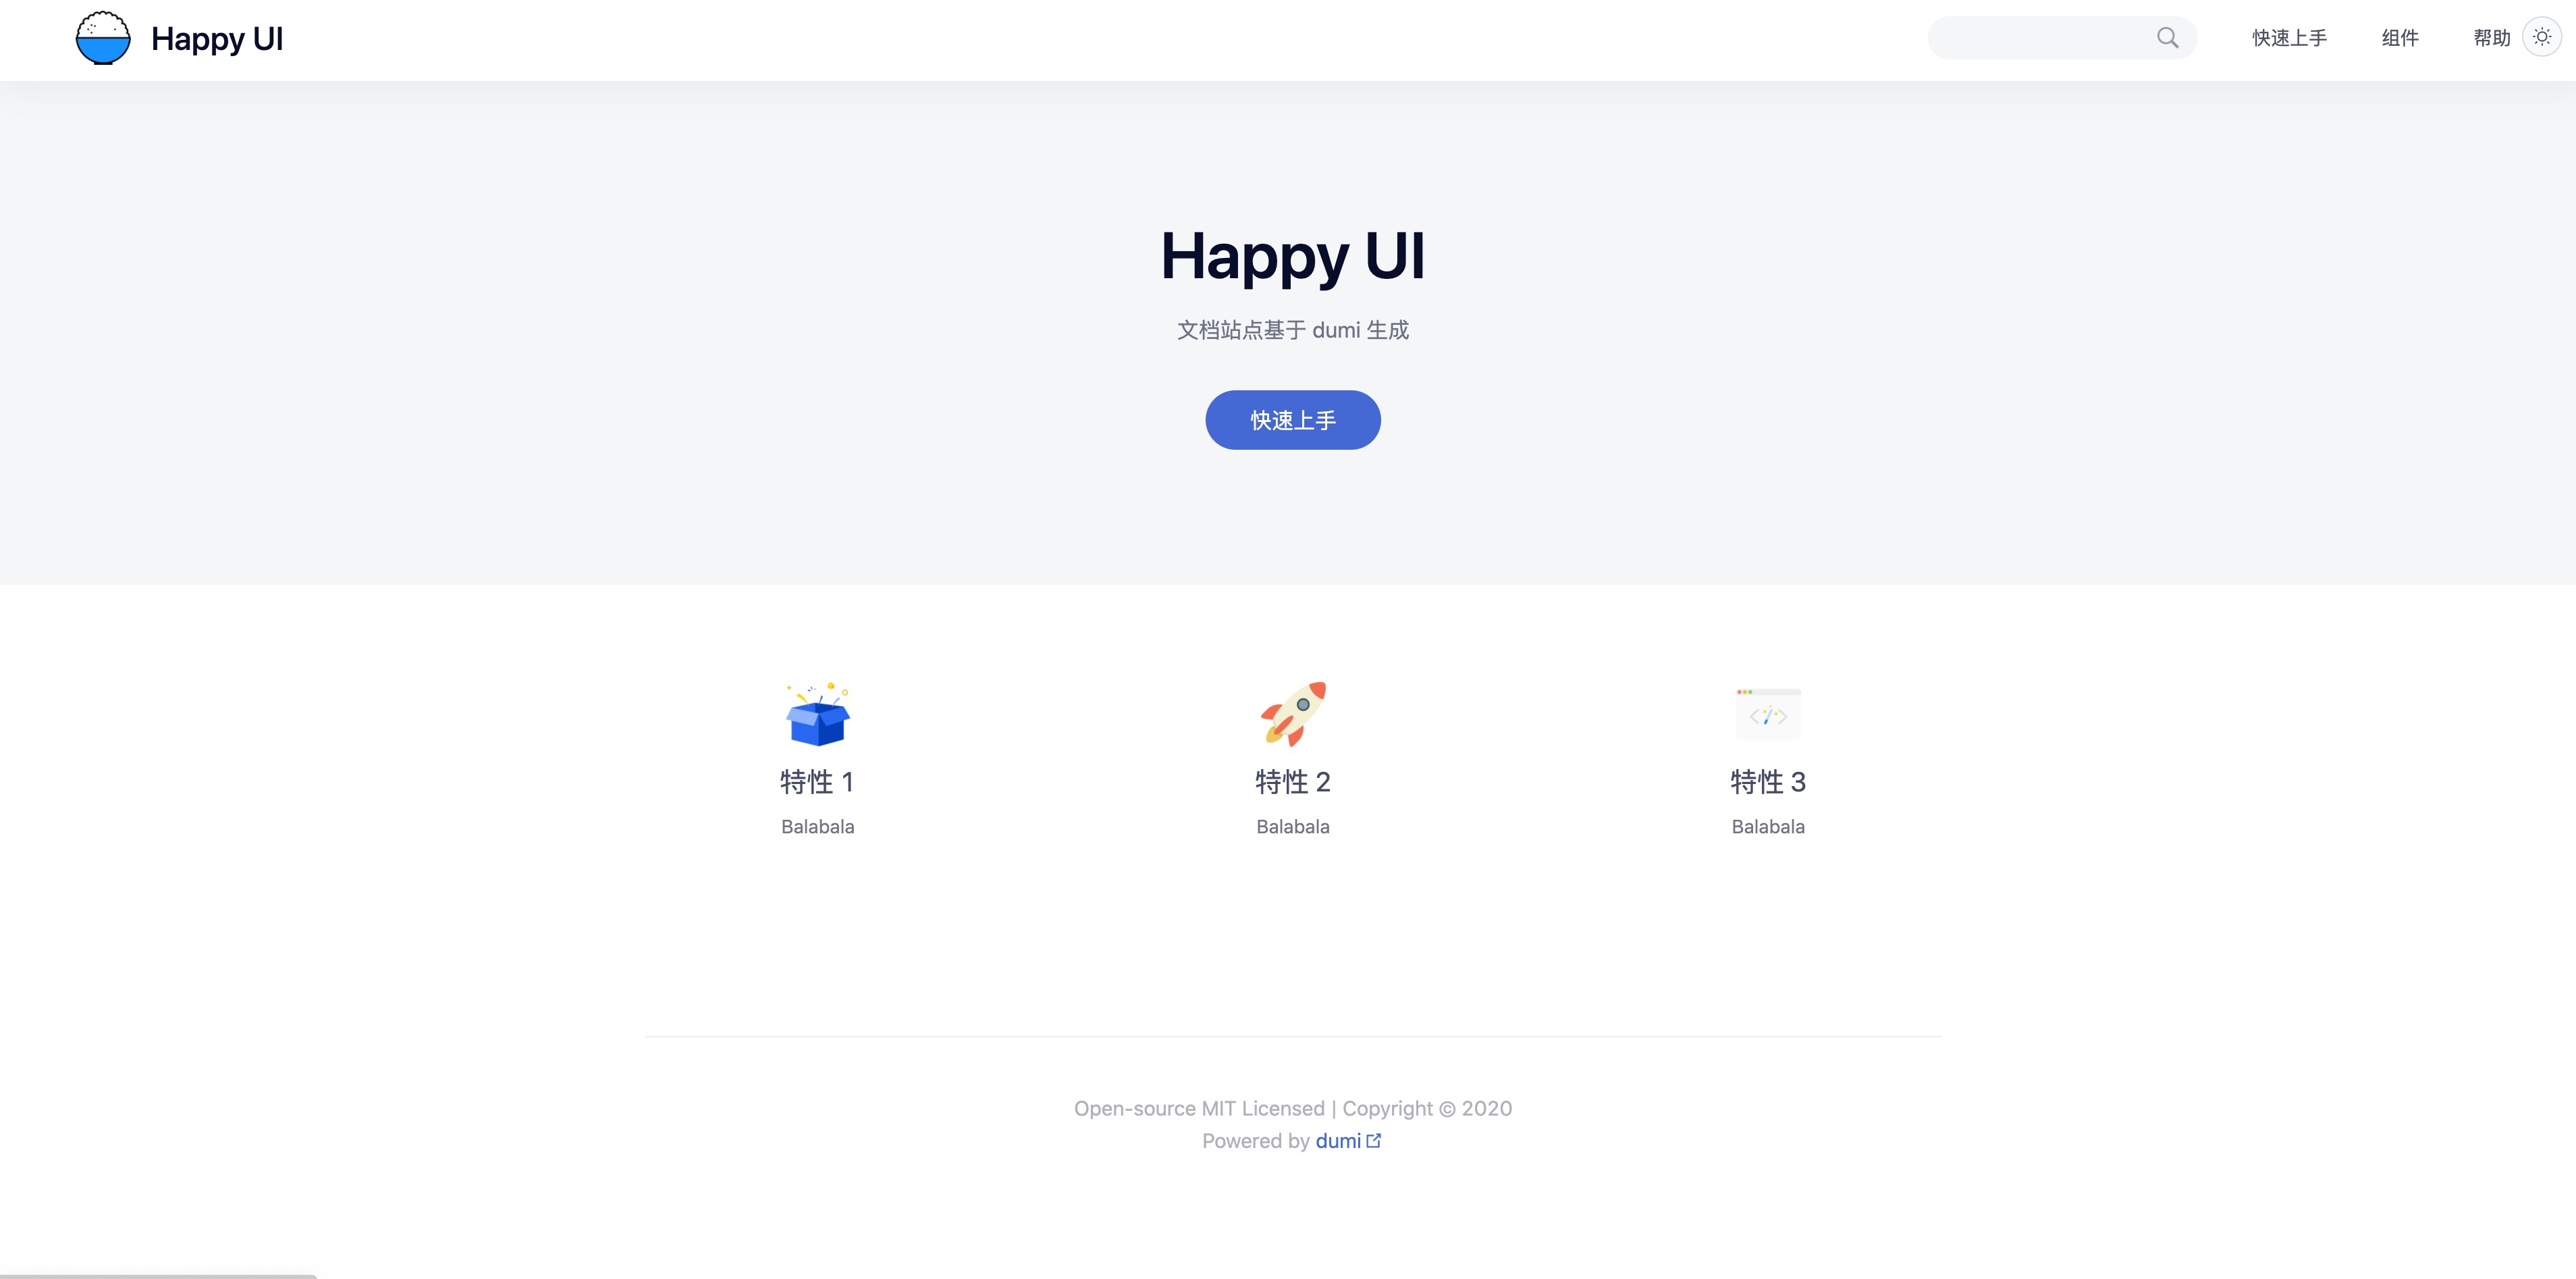
yarn start按顺序执行完命令后,即可在 localhost:3000 看到以下内容:
概览
本系列文章主要包含以下内容:
- 项目初始化: 组件库前期开发准备工作。
eslint/commit lint/typescript等等; - 开发阶段: 使用 dumi 进行开发调试以及文档编写;
- 打包阶段: 输出~~
umd~~/cjs/esm产物并支持按需加载; - 组件测试: 使用
@testing-library/react及其相关生态进行组件测试; - 发布 npm: 编写脚本完成发布或直接使用 np 发布;
- 部署文档站点: 使用 Github Pages 以及 Github Actions 完成文档站点自动部署。
初始化项目
新建一个happy-ui文件夹,并初始化。
mkdir happy-ui

cd happy-ui

npm init --y

mkdir src && cd src && touch index.ts # 新建源码文件夹以及入口文件
代码规范
此处直接使用 @umijs/fabric 的配置。
yarn add @umijs/fabric --dev

yarn add prettier --dev # 因为@umijs/fabric没有将prettier作为依赖 所以我们需要手动安装
.eslintrc.js
module.exports = {
  extends: [require.resolve('@umijs/fabric/dist/eslint')],
};
.prettierrc.js
const fabric = require('@umijs/fabric');

module.exports = {
  ...fabric.prettier,
};
.stylelintrc.js
module.exports = {
  extends: [require.resolve('@umijs/fabric/dist/stylelint')],
};
想自行配置的同学可以参考以下文章:
- Linting Your React+Typescript Project with ESLint and Prettier!
- 使用 ESLint+Prettier 规范 React+Typescript 项目
Commit Lint
进行pre-commit代码规范检测。
yarn add husky lint-staged --devpackage.json
"lint-staged": {
  "src/**/*.ts?(x)": [
    "prettier --write",
    "eslint --fix",
    "git add"
  ],
  "src/**/*.less": [
    "stylelint --syntax less --fix",
    "git add"
  ]
},
"husky": {
  "hooks": {
    "pre-commit": "lint-staged"
  }
}
进行 Commit Message 检测。
yarn add @commitlint/cli @commitlint/config-conventional commitizen cz-conventional-changelog --dev新增.commitlintrc.js写入以下内容
module.exports = { extends: ['@commitlint/config-conventional'] };package.json 写入以下内容:
// ...
"scripts": {
  "commit": "git-cz",
}
// ...
"husky": {
  "hooks": {
    "commit-msg": "commitlint -E HUSKY_GIT_PARAMS",
    "pre-commit": "lint-staged"
  }
},
"config": {
  "commitizen": {
    "path": "cz-conventional-changelog"
  }
}
后续使用 yarn commit 替代 git commit生成规范的 Commit Message,当然为了效率你可以选择手写,但是要符合规范。
TypeScript
yarn add typescript --dev新建tsconfig.json并写入以下内容
{
  "compilerOptions": {
    "baseUrl": "./",
    "target": "esnext",
    "module": "commonjs",
    "jsx": "react",
    "declaration": true,
    "declarationDir": "lib",
    "strict": true,
    "moduleResolution": "node",
    "allowSyntheticDefaultImports": true,
    "esModuleInterop": true,
    "resolveJsonModule": true
  },
  "include": ["src", "typings.d.ts"],
  "exclude": ["node_modules"]
}
新增组件
在src文件夹下新建alert文件夹,目录结构如下:
alert
    ├── index.tsx           # 源文件
    └── style
        ├── index.less      # 样式文件
        └── index.ts        # 样式文件里为什么存在一个index.ts - 按需加载样式 管理样式依赖 后面章节会提到
安装React相关依赖:
yarn add react react-dom @types/react @types/react-dom --dev # 开发时依赖,宿主环境一定存在

yarn add prop-types            # 运行时依赖,宿主环境可能不存在 安装本组件库时一起安装
此处使用了
prop-types,因为无法保证宿主环境也使用typescript,从而能够进行静态检查,故使用prop-types保证javascript用户也能得到友好的运行时报错信息。当然,这不是必须的。
src/alert/index.tsx
import React from 'react';
import t from 'prop-types';

export interface AlertProps {
  kind?: 'info' | 'positive' | 'negative' | 'warning';
}

export type KindMap = Record<Required<AlertProps>['kind'], string>;

const prefixCls = 'happy-alert';

const kinds: KindMap = {
  info: '#5352ED',
  positive: '#2ED573',
  negative: '#FF4757',
  warning: '#FFA502',
};

const Alert: React.FC<AlertProps> = ({ children, kind = 'info', ...rest }) => (
  <div
    className={prefixCls}
    style={{
      background: kinds[kind],
    }}
    {...rest}
  >
    {children}
  </div>
);

Alert.propTypes = {
  kind: t.oneOf(['info', 'positive', 'negative', 'warning']),
};

export default Alert;
src/alert/style/index.less
@popupPrefix: happy-alert;

.@{popupPrefix} {
  padding: 20px;
  background: white;
  border-radius: 3px;
  color: white;
}
src/alert/style/index.ts
import './index.less';src/index.ts
export { default as Alert } from './alert';git 一把梭,可以看到控制台已经进行钩子检测了。
git add .

yarn commit  # 或 git commit -m'feat: chapter-1 准备工作'

git push
项目初始化完成。