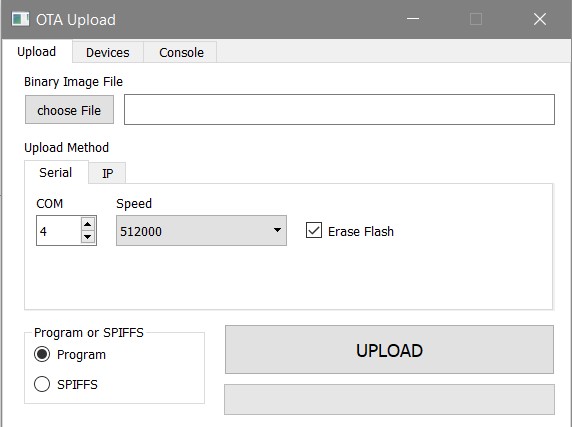
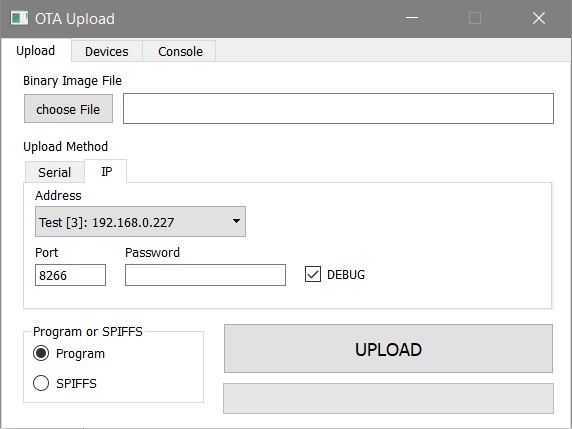
This is a small tool to help with uploading to ESP8266 boards. Current features include managing multiple OTA devices, flashing Program or SPIFFS memory over Serial or WiFi.
The entire UI status is saved in OTA-Config.ini when the tool is closed, so once you open the program again, everything sould be as as it was.
The project was created using Qt Creator 4.7.2 and Qt 5.11.2.
Newer versions are likely to work also.
The releases are created for Windows.
- Download the DLL Bundle from releases (first release)
- Download the .exe and .py files from the release you want to use
- Create a Folder for this Tool
- Extract dll files and move all downloaded files together with ESP-Ota-UI.exe, esptool.exe and espota.py into this folder
- Happy Uploading!
- Select compiled .bin File.
- Select
SerialasUpload Method - Select COM Port
- Select Upload Speed
- (optional) Erase Flash (this will also clear wifi settings)
- Select
ProgramorSPIFFSas target location. - Click Upload
- Switch to
Consoletab for output of upload tool
- Switch to
Devicestab - Enter new device name at the bottom
- Select corresponding IP Adress for this device
- Click
Add Device - Switch to
Upload Tab - Select
IPasUpload Method - Select the device you want to upload to from
Address - (optional) Select upload port
- (optional) Select upload password
- (recommended) Check
Debugcheckbox (enables popup messages and progress bar) - Select
ProgramorSPIFFSas target location. - Click Upload
- The upload progress is displayed on the
Uploadtab.
| Uploading over Serial | Uploading over WiFi |
|---|---|
 |
 |
| Adding Devices | |
 |
 |
| Console Output | |
 |