ASIC & FPGA design extension in VS Code (All in one)
Versions released before January 2022 are bug-fixed, and new features will be released after January.
You are free to use it. Finally, if you like this extension and have some great idea, please connact with me. I am look foward to your joining.
- Email: sterben.661214@gmail.com.
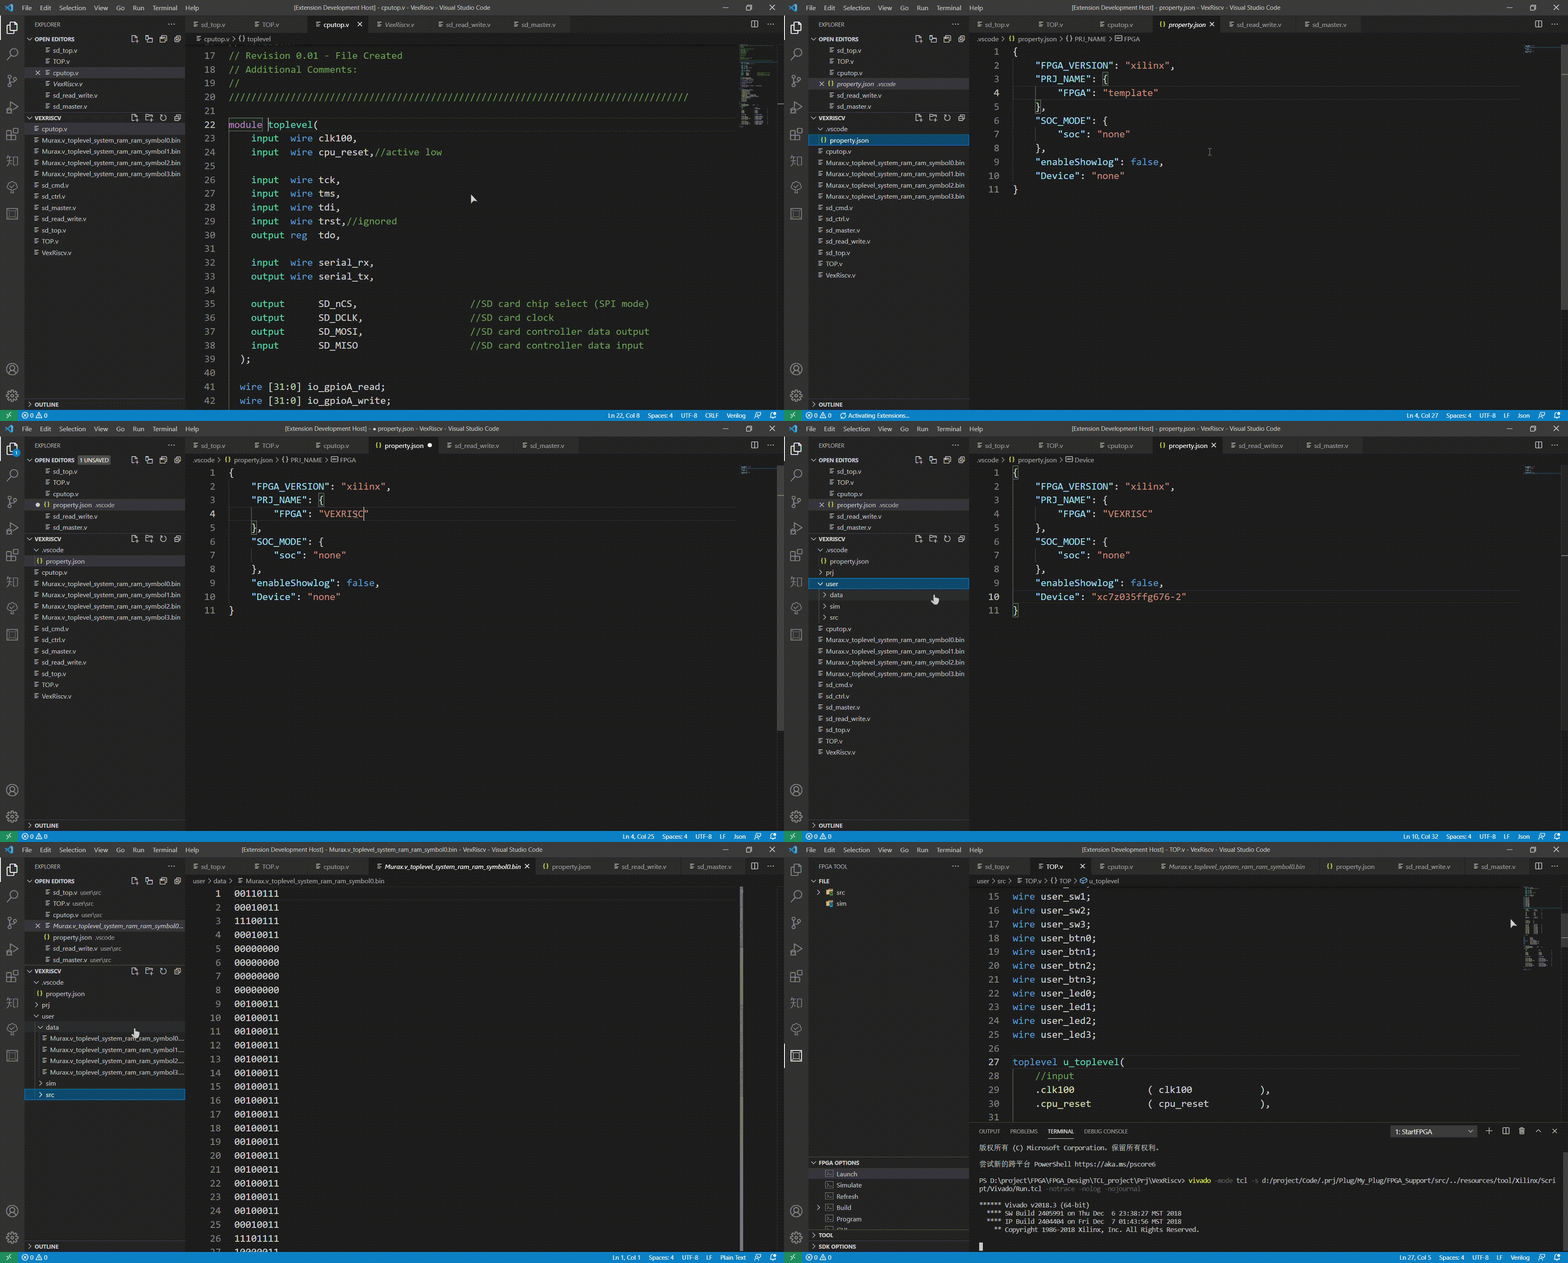
- Use TOOL:generate property file to generate an initial
property.jsonfile. - Use TOOL:Overwrite the InitPropertyParam to customize the initial
property.jsonfile.
[Note]: Once the SOC_MODE.soc in the property.json file is changed from none to another, or turn back, file structure in this workspace will be updated, but only in standard file structure.
The standard file structure is defined as follow:
.vscode
  └── property.json   -- Project profile user - defined (or root directory stored in the workspace)
prj                   -- Used to store project files
  ├── intel           -- Used to store Intel engineering files
  ├── simulation      -- Used to store the intermediate files of the third party simulation tool
  └── xilinx          -- Used to store Xilinx engineering files
user                  -- Used to store source files designed by users User-defined
  ├── ip              -- Store the project IP code (vendor tool management, but moved to src equivalent directory by extension)
  ├── bd              -- Store project Block Designer source code (vendor tool management, but moved to src equivalent directory by extension)
  ├── data            -- Store data files, and constraint files
  ├── sim             -- Store user emulation code
  └── src             -- Store user design source code
       └─ lib         -- Store the user's hardware library source
SOC_MODE.soc in the property.json file is not setted as none (only user/** be changed):
user               -- Store source files designed by users User-defined
  Hardware         -- Store hardware logic design
     ├── ip        -- Store the project IP code (vendor tool management, but moved to src equivalent directory by extension)
     ├── bd        -- Store project Block Designer source code (vendor tool management, but moved to src equivalent directory by extension)
     ├── data      -- Store data files, and constraint files
     ├── sim       -- Store user emulation code
     └── src       -- Store user design source code
          └─ lib   -- Store the user's hardware library source
  Software         -- Store software driver design
     ├── data      -- Store data files
     └── src       -- Store the user's project source code
-
If you need to bring the Extension own serial debugging tool, install python3 and add it to the system environment variable
-
If you need compatibility with Vivado features (including syntax checking, engineering, feature emulation, etc.) please add the following variables
./Vivado/2018.3/bin./Vitis/2019.2/binor./SDK/2018.3/bin
Ways to detect successful configuration:
Enter
- xsct
- vivado -version
- python
Check that all can be executed successfully.
[Note] : Currently support Vivado development, later will be compatible with other manufacturers development environment
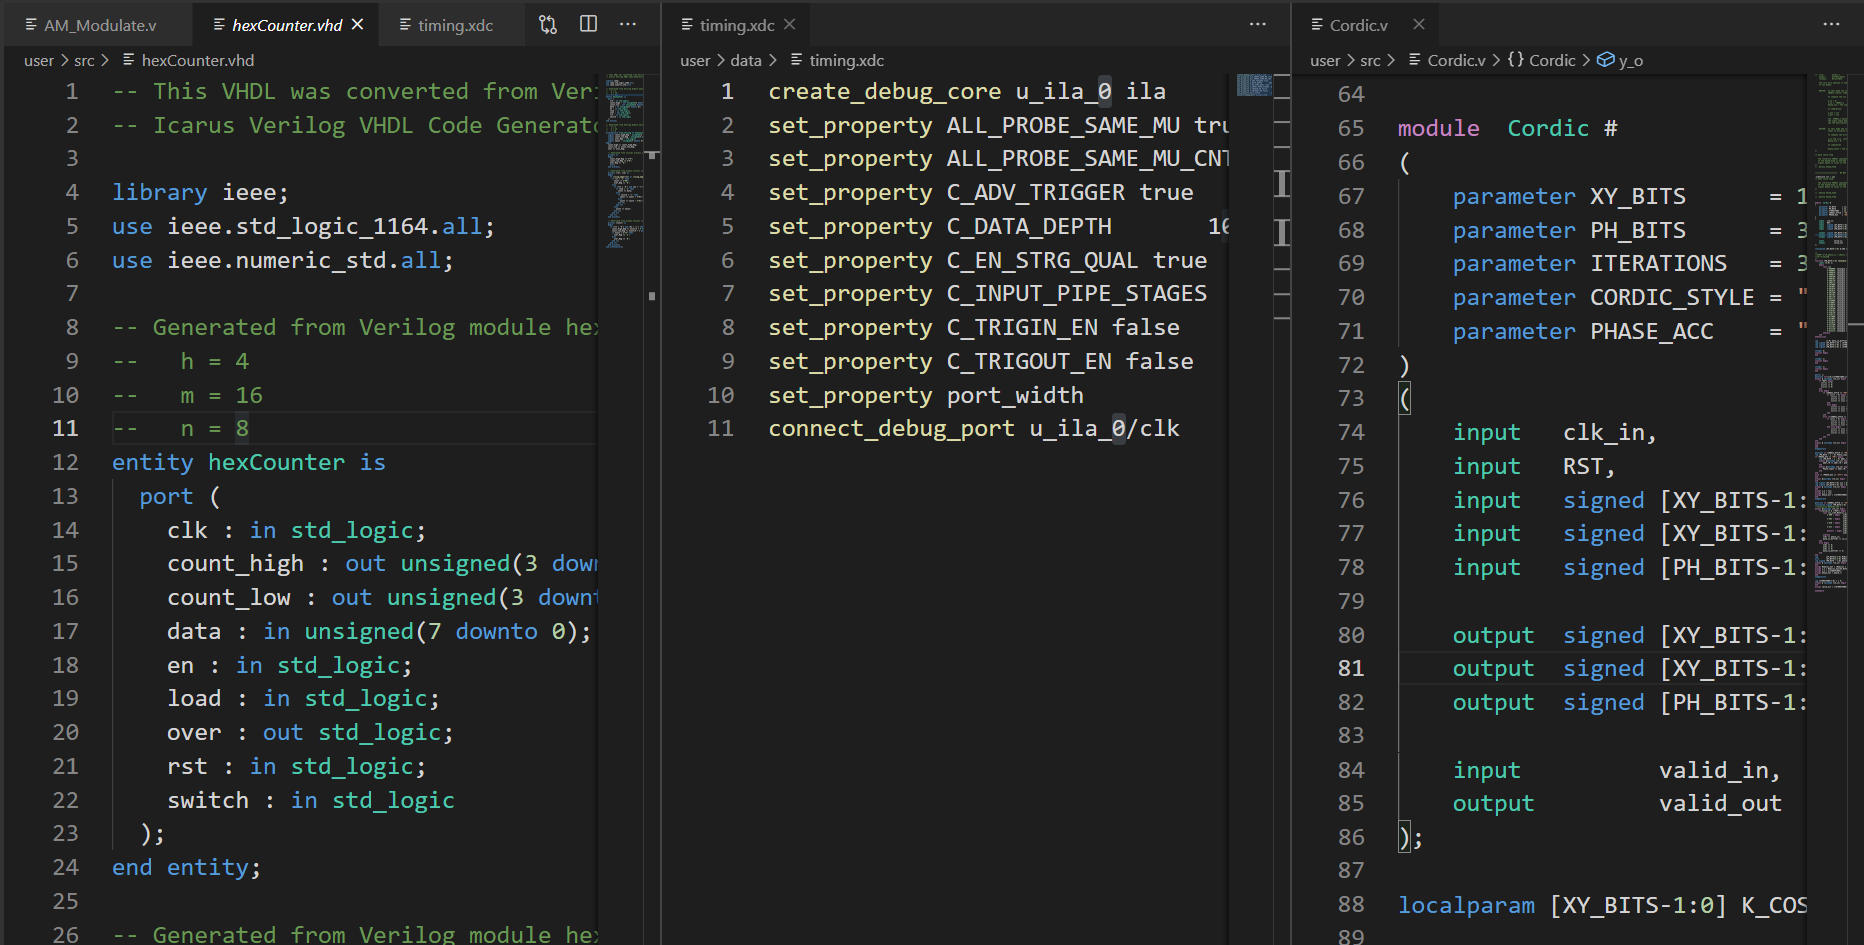
Highlighting of the following languages is now supported
- Verilog
- SystemVerilog
- VHDL
- TCL(include xdc、sdc、fdc)
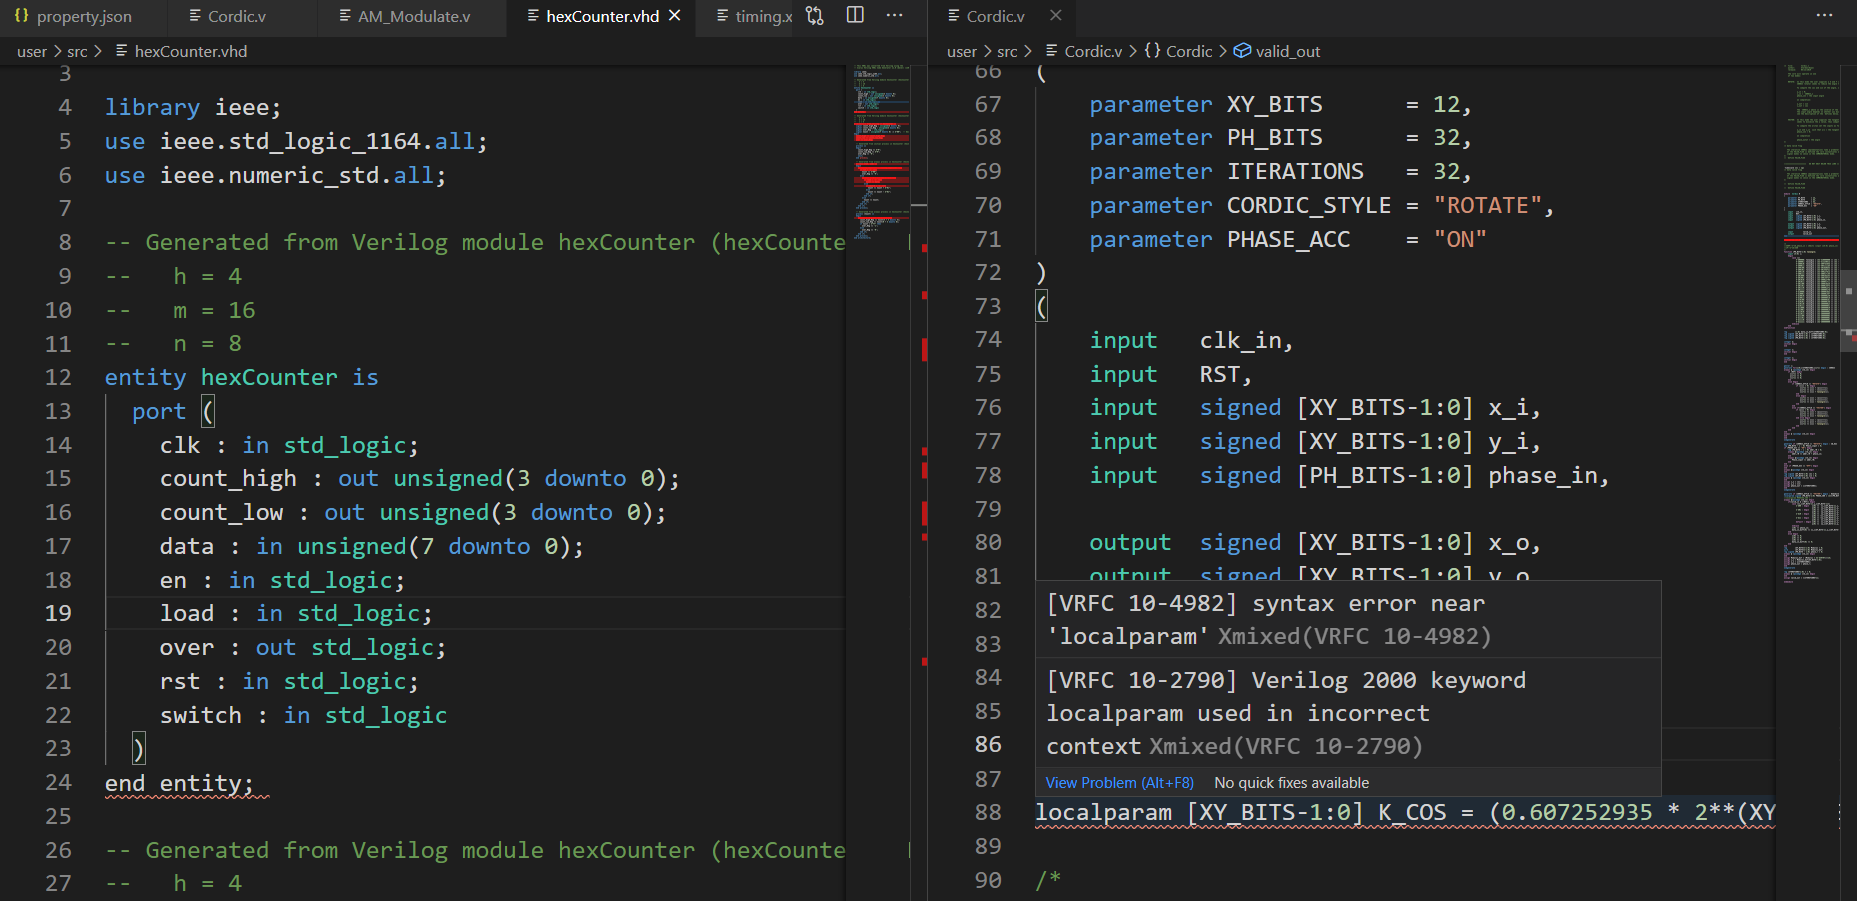
Syntax diagnostics use an external compiler, so please configure the appropriate environment before configuring the diagnostic Settings in the setting.
This syntax diagnosis can be flexibly used for different language types.
The Vivado series is used by default in this function, and different diagnostic combinations can be matched according to the existing environment, but when you select default, the diagnosis is considered to be off
- For Verilog and SystemVerilog HDL.linting.vlog.linter
- Vivado
- modelsim
- Iverilog
- Verilator
- Verible
- for VHDL HDL.linting.vlog.linter
- Vivado series
- Modelsim series
- GHDL
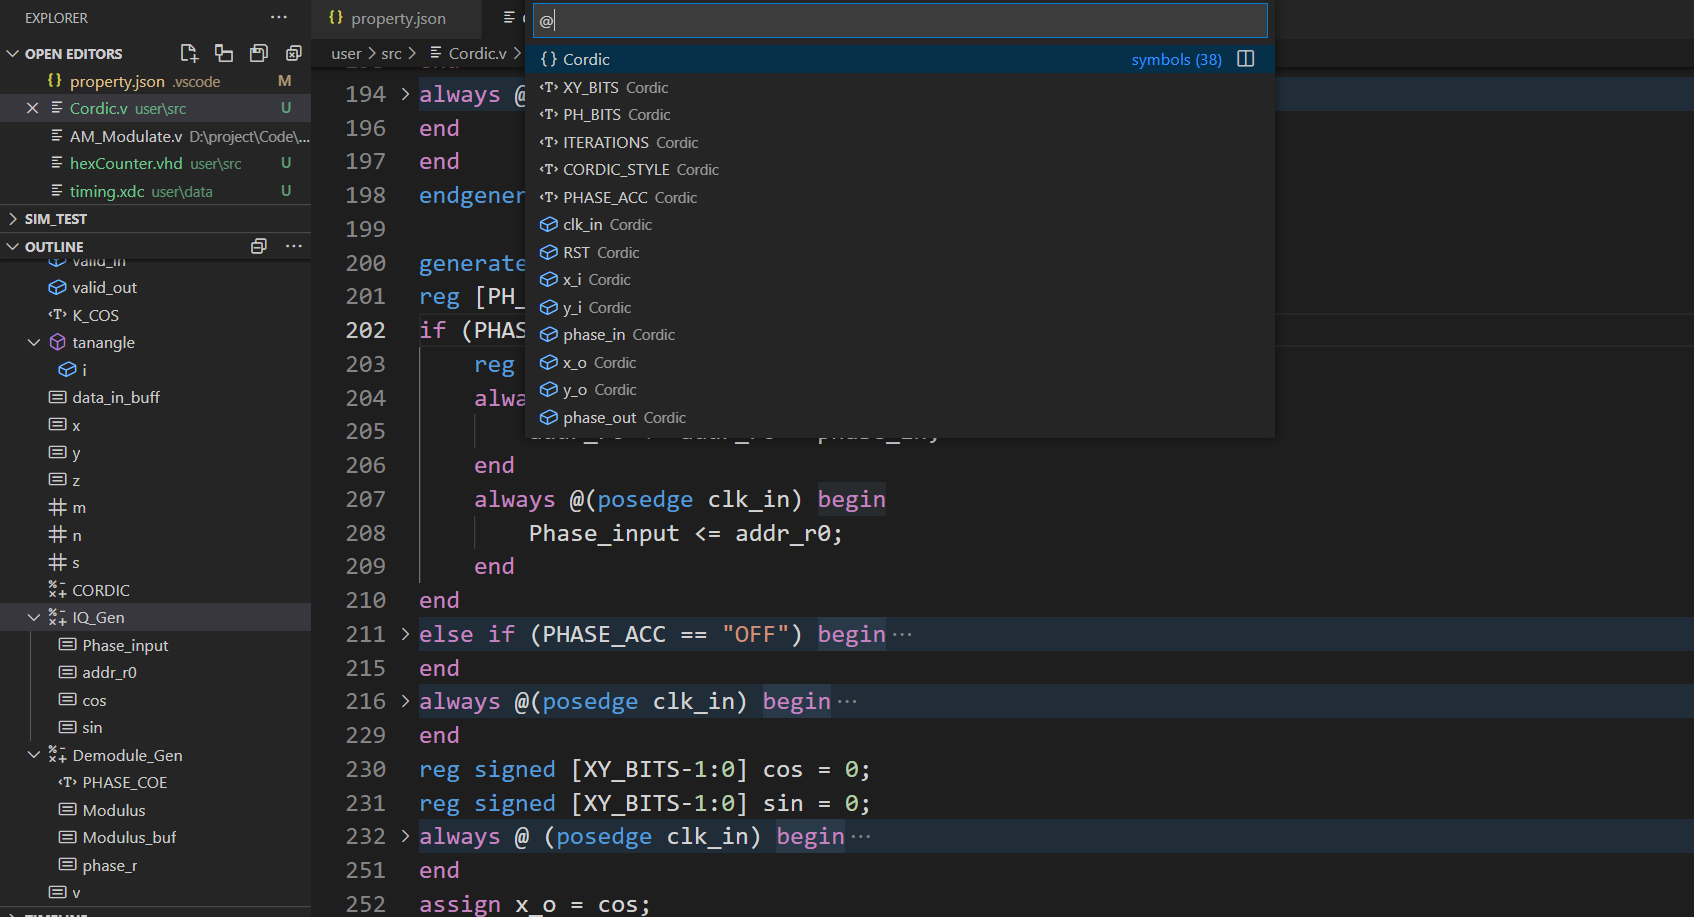
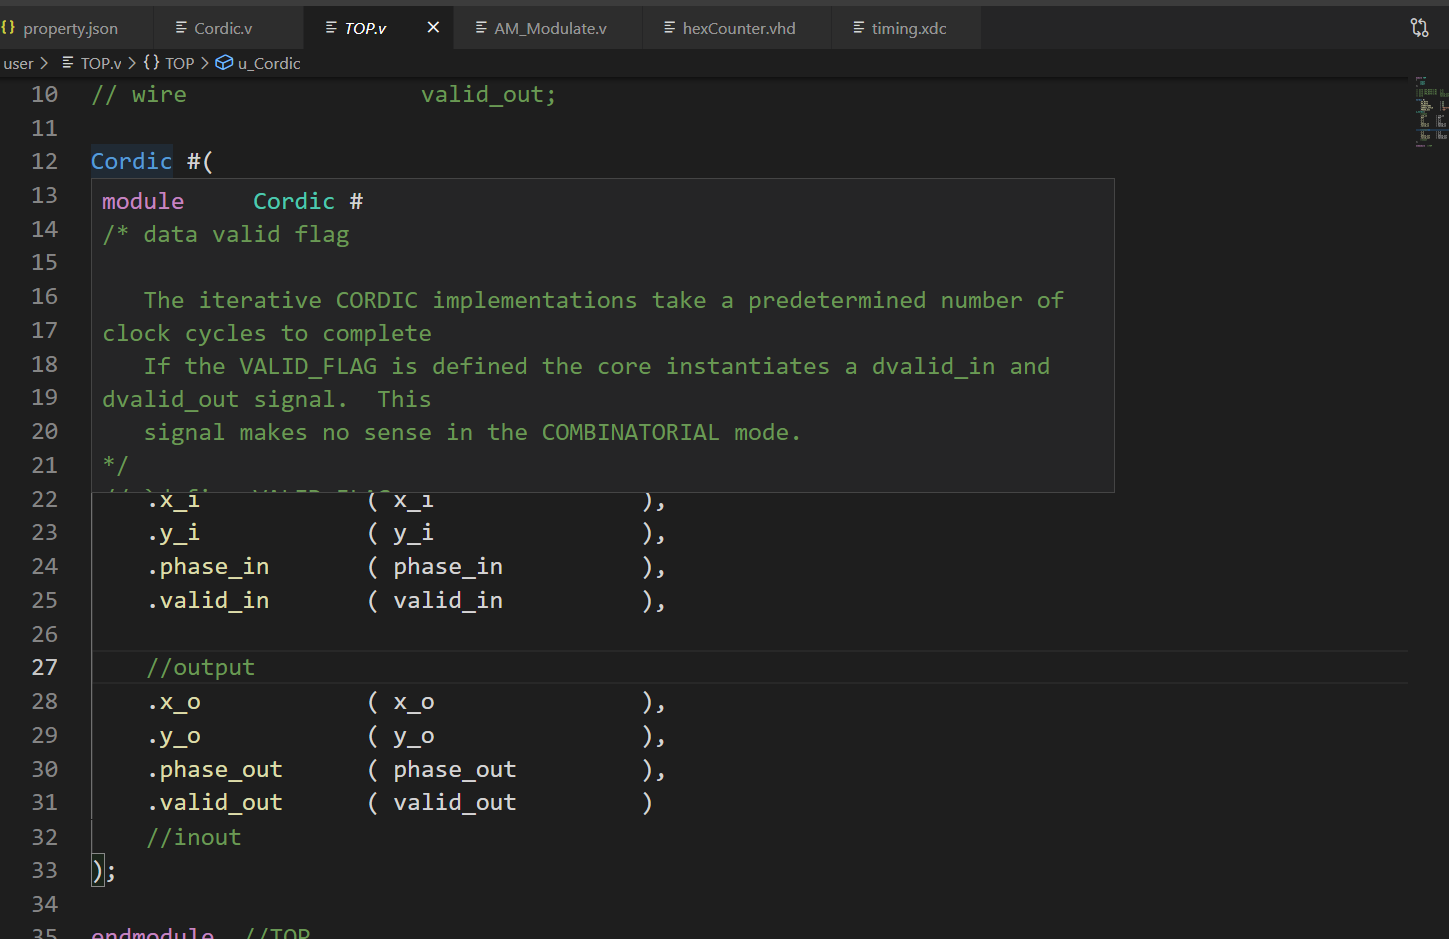
[Note] : Hover prompts use the built-in simple Verilog parser, which currently only supports Verilog and SystemVerilog
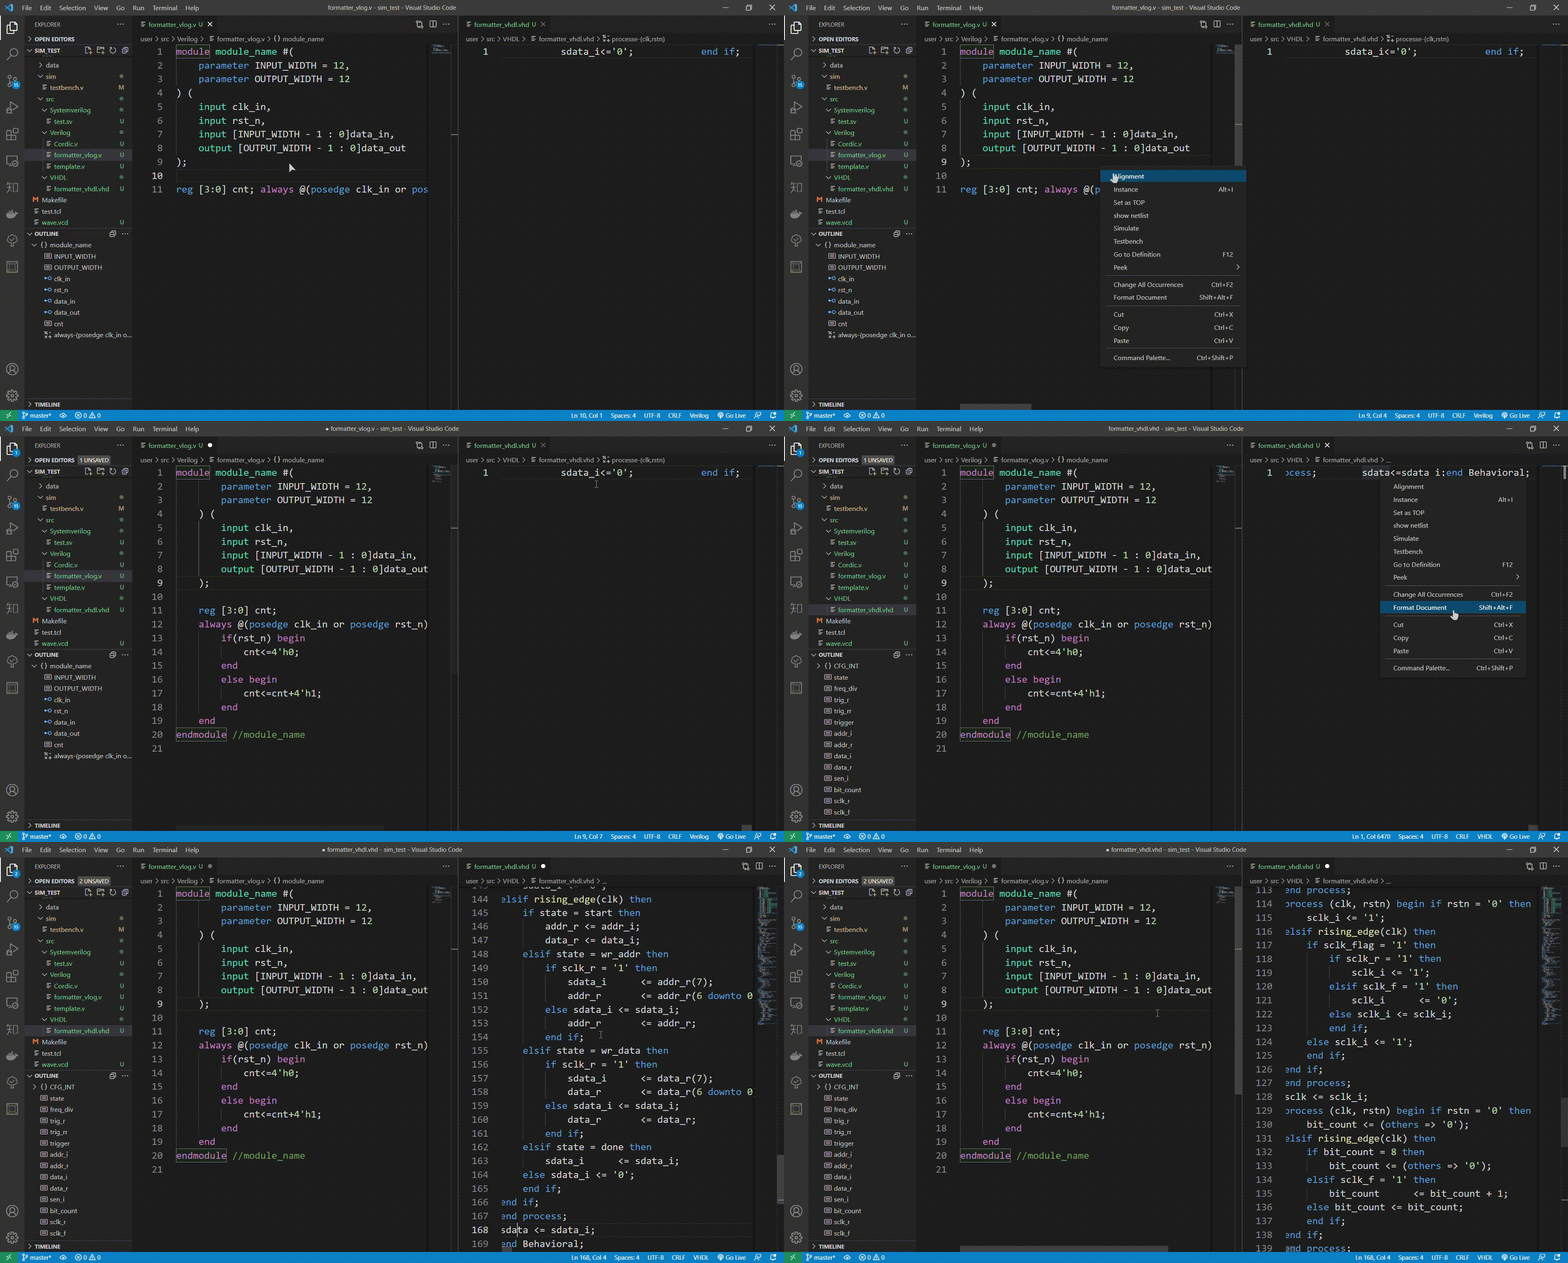
You can format the selected characters or the whole text of the document. Vscode has built-in shortcut keys: shift + Alt + f
Related Settings (setting) description:
- verilog and systemverilog
- HDL.formatter.vlog.default.style Verilog and SystemVerilog format types, supporting three types of 'kr', 'ANSI' and 'gun'
- HDL.formatter.vlog.default.args For the other parameters input, the vlog is formatted using the WebAssembly of istyle so refer to istyle for the parameters to be entered [Note] : Since this function is based on istyle, it is still not perfect for the full text formatting. It is recommended to select the always statement block for formatting, and we will continue to fix related problems later.
- vhdl
- HDL.formatter.vhdl.default.align-comments Whether you need to align comments
- HDL.formatter.vhdl.default.indentation The number of Spaces corresponding to TAB
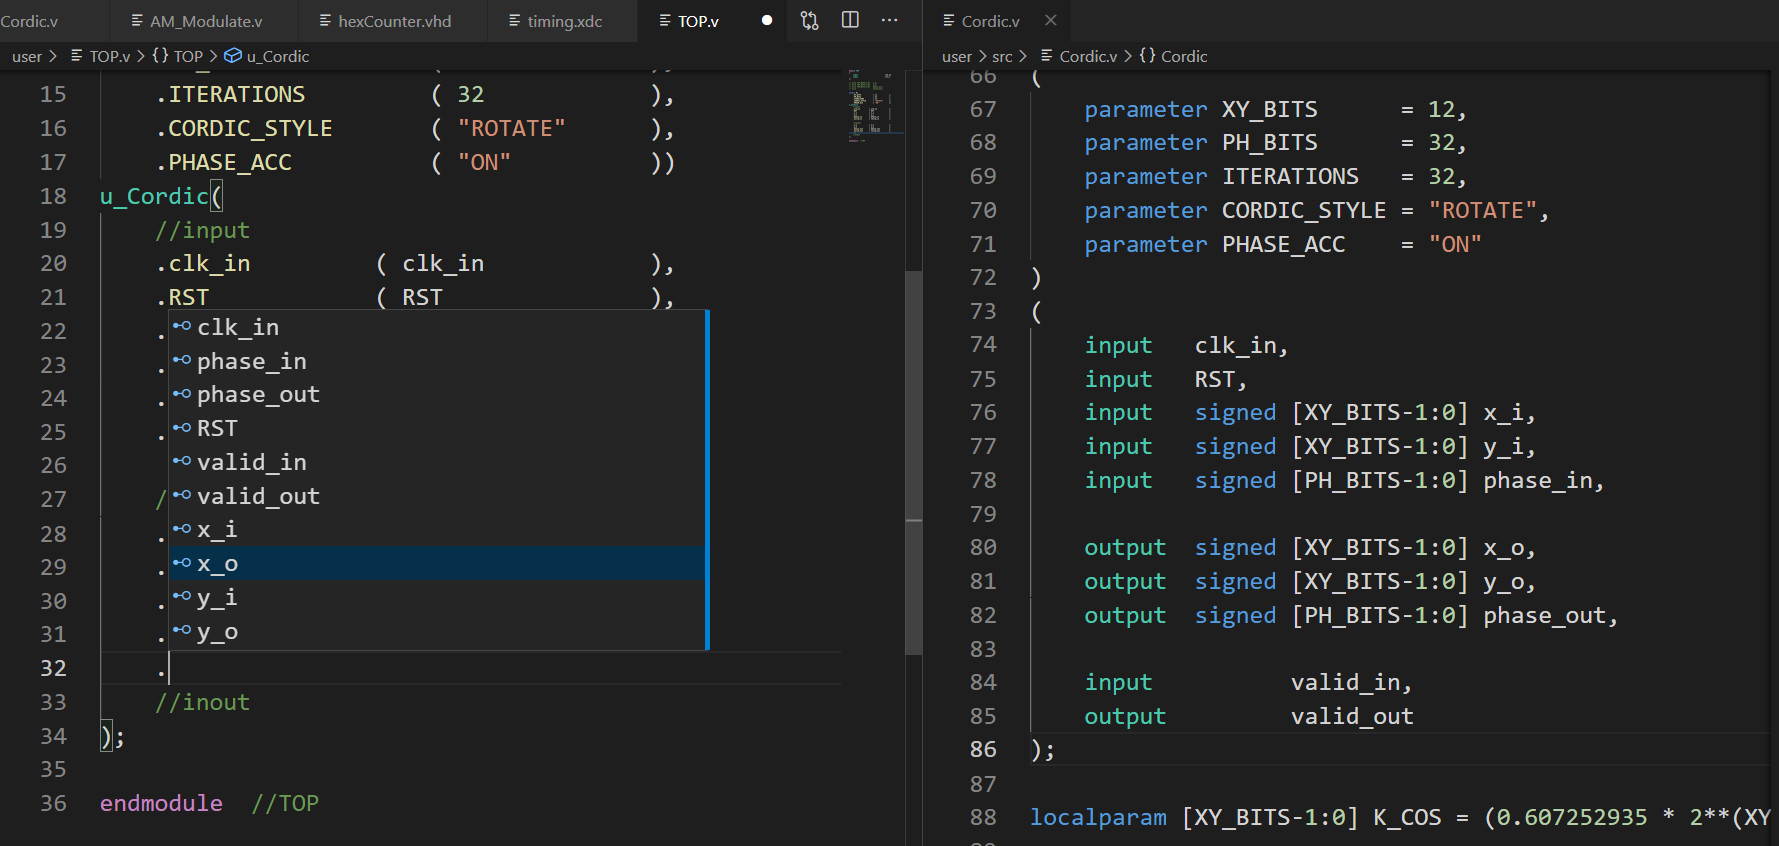
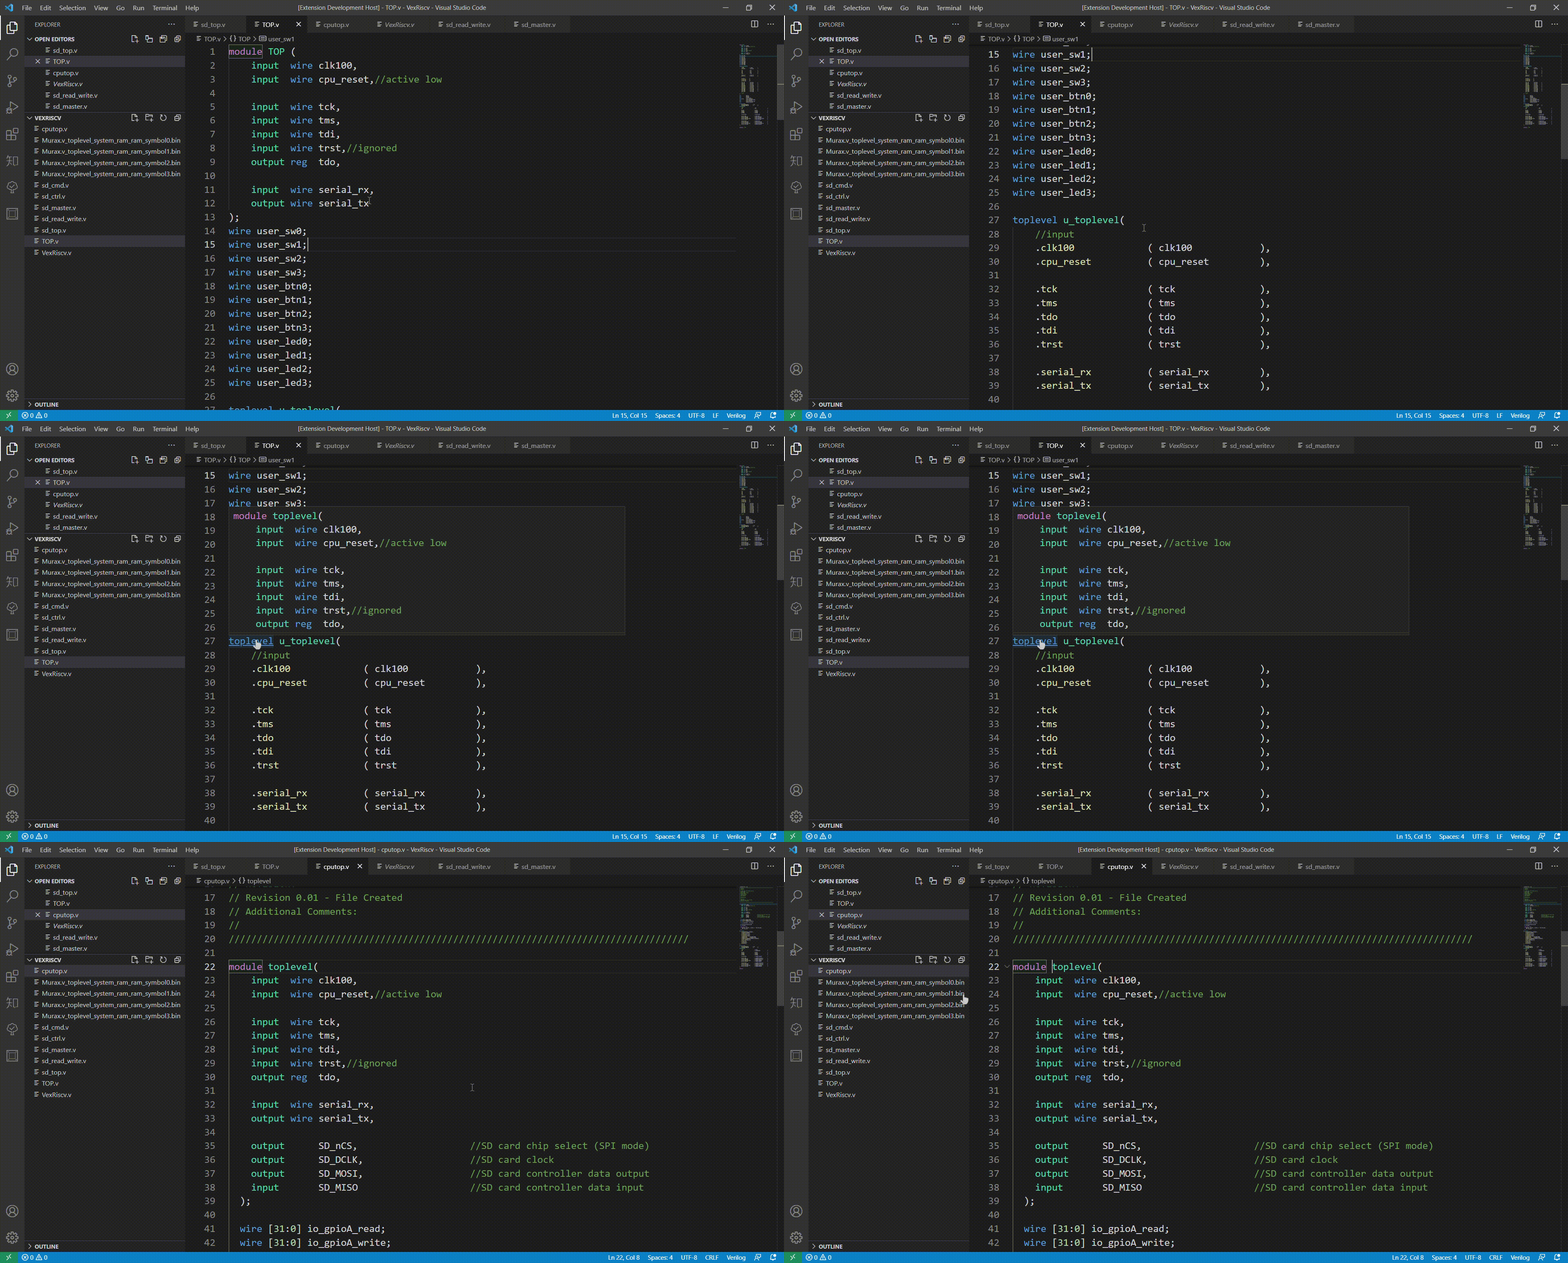
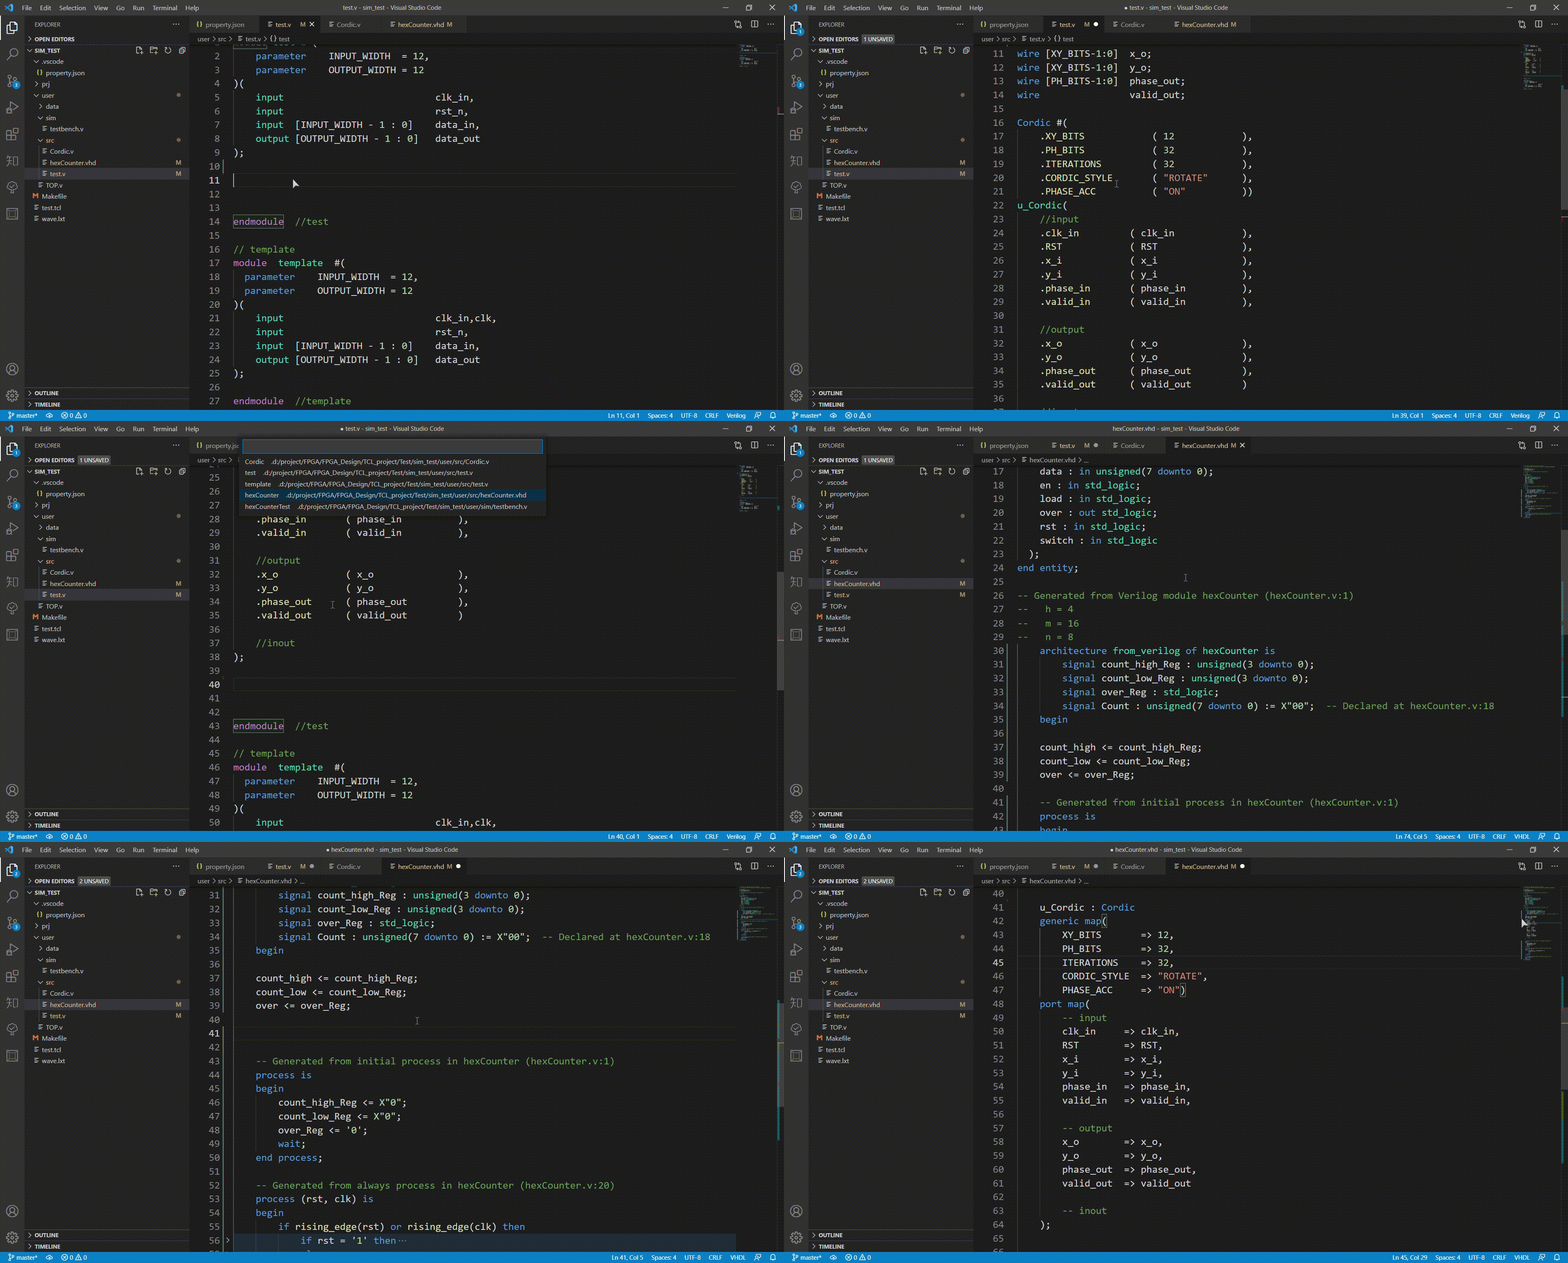
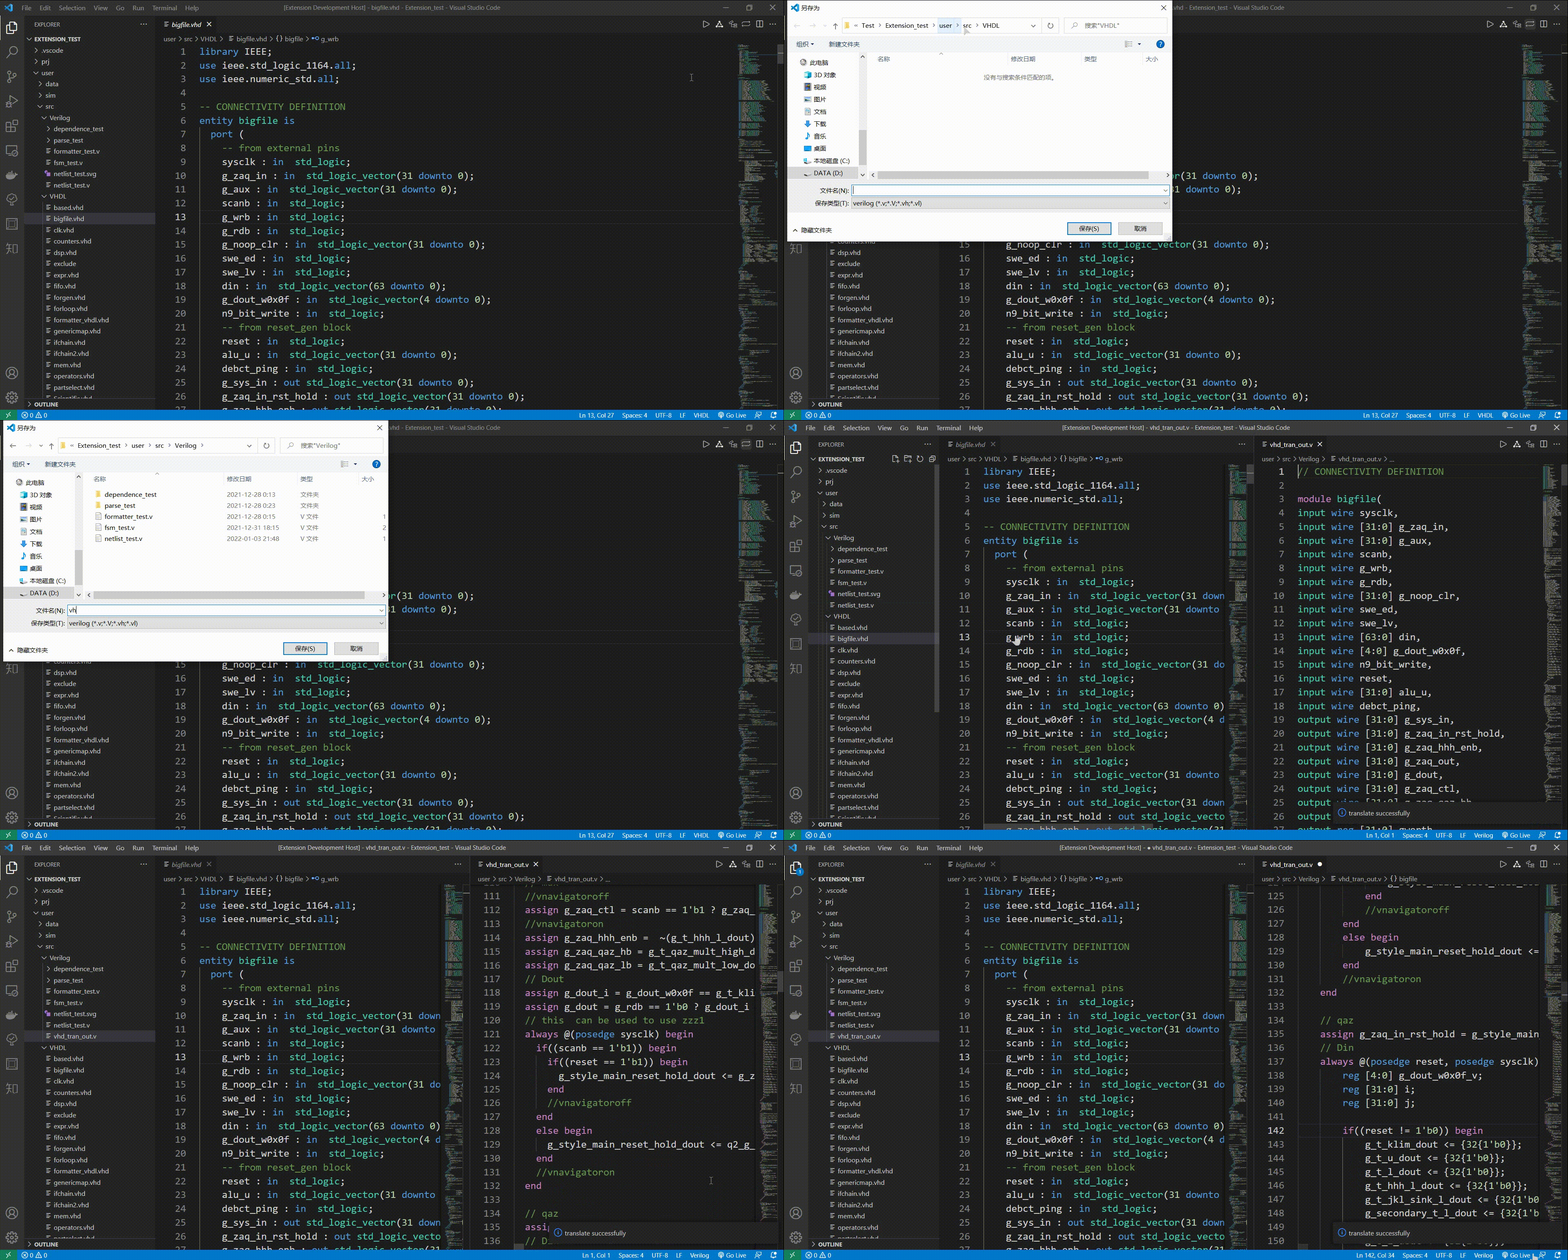
The plug-in supports the instantiation of Verilog and VHDL modules in a Verilog file and in a VHDL file
- Place the cursor where the text needs to be instantiated.
- Use the shortcut key
F1to launch the command box, inputinstance, and selectTool:instance - Enter the keyword of the module that needs to be instantiated.
- Select the modules to be instantiated.
Or use the shortcut key Alt + I to start, and then enter the keyword of the module to be instantiated, and select the module to be instantiated.
The steps are as follows:
- Use the shortcut key 'F1' to launch the command box, type Testbench, select TOOL: Testbench, or right-click from the file you want to generate and instantiate and select Testbench.
- Select the type and location of the simulation file. If the simulation file exists, replace it.
[Note] :
If you want to change the contents of the original Testbench file, use the shortcut 'F1' to launch the command box and select TOOL:Overwrite the template of Testbench, select the type of the simulation file you want to change, and then open the testbench file initialization file.Also keep the //Instance flag, which is used to identify places that need to be instantiated.
This feature is not recommended and it is more convenient to generate the instance directive directly in the TB file.
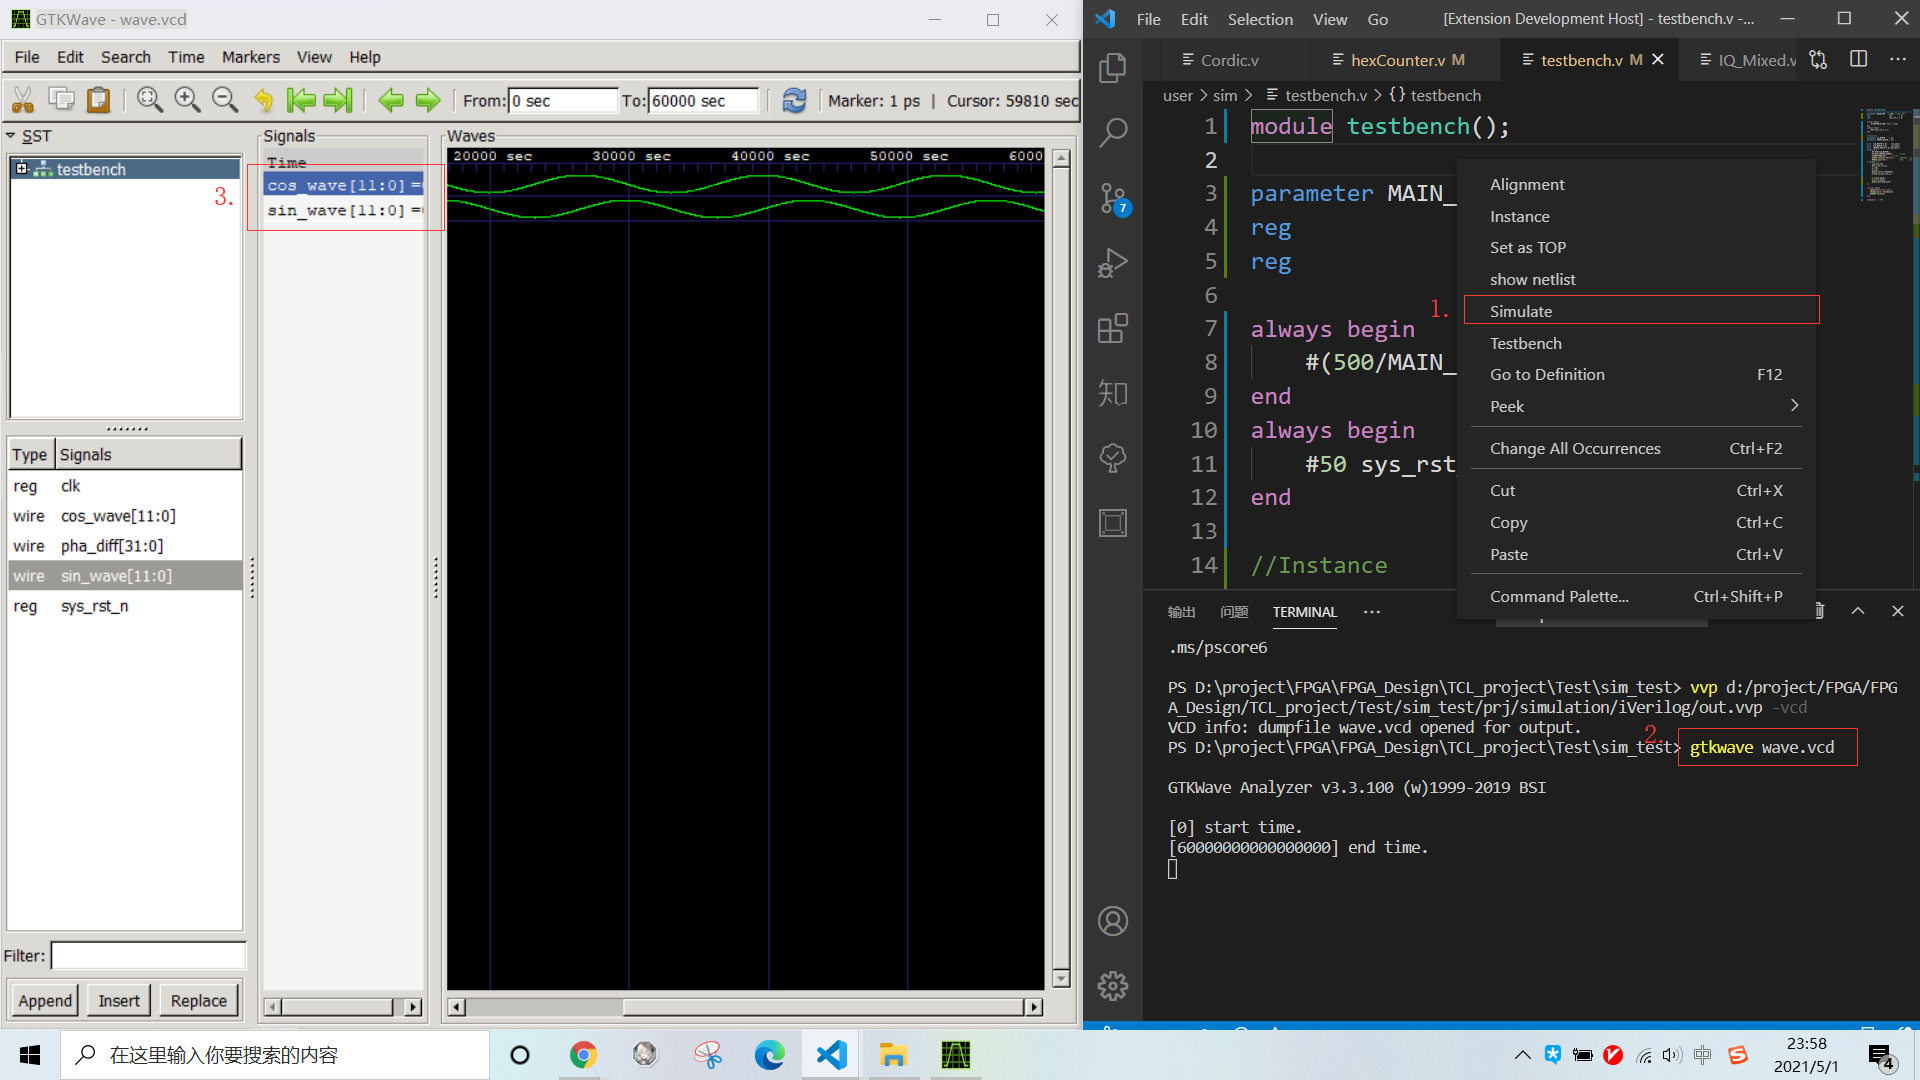
- Build-in multi-file emulation without `include
- Support Xilinx simulation library
[Note] : This feature requires both iVerilog and Gtkwave to add system environment variables
If you need to support xilinx simulation library, you need to set the installation path of Xilinx in the setting sim.xilinx.lib. path
Example: {xilinx installation path}/Vivado/<Version number, for example 18.3>/data/verilog/src
-
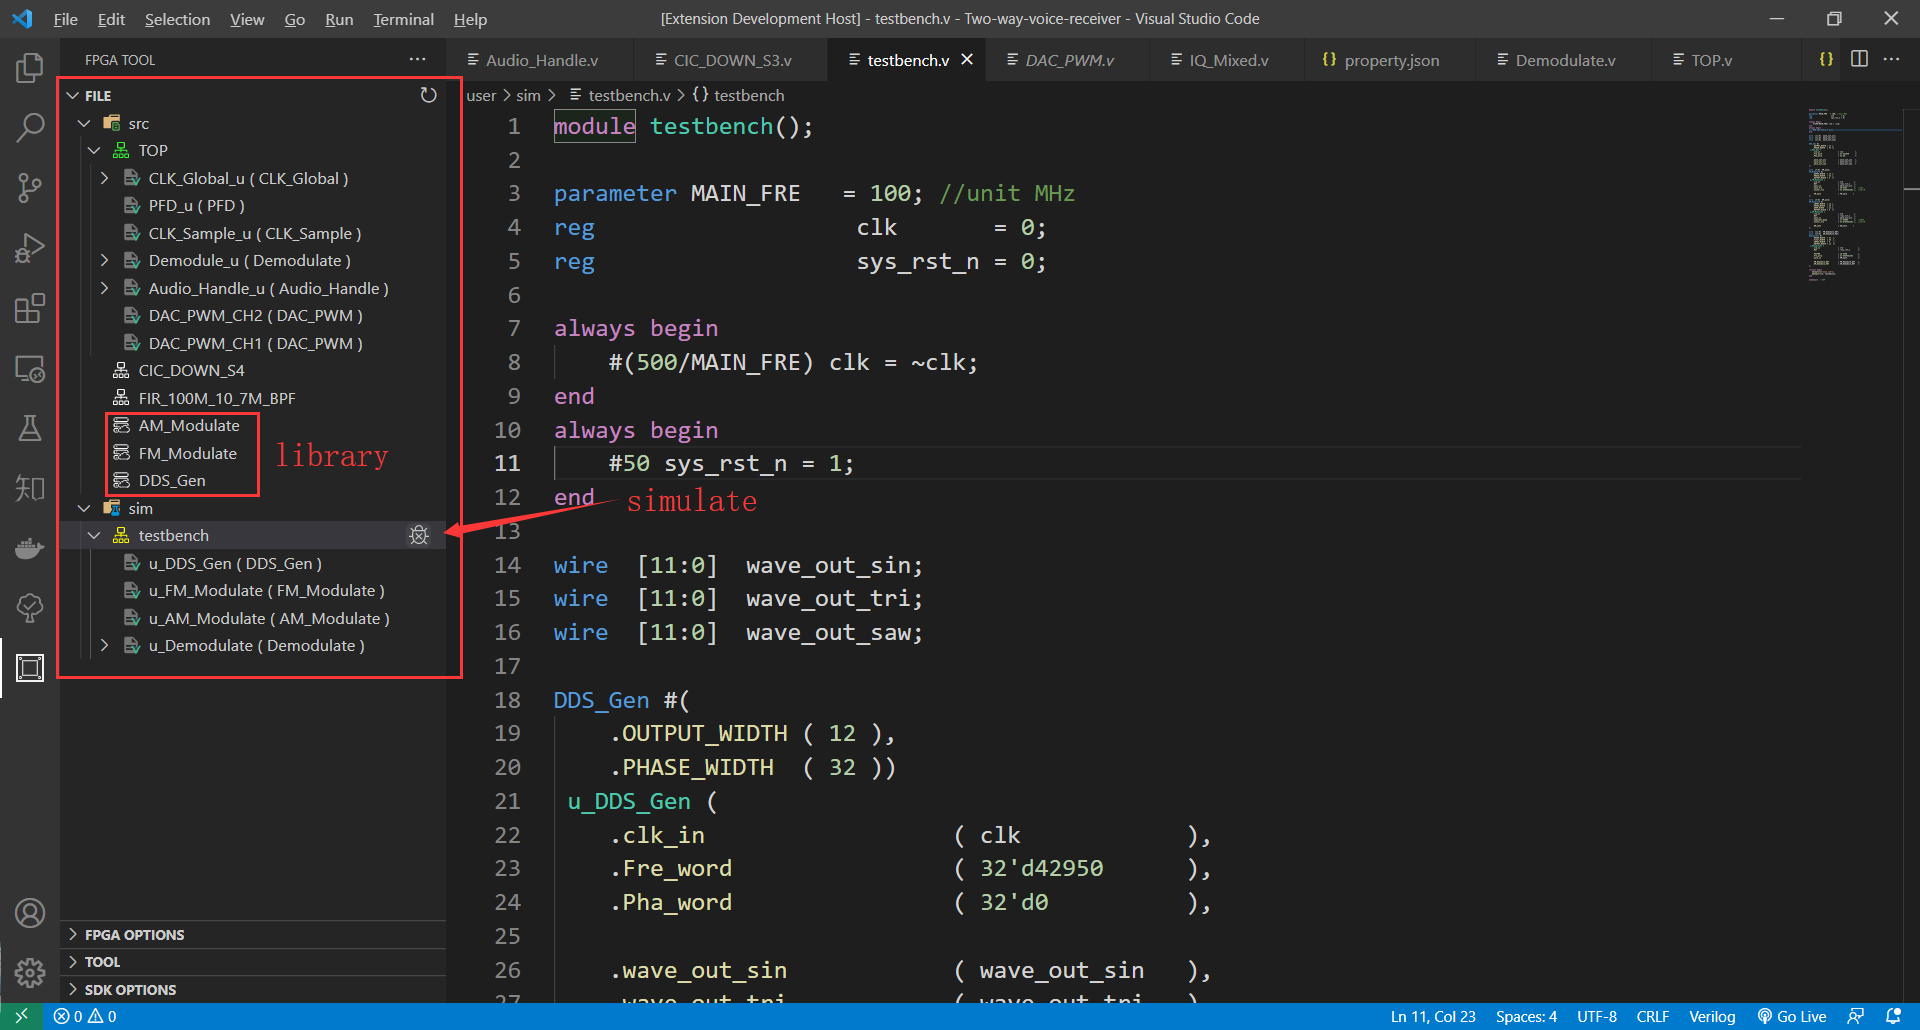
Launch. The back-end function is subject to the TOOL_CHAIN property configured in the property.json file. Currently only Vivado is supported. After launch, the project will be generated based on the information in the property.json file. If there is already a project will be opened directly. Right-click on the HDL file after launch and select Set as Top to Set that file as the top-level header for the design.
-
Simulate. The function of "Simulate" is different from that of "Simulate" displayed in the RIGHT click of the HDL file, this function uses the simulation function corresponding to the TOOL_CHAIN property configured in the property.json file, which uses vivado simulation. While simulate displayed in THE RIGHT click of THE HDL file uses iverilog simulation, which is used to simulate a single file or a small number of files in real time.Right-click on the HDL file and select Set as Testbench Top to Set the file as the top-level header for the simulation.
-
Refresh. All files under./user/src and./user/sim will be included, so your files under src, data, sim are the files already included in your project.The update mechanism is to delete all and then include all, so you add or delete files in the folder, select
Refresh, the project will also be updated. In addition, if you add an HDL file to Code folder after you have started 'HardWare' terminal, the terminal will automatically add the file to the project.
'[Note]' : The Code folder refers to the HardwareSrc property configured in the property.json file. This property is an array type and will be overwritten once configured, even under the standard engineering file structure. If you do not configure this property and do not use the standard project file structure, the entire workspace will be the Code folder by default. If you configure property.json and use the standard file structure, the default Code folder is user (Hardware)/src and (Hardware)/sim.
-
Build. Complete synthesis, layout and wiring. You can select enableShowlog under property.json to display the real-time cabling log. The error log is automatically displayed when an error occurs and when
[CRITICAL WARNING]is displayed during Settings. If the bit and bin files are generated normally, the log can be ignored. -
Program. one-click download, just download, curing function will be added later, but there is zynq bin file directly downloaded to SD card inserted to cure.
-
GUI. if you need IP design, function timing simulation or BD design select
GUI, after which will automatically open the graphical interface.
[Note] ': After opening the GUI, open the VSCode of the corresponding project, and the corresponding HardWare running terminal can not be closed, after closing the GUI will automatically exit.If you directly close the GUI or vscode to Exit, the IP and BD design files in the project will not be moved to the user folder. You are advised to use Exit in the function bar FPGA OPTIONS to Exit.In addition, when you select Clean in the function bar TOOL, the IP and BD design files in the project will be moved to user and the whole project will be deleted.
[Note] : Relevant functions of SDK are not perfect and are ready to be opened later, which is used to replace Xilinx SDK and completely solve the problem of Using Xilinx SDK.
Because currently only support vivado related functions, so for Vivado development assistance, see the general function instructions.
[Note] : For the Device property in the property.json file, the following is currently available:
- xc7z020clg400-2
- xc7a35tftg256-1
- xc7a35tcsg324-1
- xc7z035ffg676-2
- xc7z020clg484-1
In theory, it can support all the devices that Vivado can support. You can write your Device directly under the Device property. You can also Add your device to the database with the FPGA:Add Devices to the Database command, or Remove it from the database with the FPGA:Remove the Device from the Database command.
