Render Engine Setup
Project File: starter.blend
To start, change the Render Engine for your scene to Dream Textures

Next, create a new node tree in the Render Properties tab.
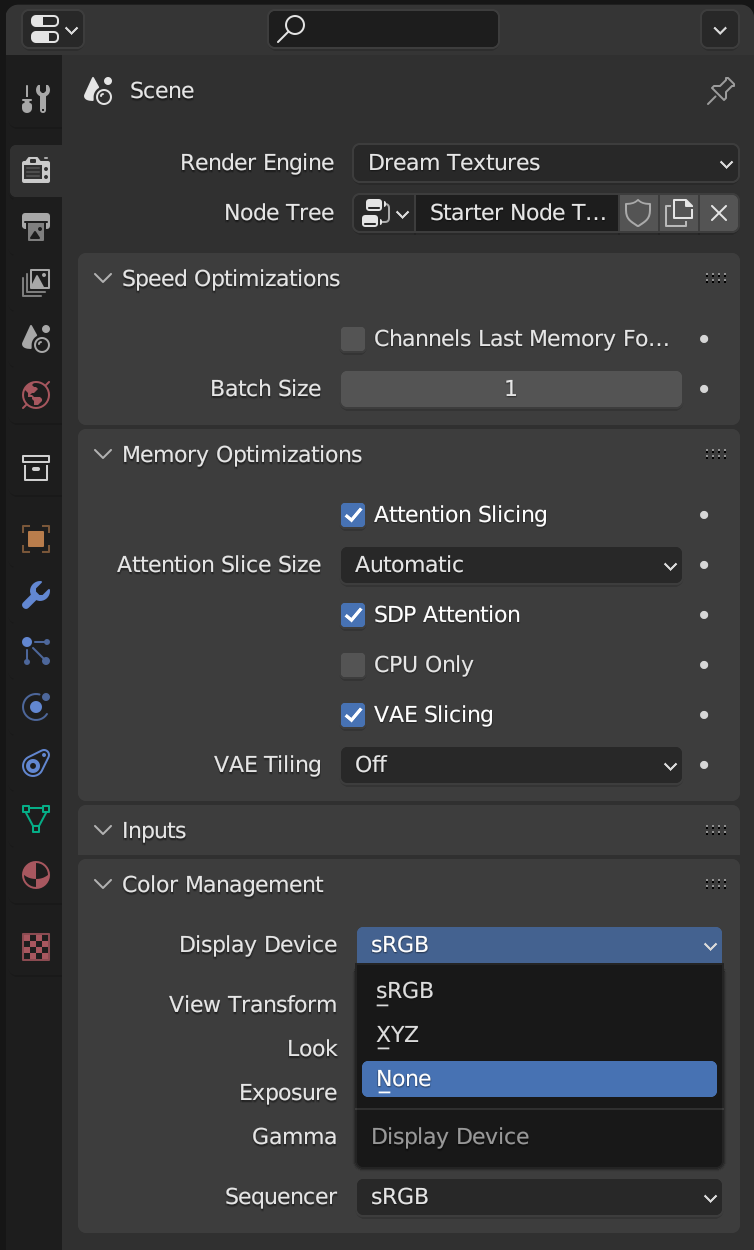
In the Color Management panel, change the Display Device to None. This will ensure the colors of your generated image stay the same.
Next, change the Output Properties resolution to a more reasonable default size, such as 512x512.

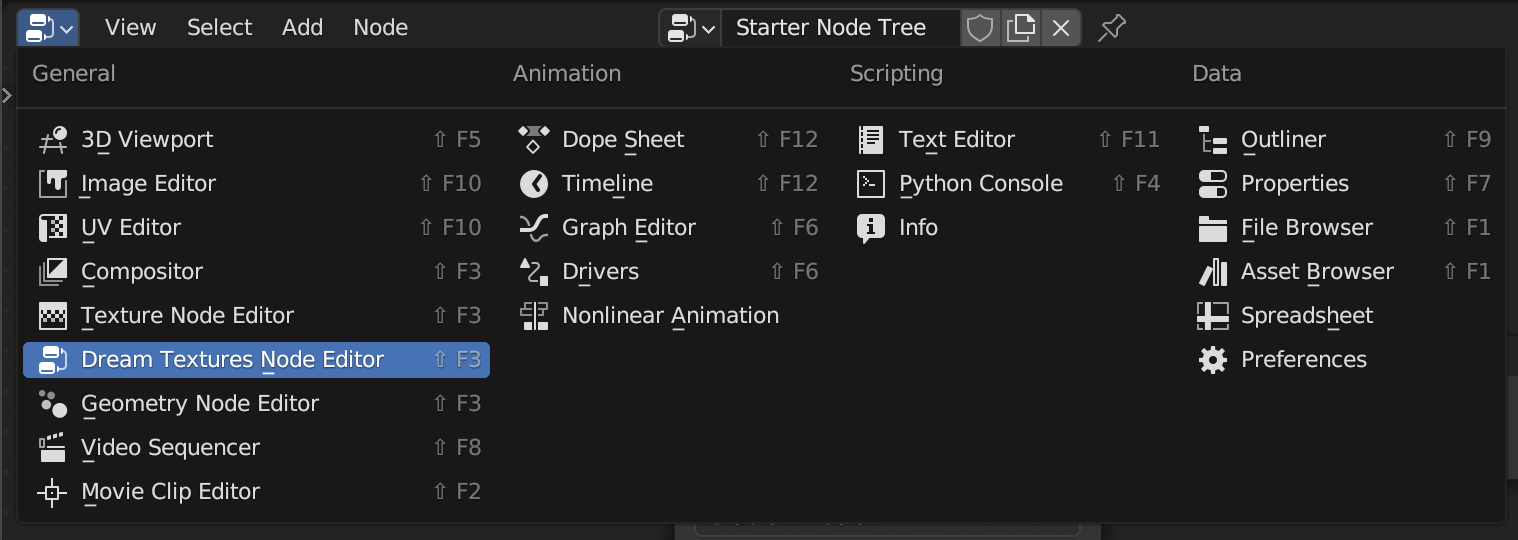
Change one of your workspaces to the Dream Textures Node Editor space. This is where you will create your node trees.
Select your node tree in the top bar, and add some nodes!
Note Every node tree must have a Group Output node. The first output should be the final image. It should be the same size as the configured Output Properties size.

That's all you need to get started. Hit render to evaluate the node tree and produce an image.

The scene will start to render. The name of the currently executing node is shown at the top of the render window.

Congrats, you rendered your first scene!