Exidy Sorcerer for Raspberry Pi Pico RP2040

This project is intended to be relatively easy to breadboard or prototype in some other way. It's just for fun and not a highly accurate emulation; hopefully it is good enough to be enjoyable.
- CP/M 1.4
- HDMI (Wren's Amazing PicoDVI)
- RGB 332 222 & 1111 over VGA
- 4 emulated disk units with read/write to SD card
- 2 eumlated tape units with read/write to SD card
- ROM Pac read from SD card
- USB Keyboard
- PS/2 keyboard
- HDMI/PWM/I2S DAC audio out
- On screen menu system
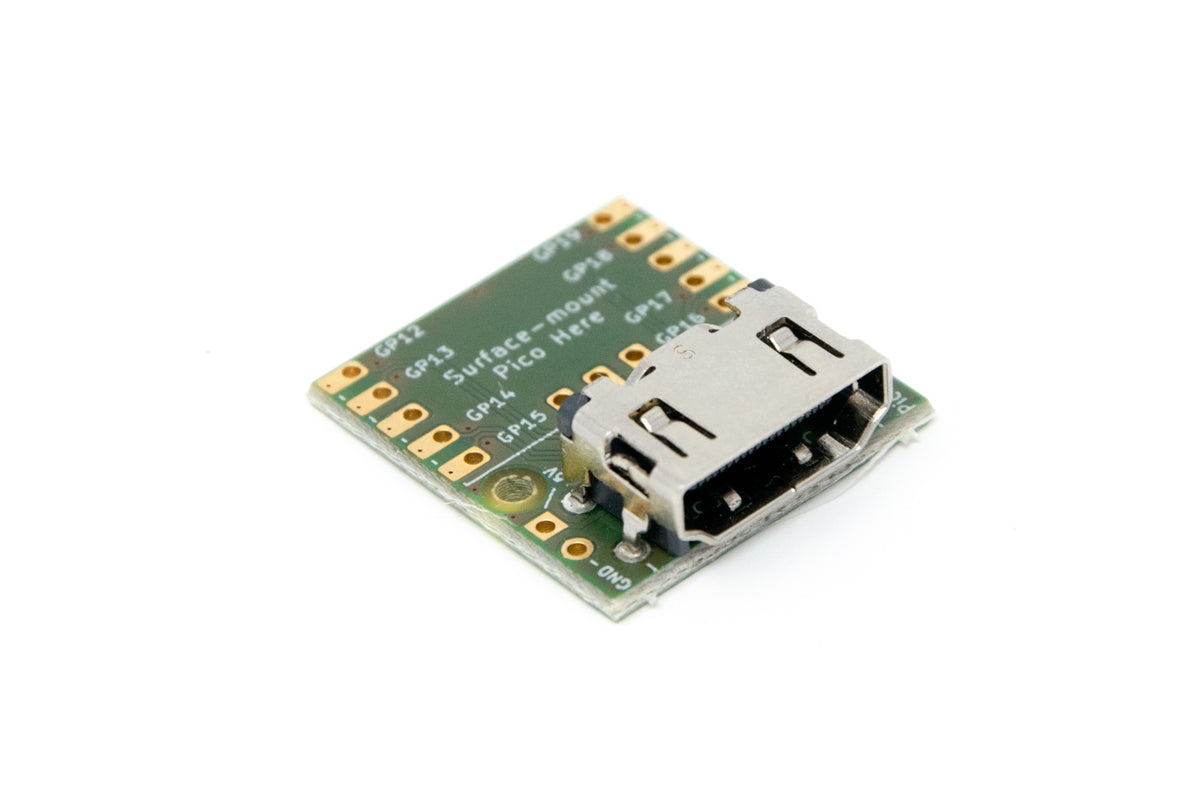
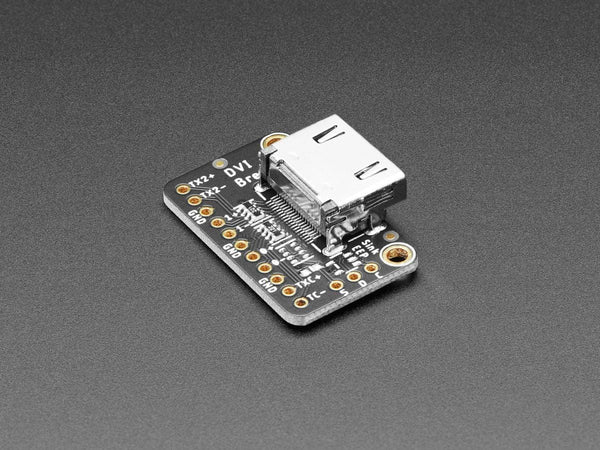
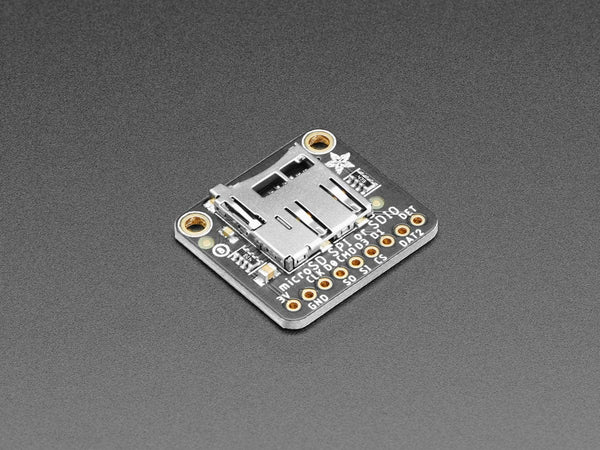
Click on the images below for more inforation ...
Currently, only the USB keyboard is working on the RetroVGA.
- 05/05/24 - Audio over HDMI, volume conrol on menu
- 08/05/23 - Updated builds
- 22/11/22 - Moved to the Redcode Z80 emulator
- 23/07/22 - Added target for Pico DV board
- 23/07/22 - Moved to Pimoroni FATFS to support Pimoroni Pico DV board
- 23/07/22 - Added support for PS/2 keyboard on HDMI breadboard target
- 06/07/22 - Added support for RGB332, RGB222 and RGBY1111 over VGA
The move from Carl's no-OS-FatFS-SD-SPI-RPi-Pico to Pimoroni's FatFS was made as the SD card pins on the Pimoroni Pico DV Demo Base do not match up with the RP2040 SPI harware support. The Pimoroni library has a PIO SPI driver, which gets around the problem.
It's a good idea to filter out high frequencies from the PWM audio output. The following components were chosen as I found them in a draw... but it sounds ok.
The emulator targets can accept input from a PS/2 keyboard wired to RP_PS2_DATA and RP_PS2_CLK. A suggested circuit is shown below:
The resistors and Zeners are there in case the keyboard contains a pull-up resistor to 5v on either the data or clock lines; the data and clock lines are, in theory, open-collector with no pull-up.
I'm told most PS/2 keyboards can be run at 3.3v and the the extra components become redundant... but I've not tried with mine. You may find the Pico struggles to deliver enough power at 3.3v for the SD card writes and running a keyboard.
Currently there is no toggling on the lock keys (caps/num lock) and the indicator leds are not used.


Pre-built binaries, found in the uf2 folder, can be copied directly to a Pico Pi. Connect your Pico Pi with a USB cable, while holding down the program button, then:
cp sorcerer2_hdmi.uf2 /media/pi/RPI-RP2/If everything is wired up correctly you should see the monitor boot screen:
EXIDY STANDARD MONITOR

VERSION 1.0
COPYRIGHT (C) 1978 BY EXIDY INC.

THE TOP OF RAM IS BBFF HEX.
STACK BEGINS FROM BB90 HEX.

>_
At the prompt type 'GO BC00' to enter CP/M:
>GO BC00
Make a folder in which to clone the required projects e.g.
mkdir ~/pico
cd ~/pico
Clone the projects from github:
Using git protocol:
git clone git@github.com:fruit-bat/pico-hid-host
git clone git@github.com:fruit-bat/pico-extras.git
git clone git@github.com:fruit-bat/PicoDVI.git
git clone git@github.com:fruit-bat/pico-sorcerer2.git
git clone git@github.com:pimoroni/pimoroni-pico.git
git clone git@github.com:fruit-bat/pico-dvi-menu
git clone git@github.com:fruit-bat/pico-emu-utils
git clone git@github.com:redcode/Z80.git
git clone git@github.com:redcode/Zeta.git
...or using https protocol:
git clone https://github.com/fruit-bat/pico-hid-host
git clone https://github.com/fruit-bat/pico-extras.git
git clone https://github.com/fruit-bat/PicoDVI.git
git clone https://github.com/fruit-bat/pico-sorcerer2.git
git clone https://github.com/pimoroni/pimoroni-pico.git
git clone https://github.com/fruit-bat/pico-dvi-menu
git clone https://github.com/fruit-bat/pico-emu-utils
git clone https://github.com/redcode/Z80.git
git clone https://github.com/redcode/Zeta.git
Edit:
pimoroni-pico/drivers/fatfs/ffconf.hand set FF_USE_FIND to 1
#define FF_USE_FIND 1
Switch to the audio branch of PicoDVI
cd PicoDVI
git checkout audio
cd -
Perform the build:
cd pico-sorcerer2
mkdir build
cd build
cmake -DPICO_COPY_TO_RAM=0 ..
make clean
make -j4
Copy the relevant version to your board:
cp ./bin/breadboard_hdmi/sorcerer2_hdmi.uf2 /media/pi/RPI-RP2/Copy the contents of SD card onto a card.
There is more information about which card to choose on CarlK's no OS FAT FS for Pico pages.
| Key | Action |
|---|---|
| F1 | Menu system |
| F2 | Copy #0100-#8100 to side buffer |
| F3 | Copy side buffer to #0100-#8100 |
| F4 | Toggle Z80 4Mhz moderator |
| F5 | Repeat |
| F6 | ? |
| F7 | ? |
| F8 | ? |
| F9 | Run stop |
| F11 + F12 | Reset |
- Read/Write WAV files
- Audio input
- Centronics interface
- Serial interface (Uart 0 is currently used for debug)

| Pico pin | Pico GPIO | Adapter wire |
|---|---|---|
| 1 | GP0 | White |
| 2 | GP1 | Green |
| 3 | GND | Black |
tio -m ODELBS /dev/ttyUSB0The Sorcerer had a sound card that plugged into the parallel port. It appears to be a single DAC, using the six most significant bits from the port.
CarlK for the super no OS FAT FS for Pico
Damien G for maintaining and publishing some wonderful 8-bit fonts
Wren for the amazing PicoDVI
hathach for the embeded USB library TinyUSB
Lin Ke-Fong for the Z80 emulator
Pimoroni for lots of useful libraries
redcode for the Z80 emulator
Magnetic font by DamienG
Exidy Sorcerer Software Library
Trailing Edge - Exidy Sorcerer monitor commands
Wren's Amazing PicoDVI
CarlK's Super no OS FAT FS for Pico
Z88dk example for Sorcerer
FAT FS Documentation
USB HID Keycodes
4 Voice sound
PS/2 vs HID keyboard codes
PCM 5100A DAC
RP2040 Datasheet
Z80 Instruction set with XYH
Z80 Instruction set


