Creating a red5 application using the red5 eclipse plugin
The second way to create a red5 application is to use the red5-eclipse plugin. The plugin way is not recommended by a lot of high end developers but for starters it is a simple and elegant way to build your red5 application and debug it with control. that's not to say that you cant do complex apps using the plugin. I have worked on some complex code myself including database apps which had their foundation using this plugin.
Using the red5-eclipse plugin has been quirky for many developers in the past. Mainly due to lack of information and lacking updates. But believe me when i say its not such a bad deal. The red5-eclipse plugin offers some nifty features such as:
- Application generation
- Smooth eclipse debugging
- Auto building and publishing to red5 media server
- Managing multiple virtual local servers for development (run-time)
You can select how you wish to use the plugin, whether you wish to let it do everything or do you wish to use it for debugging against the run-time only.
In this section i will explain how i use the plugin for both application generation, debugging and deployment. In the next section (For Serious developers), we will see how we can use the red5-eclipse plugin for debugging an application managed with maven.
--- To create a red5 application using the red5 plugin, follow the steps below :
- Create a new java "Dynamic Web Project"
- Give a name for your project such as - "myapp"
- Click on "New Run-time"
- From the list of available run-times , click select "Infrared5=>Red5 Server Runtime" and click "Next".
- In the next screen browse and select the root of your Red5 server distribution located on your computer. Click "Next" when done
- Select Dynamic web module version - 2.5 from the drop down
- Next to the Configuration selector, click on "Modify" and select "Red5 Application Generation"
- Click "Ok" to close the dialog and return to the project setup screen.
- Click "Finish" to compete setup and generate the project files.
At this point you should see a few errors (red markers)in eclipse saying the some class(s) could not be found. This is because the project hasn't been able to find the required red5 jars. We just have to help eclipse locate them.
- Right click on the project and select
propertiesto bring up properties dialog. - Click on
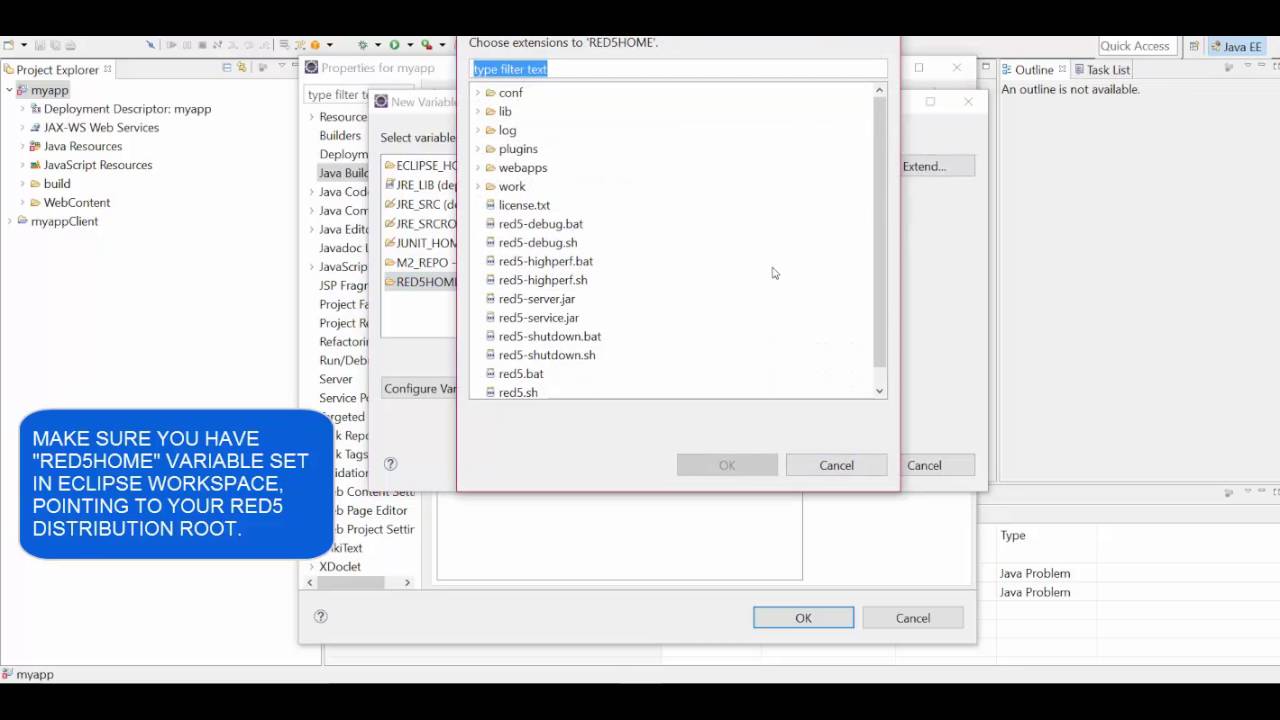
Add Variableand clickConfigure Variables => New - In the dialog window, enter
variable nameasRED5HOME andPath asthe path to red5 distribution root. - Click Ok to close the dialog.
- Now in the New Variable Classpath Entry, select
RED5HOMEentry and click Extend... to launch Choose extensions to RED5HOME dialog. - Select
red5-server.jarand click ok close dialog - Similarly add the
lib/red5-servercommon-1.0.x-RELEASE.jar. - Click Ok on any open dialog windows to close them and return to project work-space.
- Your project should now be error free and you are well set to run your project
Plugin Generated Code: https://github.com/rajdeeprath/red5-development-series/tree/master/red5-plugin-generated-app/myapp
---
The biggest advantage of the plugin comes right here. You can easily run and debug your project from within eclipse without having to worry about the process flow.
- You can compile and build your project from within eclipse, using project -> clean
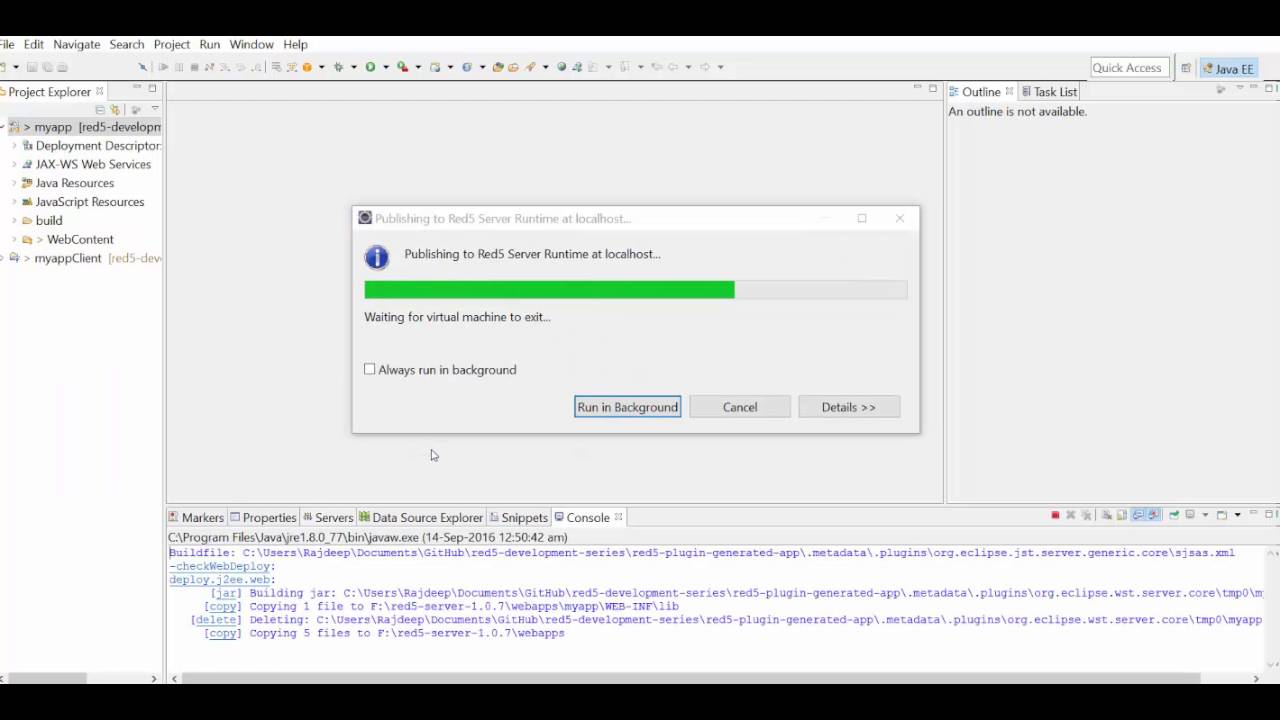
- Your can publish the output to red5 server webapps from within eclipse
- You can run and debug the code from within eclipse
- From within your workspace, bring up the server view. Window -> Show View -> Servers
- Right click the Servers View and do New -> Server
- Make sure your Red5 runtime created earlier is selected, and Click Next
- In the next dialog fill in the relevant information. For linux / mac you would normally use the
.shscripts instead of the.batones.

-
Click Finish to complete setup.
-
Your local server is now ready for running your application.
-
Right click your new local server and click on Add/Remove
-
Select your application and click on Add
-
Click Finish to complete the step
-
This adds the application to the new local server
-
Finally right click the local server run-time and select Debug to start running the server with your code in it.
-
So stop the server : Right click and select -> Stop
IMPORTANT : Gotcha!! : The hiccup here to remember is that, there have been changes to the shutdown system of red5. If you run-time doe snot shutdown in one go, try the same action after a few seconds. When the server has stopped, the run-time wills say so (label next to it). And dont worry about any errors you see it spitting in the console or via any dialogs. Just click ok on any dialogs shown.