How to create a comparison project
- Definition of a comparison project
- Save a comparison project
- Load a comparison project
- Delete a comparison project
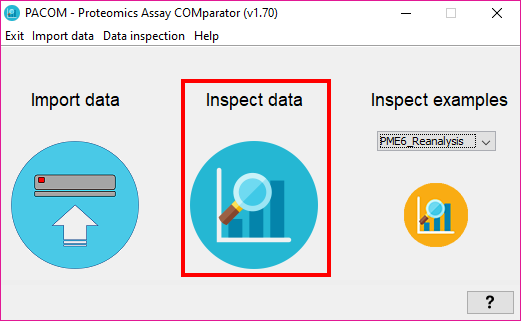
In the main menu, there is another option called 'Inspect data' (or Alt+I). This module in the tool will allow you to inspect a lot of qualitative aspects of your datasets integrating data and performing different visual comparison by generating charts.
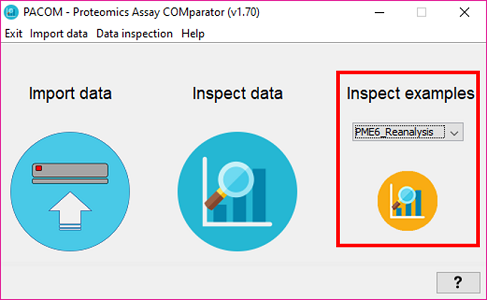
Note: Alternatively you can select one of the available example projects and skip this step
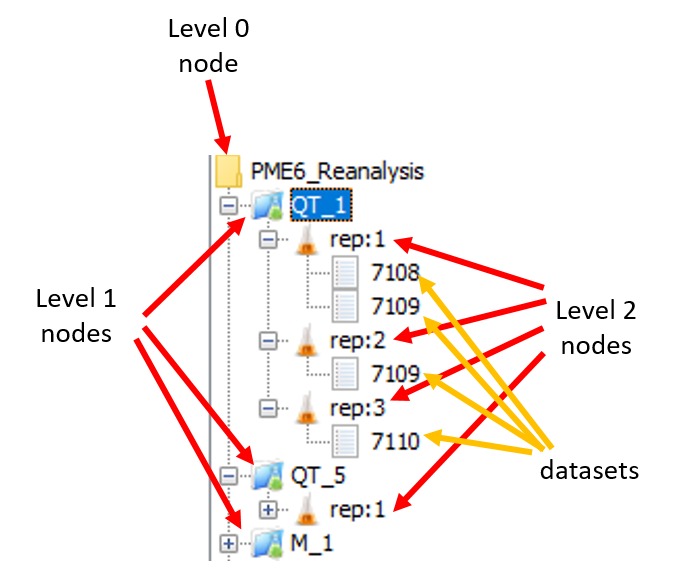
In order to inspect or compare multiple datasets, after importing them you have to define a comparison project. The comparison project is composed by several datasets organized in a hierarchical tree. The tree has 3 levels and you will have to group your datasets as you want, depending on how do you want the data to be compared and aggregated. The levels are:
- level 0 or the root of the comparison tree,
- level 1, where several level 2 nodes are aggregated,
- and level 2, where usually contains 1 dataset but it can aggregate more than one.
Note: If you are interested on creating a PRIDE XML file in the last step of the workflow, you may want to know that PACOM will create a PRIDE XML file per level 1 node, compiling all the data defined under each level 1 node.
The window that allows you to create the comparison project is shown in the next figure in which the tree in the left (1) will automatically load all the datasets that are imported. The tree in the center (2) is the actual Comparison Project Tree you have to define and it can be edited directly by clicking on each node or using the controls in the right side. Previously saved comparison projects can be loaded and deleted in the combo box (3).
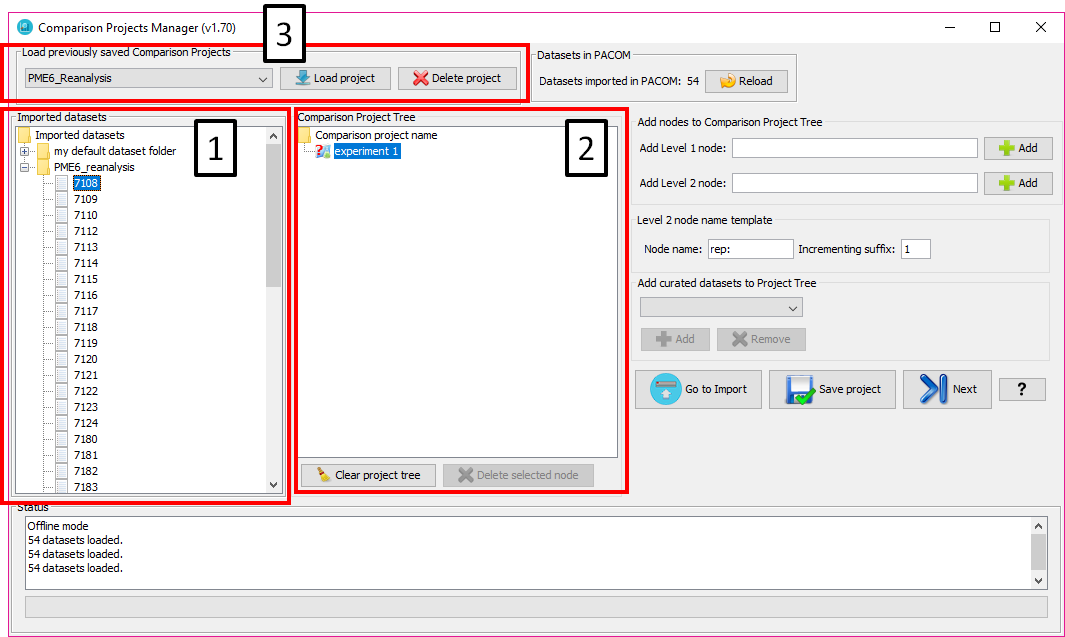
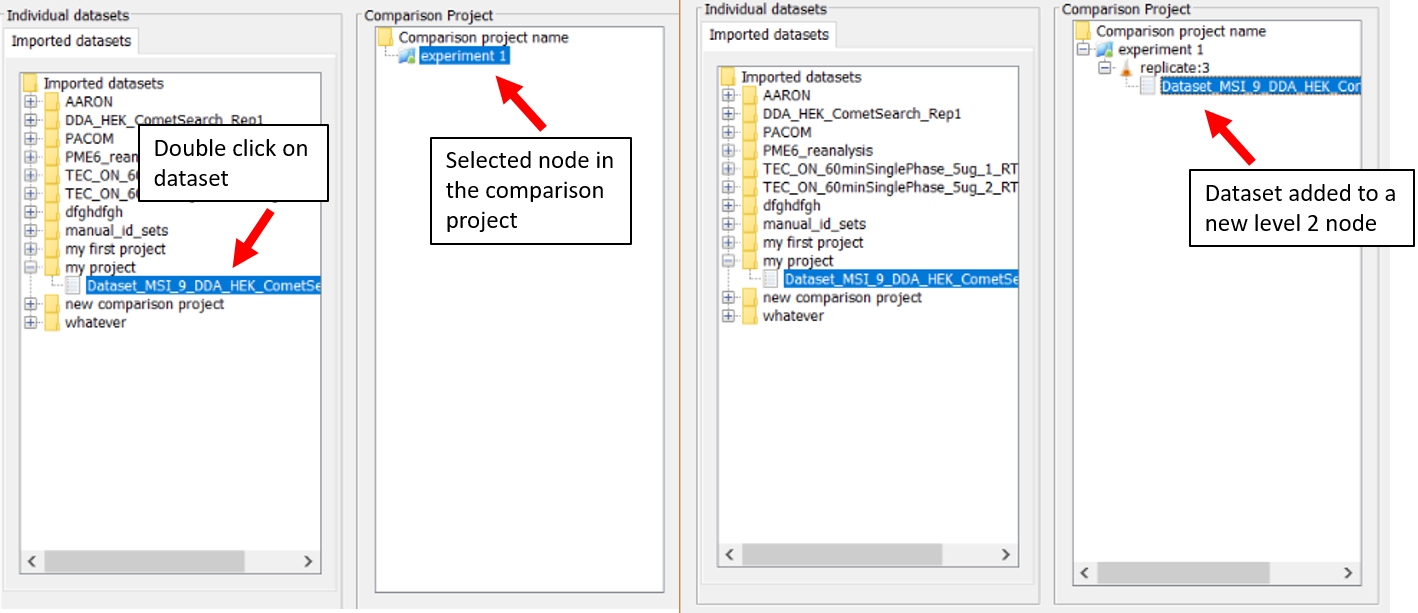
In order to add a dataset into the comparison project, just double click on the dataset in the imported datasets tree and it will be automatically added to the Comparison Project Tree under the node that is currently selected (or new nodes will be automatically generated as needed).
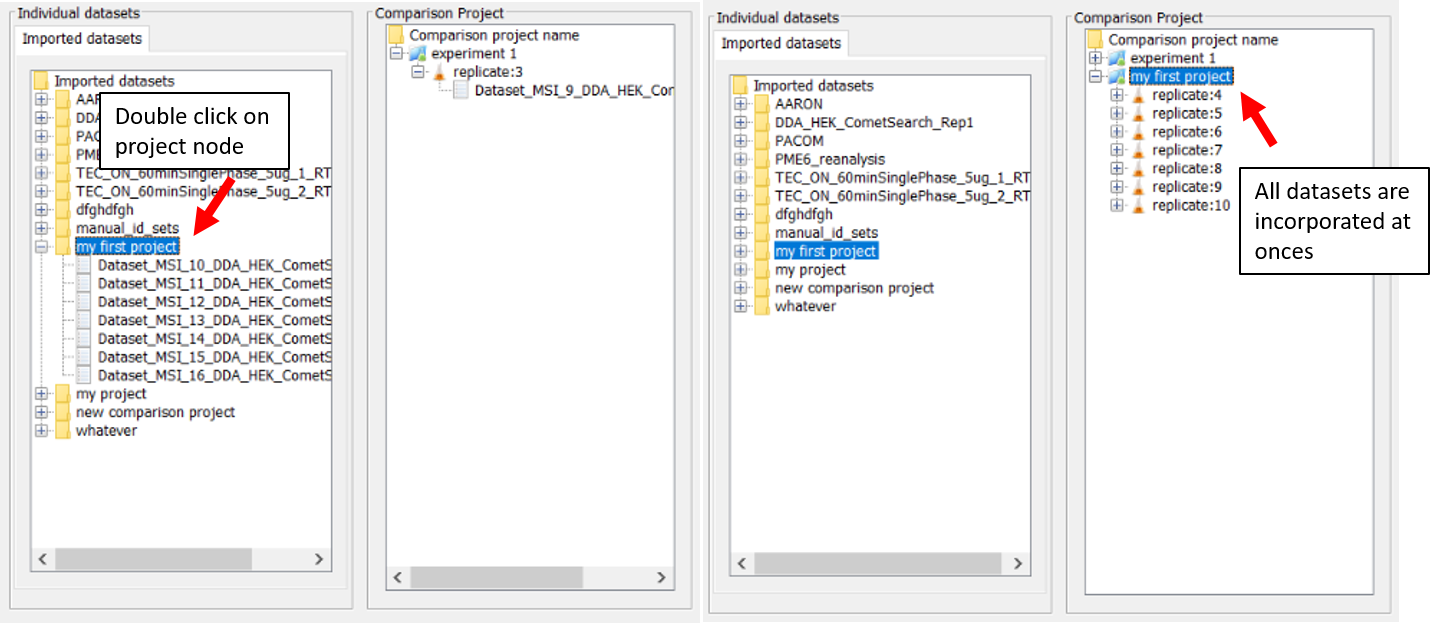
If the user double clicks on a dataset folder on the imported datasets tree, the whole set of datasets belonging to that folder will be added to the Comparison Project Tree:
*Note: The names of the level 2 nodes in the comparison project are automatically created by the 'label generator template'. The number will automatically increase everytime you add a new dataset in your comparison project.

Each dataset will be added into new nodes at 'level 2' in the Comparison Project Tree. Each one contains a list of peptides and proteins. If you add more than one dataset into a single 'level 2' node (by selecting it and then double clicking on one dataset), like this:
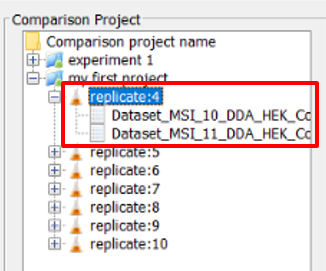
all the protein/peptide lists pending to that node will be merged in a single dataset (replicate 4 in this case).
In the same way, the comparison at level 1 will be done over a list of peptides and proteins as the result of merging all the peptides and proteins of the level 2 nodes pending to each level 1 ones.
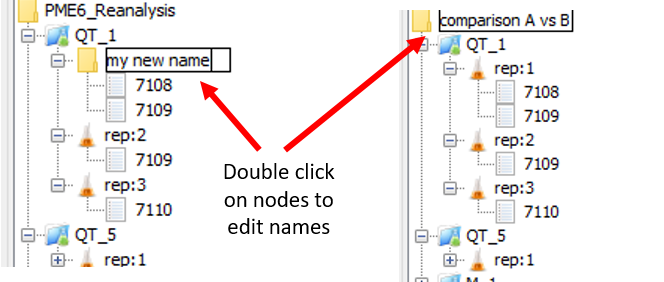
The names of the nodes in the Comparison Project Tree will be the names of the data series shown in the graphs generated in the next step of the workflow.
In order to edit the names of the nodes, just double click on them and change the name.
To remove nodes in the Comparison Project Tree, just select the node you want to delete and either press DEL key or click on 'Delete selected node' button.

You can also clear the entire project by clicking on 'Clear Project tree'.
After to define the comparison project, the user can save it just clicking on 'Save project' button.
By default, an example dataset is available to test the tool, the 'PME6_Reanalysis' in the combobox. In order to load a comparison project, just select it from the 'Saved projects' combobox and click on 'Load' button.
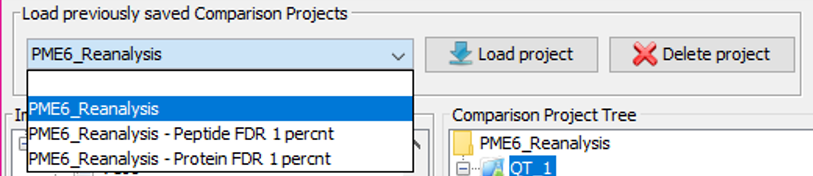
For deleting a comparison project, just select it from the 'Saved projects' combobox and click on 'delete' button. You can also manually delete the project by going into the user_data/projects/' folder and deleting the file with name of the project that you want to delete.