-
Notifications
You must be signed in to change notification settings - Fork 2
Frontend Installation
Stacki requires a single server that will host all the software and services used to build out other servers. We call this server the frontend, and the first step to running Stacki is to build a frontend.
The process is fairly simple and looks similar to a standard Linux build with the addition of a wizard to capture site-specific networking information.
A frontend has the following hardware requirements.
| Resource | Minimum | Recommended |
|---|---|---|
| System Memory | 2 GB | 16 GB |
| Network Interfaces | 1 | 1 |
| Disk Capacity | 64 GB | 200GB |
| CD/DVD Device | 1 | 1 |
BIOS boot order
- CD/DVD Device
- Hard Disk
In the simplest configuration, Stacki assumes a single network for all servers. Stacki refers to the single network as the private network, and often this will be an isolated network. This default setup in shown below.

The private network cannot have a DHCP server that would answer a DHCP request from a backend server, as this is the resposibility of the frontend.
Stacki 1.x requires a public and private network
Stacki can build a new frontend from bare metal or it can be added on top of an existing server. If you wish to install Stacki on top of an existing system, skip to the section labeled existing.
Download the Stacki jumbo DVD here and burn the file to a DVD or mount it on the virtual media for the server to be installed. Installing a frontend will completely erase and reformat the hard disks in the server, so be careful which server you decide to become your frontend.
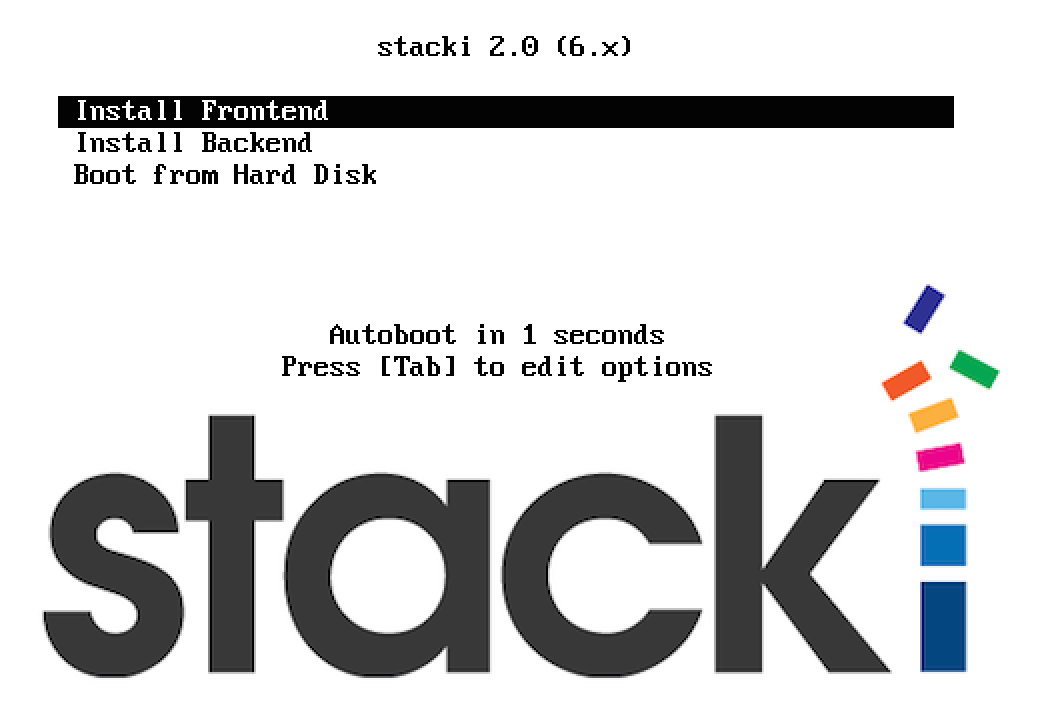
Boot the server with the DVD (or virtual media mounted) and the following screen will appear after the BIOS is initialized:

If you don't see the above screen, go back to the requirements section and make sure the DVD is the first entry in the boot order.
You can hit enter or just wait a few seconds and the Stacki frontend installation will begin, and you will soon see the Installation Wizard.
A Stacki frontend can be installed on top of an existing Red Hat based server. The server must be running the x86_64 version of CentOS 6.x or RHEL 6.x.
To perform this installation, log into the frontend and download two ISOs:
-
Stacki. The Stacki ISO can be found here.
-
CentOS or RHEL installation ISO. A CentOS installation ISO can be found here.
(If using RHEL, a DVD ISO should be available through your Red Hat subscription.)
Mount the Stacki ISO:
# mount -o loop stacki-2.0-6.x.x86_64.disk1.iso /media
Copy frontend-install.py from the ISO to your local disk:
# cp /media/frontend-install.py /tmp
Execute frontend-install.py:
# /tmp/frontend-install.py --stacki-name=stacki --stacki-version=2.0 --stacki-iso=stacki-2.0-6.x.x86_64.disk1.iso --os-name=CentOS --os-version=6.7 --os-iso=CentOS-6.7-x86_64-bin-DVD1.iso,CentOS-6.7-x86_64-bin-DVD2.iso
If you use CentOS 6.7, you are required to supply both CentOS DVDs as shown above.
The above step will run several commands and will eventually display the Installation Wizard.
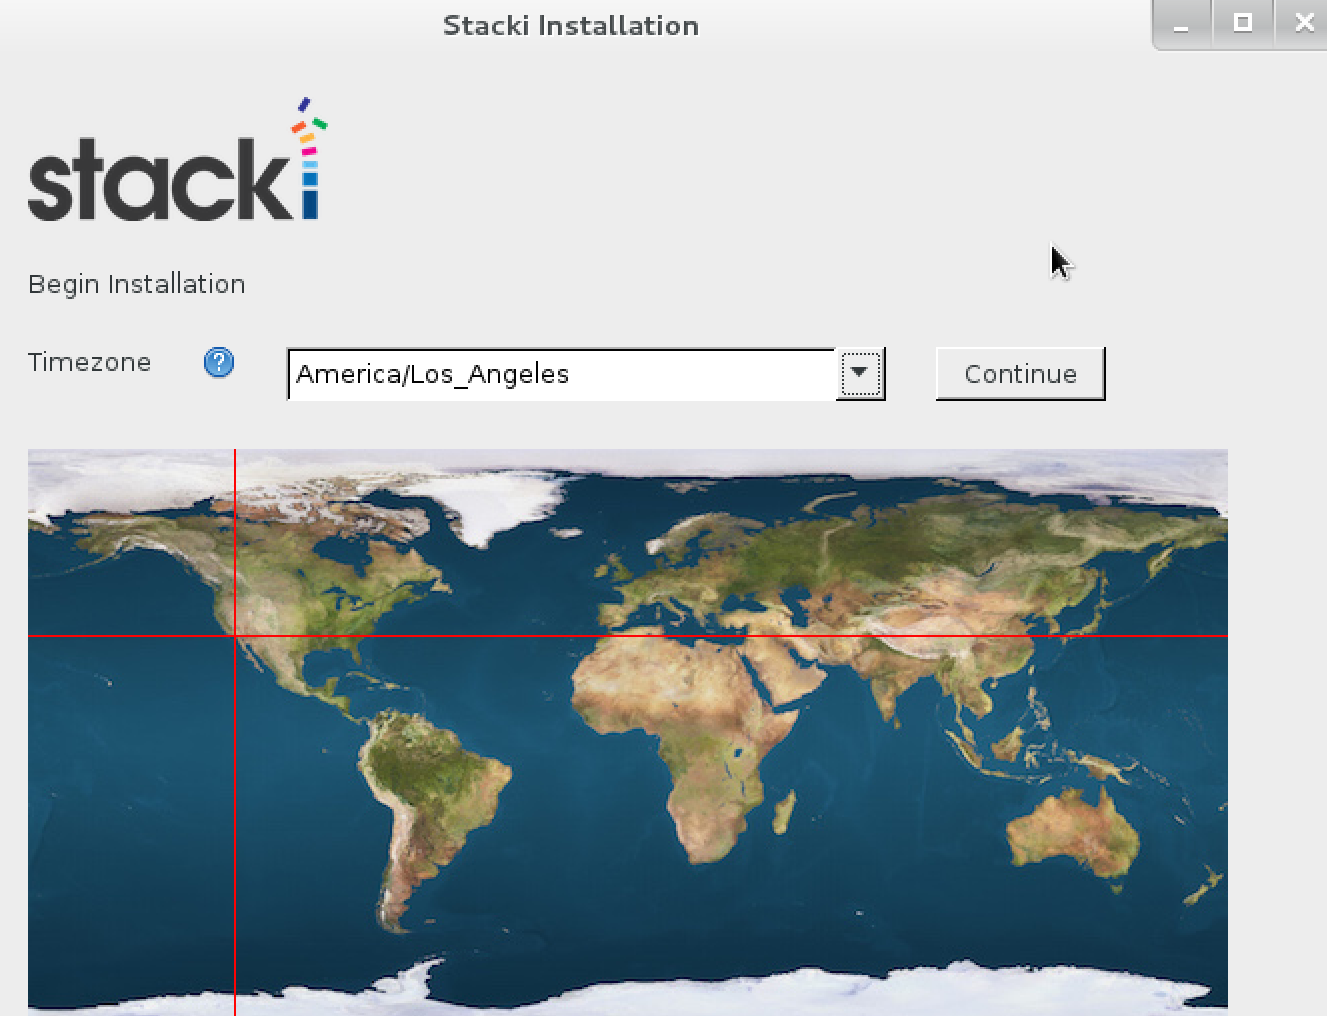
The first screen will appear and you will be prompted to enter your timezone:

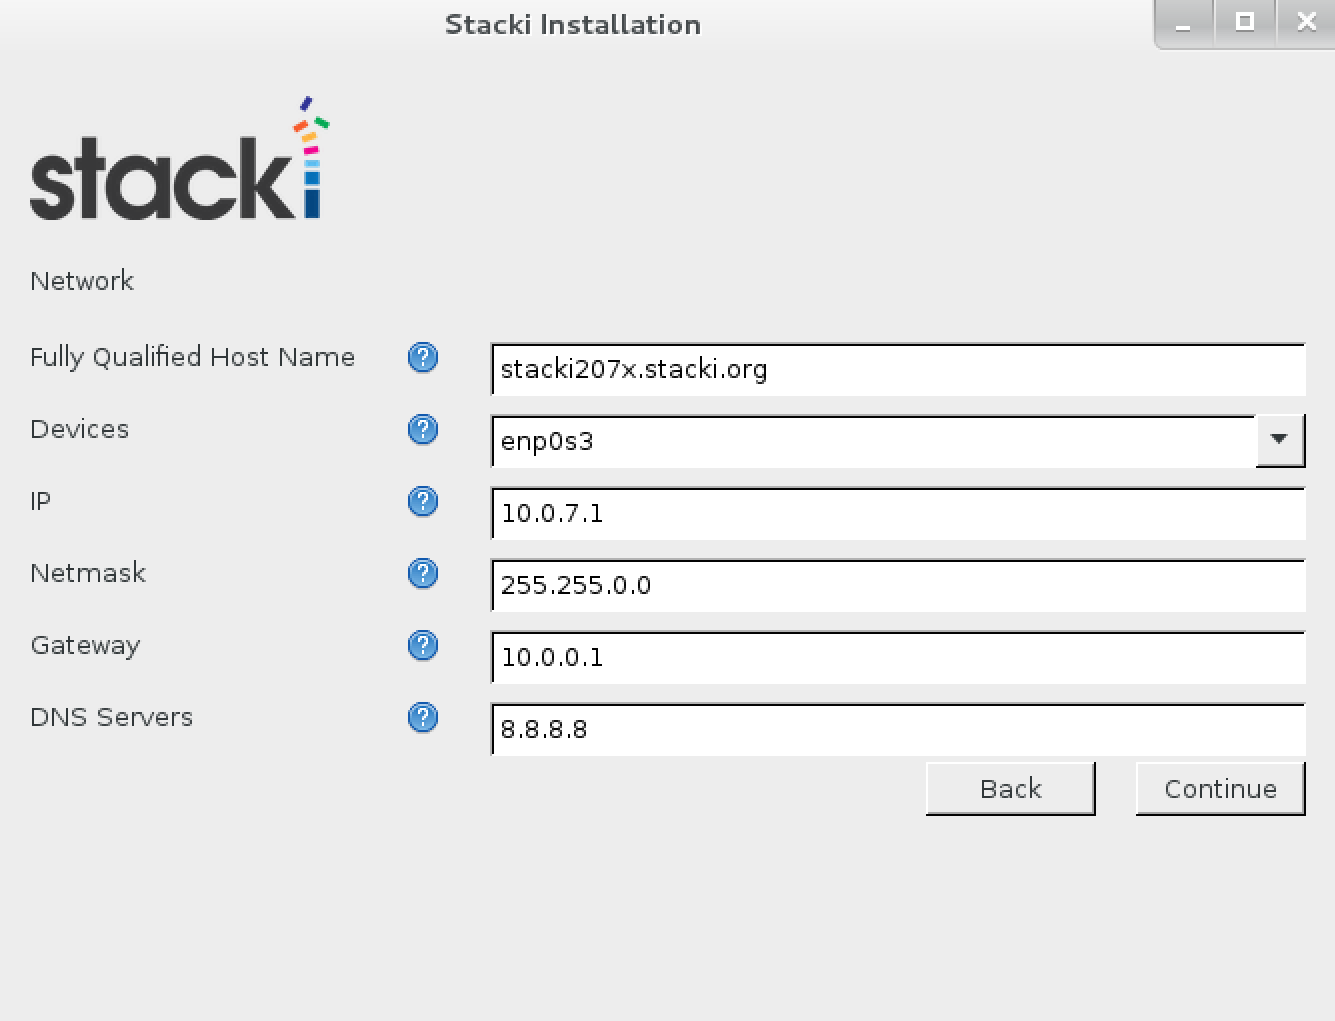
The network configuration screen allows you to set up the network that will be used by the frontend to install backend hosts.
- Fully Qualified Host Name - Input the FQDN for the frontend.
- Choose from the network Devices to select the frontend's network interface.
- IP address of the interface.
- Netmask.
- Gateway.
- DNS Servers - More than one DNS Server can be entered as a comma-separated list (i.e., 8.8.8.8, 4.2.2.2, 8.8.4.4).
Click Continue to configure the network interface.

Enter the password for the root account on the frontend.

If Automated mode is selected, the installer will repartition and reformat the first discovered hard drive that is connected to the frontend. All other drives connected to the frontend will be left untouched.
| Partition Name | Size |
|---|---|
| / | 16GB |
| /var | 16GB |
| swap | 1GB |
| /export (symbolically linked to /state/partition1) | remainder of root disk |
When using automatic partitioning, the installer repartitions and reformats the first hard drive (e.g. sda) that the installer discovers. All previous data on this drive will be erased. All other drives will be left untouched. If you are unsure about how the drives will be discovered in a multi-disk frontend, select Manual mode.
In Manual mode, the installer brings up a partition setup screen after the wizard exits. In this mode, specify at least 16 GB for the root partition and a separate /export partition. You should add a swap partition, and /var if you have made / only 16GB.

Choose the Pallets you want to install. Booting from a DVD, pallets should automatically load onto the list for you to choose.
Select stacki and os pallets to install.

Review the installation parameters and click Continue to proceed.

If this was a new installation, the frontend will now format its filesystems and copy the pallets from the DVD onto its hard disk. Next, it will install all the packages and then run post configuration scripts. When this completes, the frontend will reboot. Your Stacki frontend is now ready to install backend servers.
If this was an existing installation, after the frontend-install.py program completes, you must reboot the frontend:
# reboot
Your Stacki frontend is now ready to install backend servers.